I've been getting a lot of questions around how I edit my photos for Instagram and the blog. When I started, I was simply using Instagram to edit, but I've recently discovered the holy grail of all editing apps.
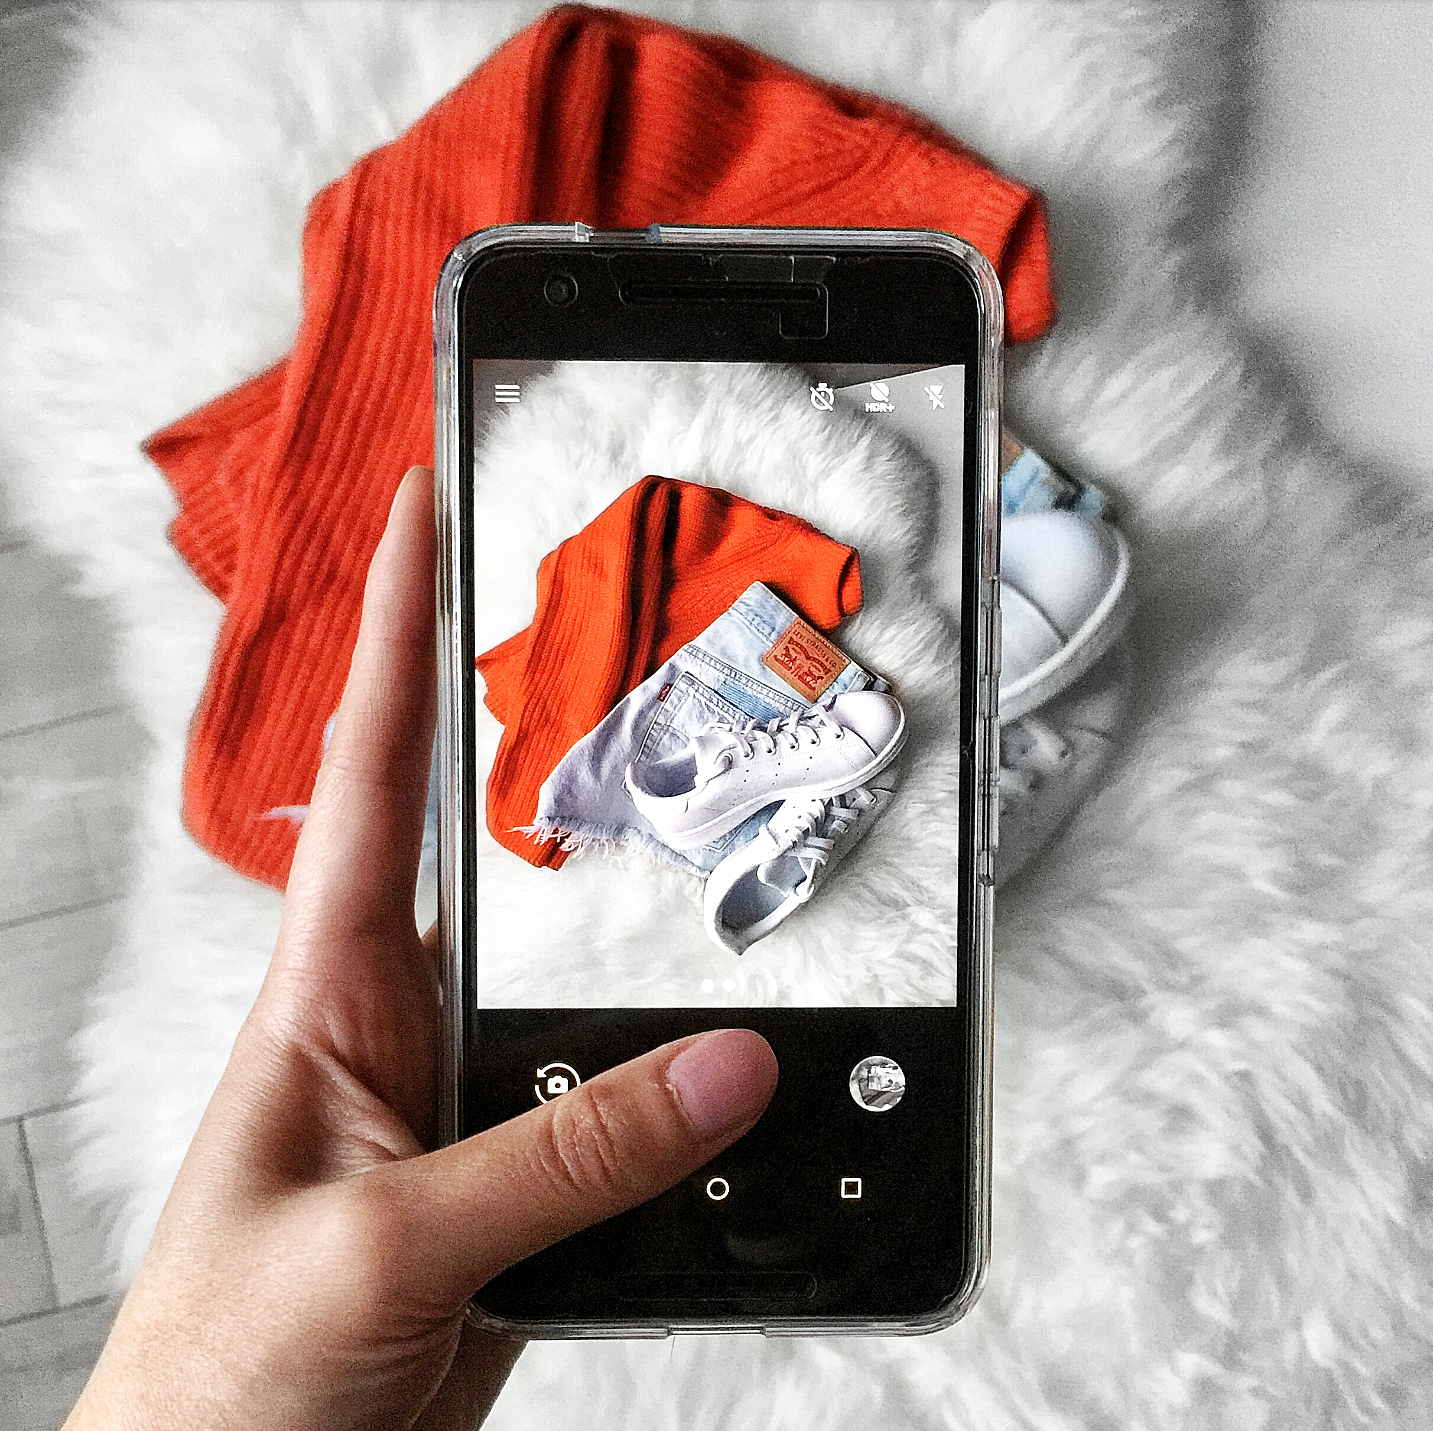
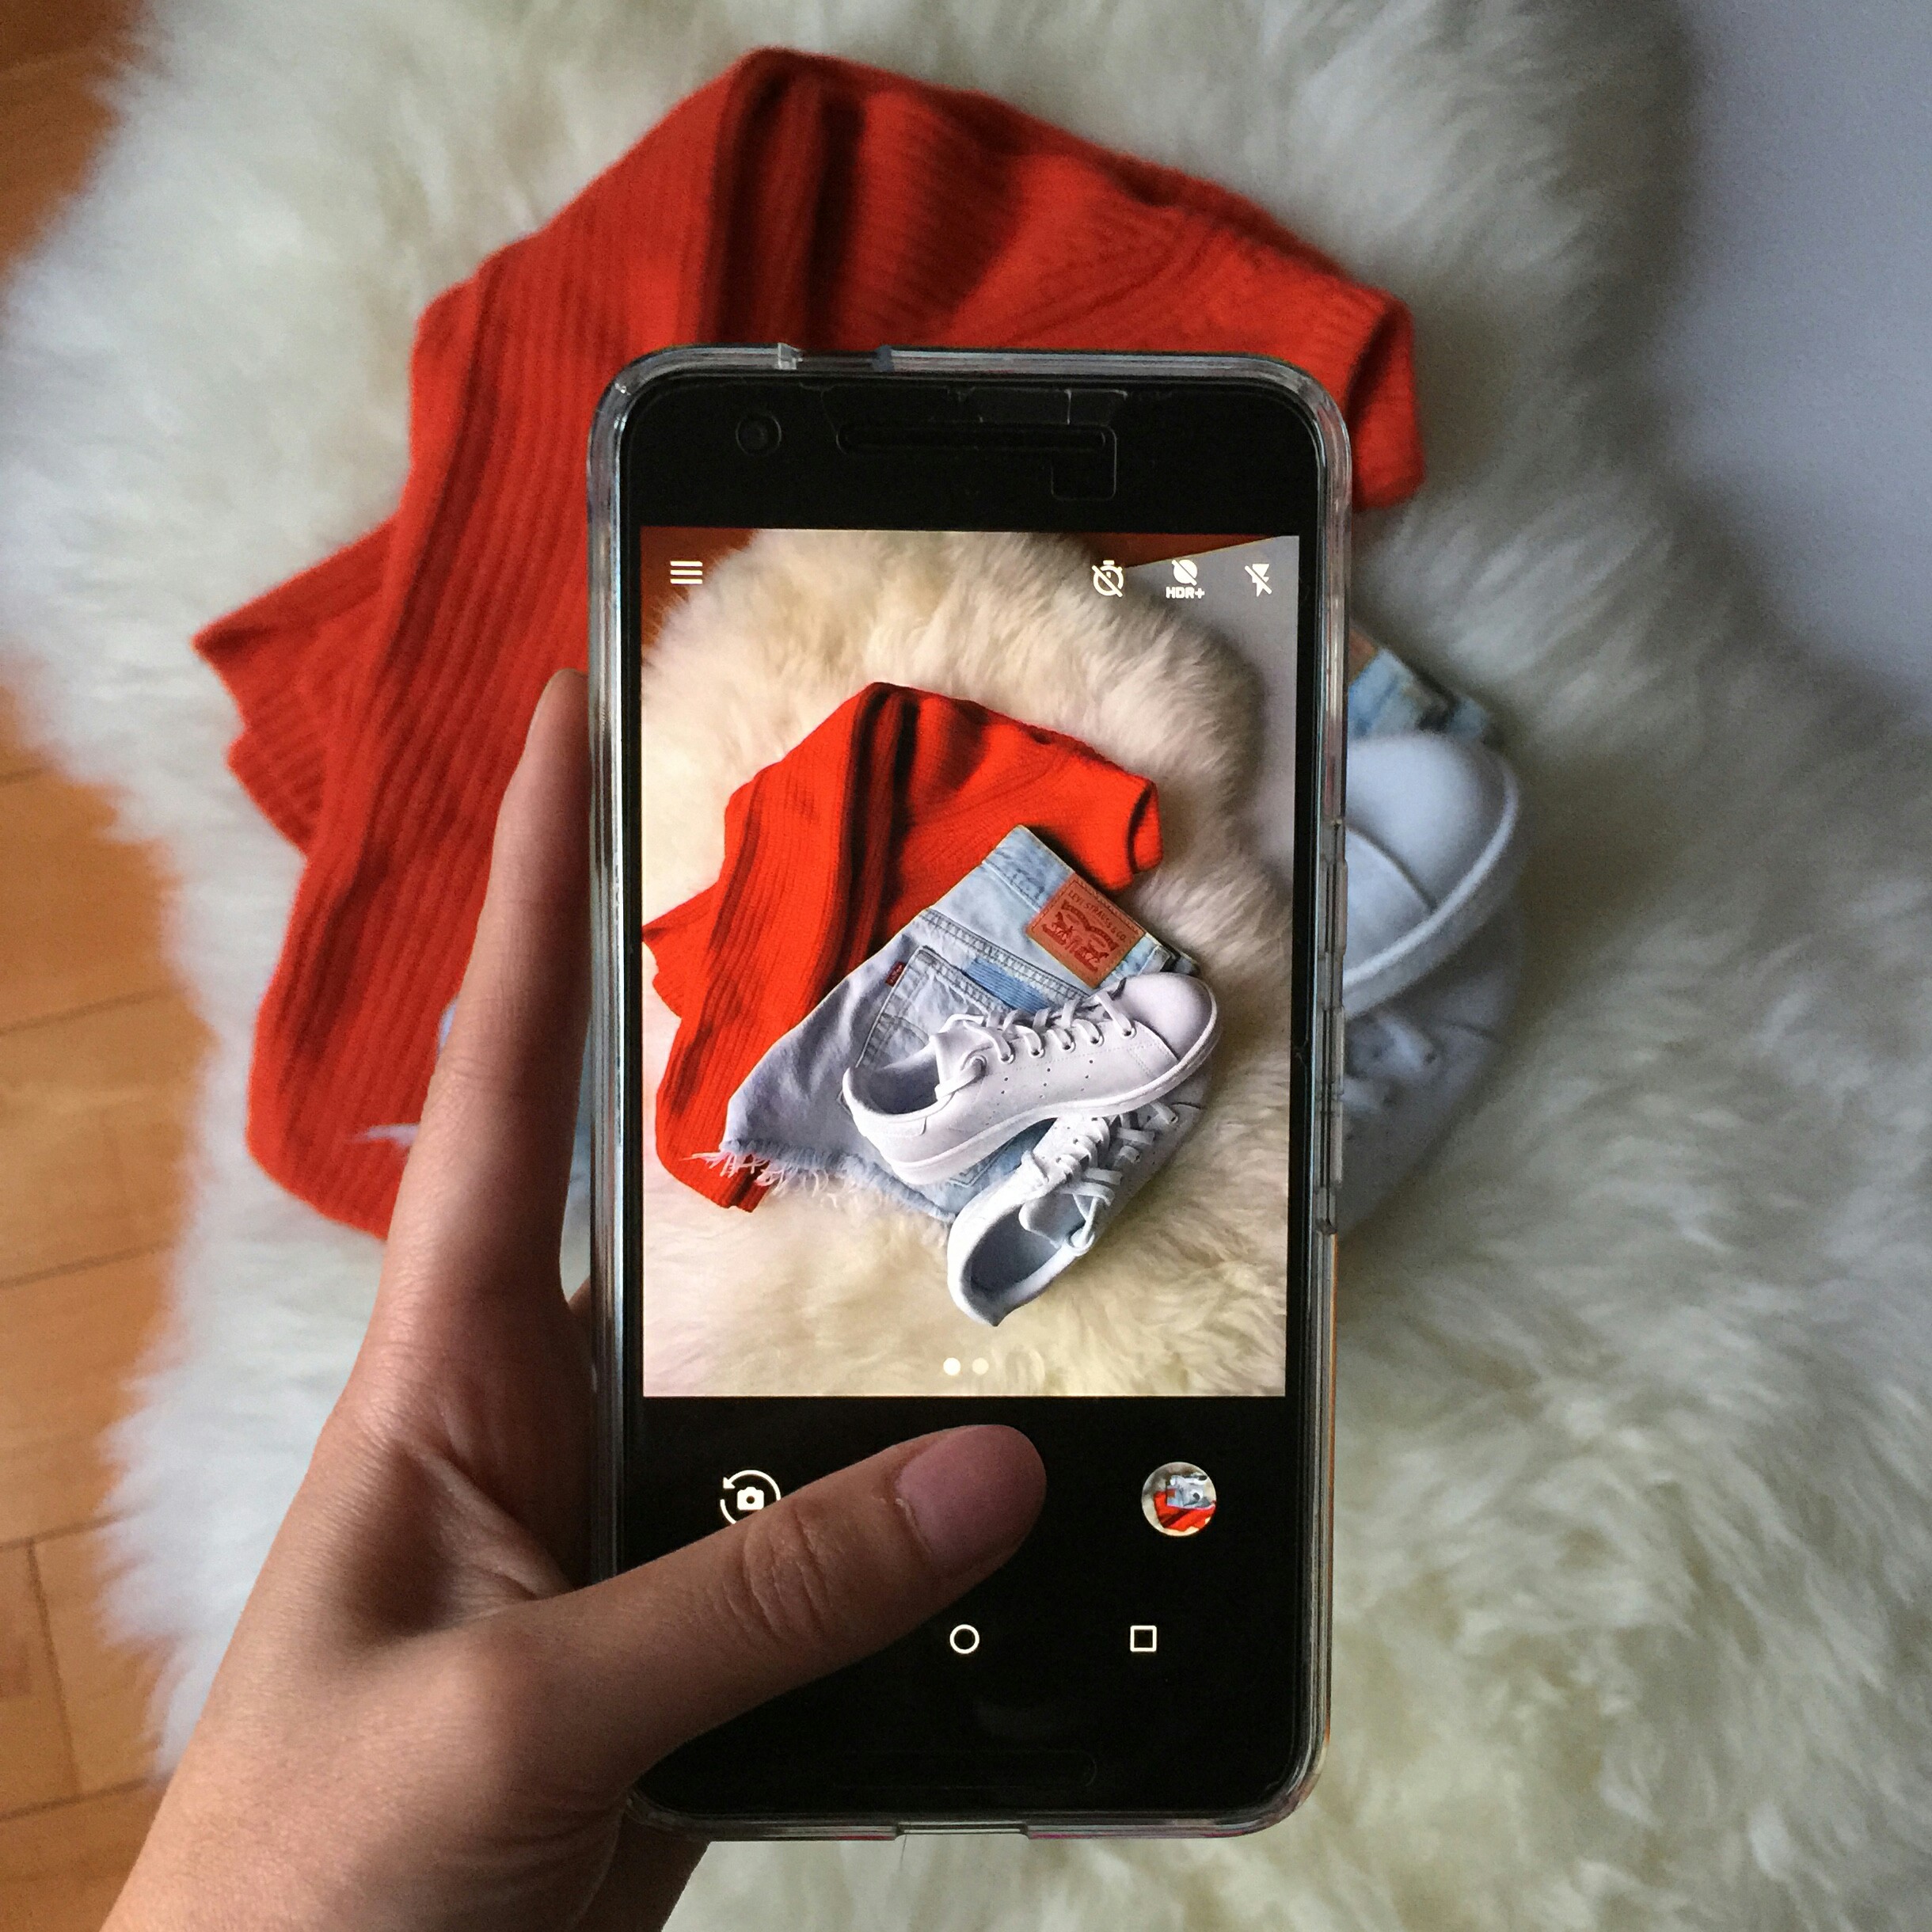
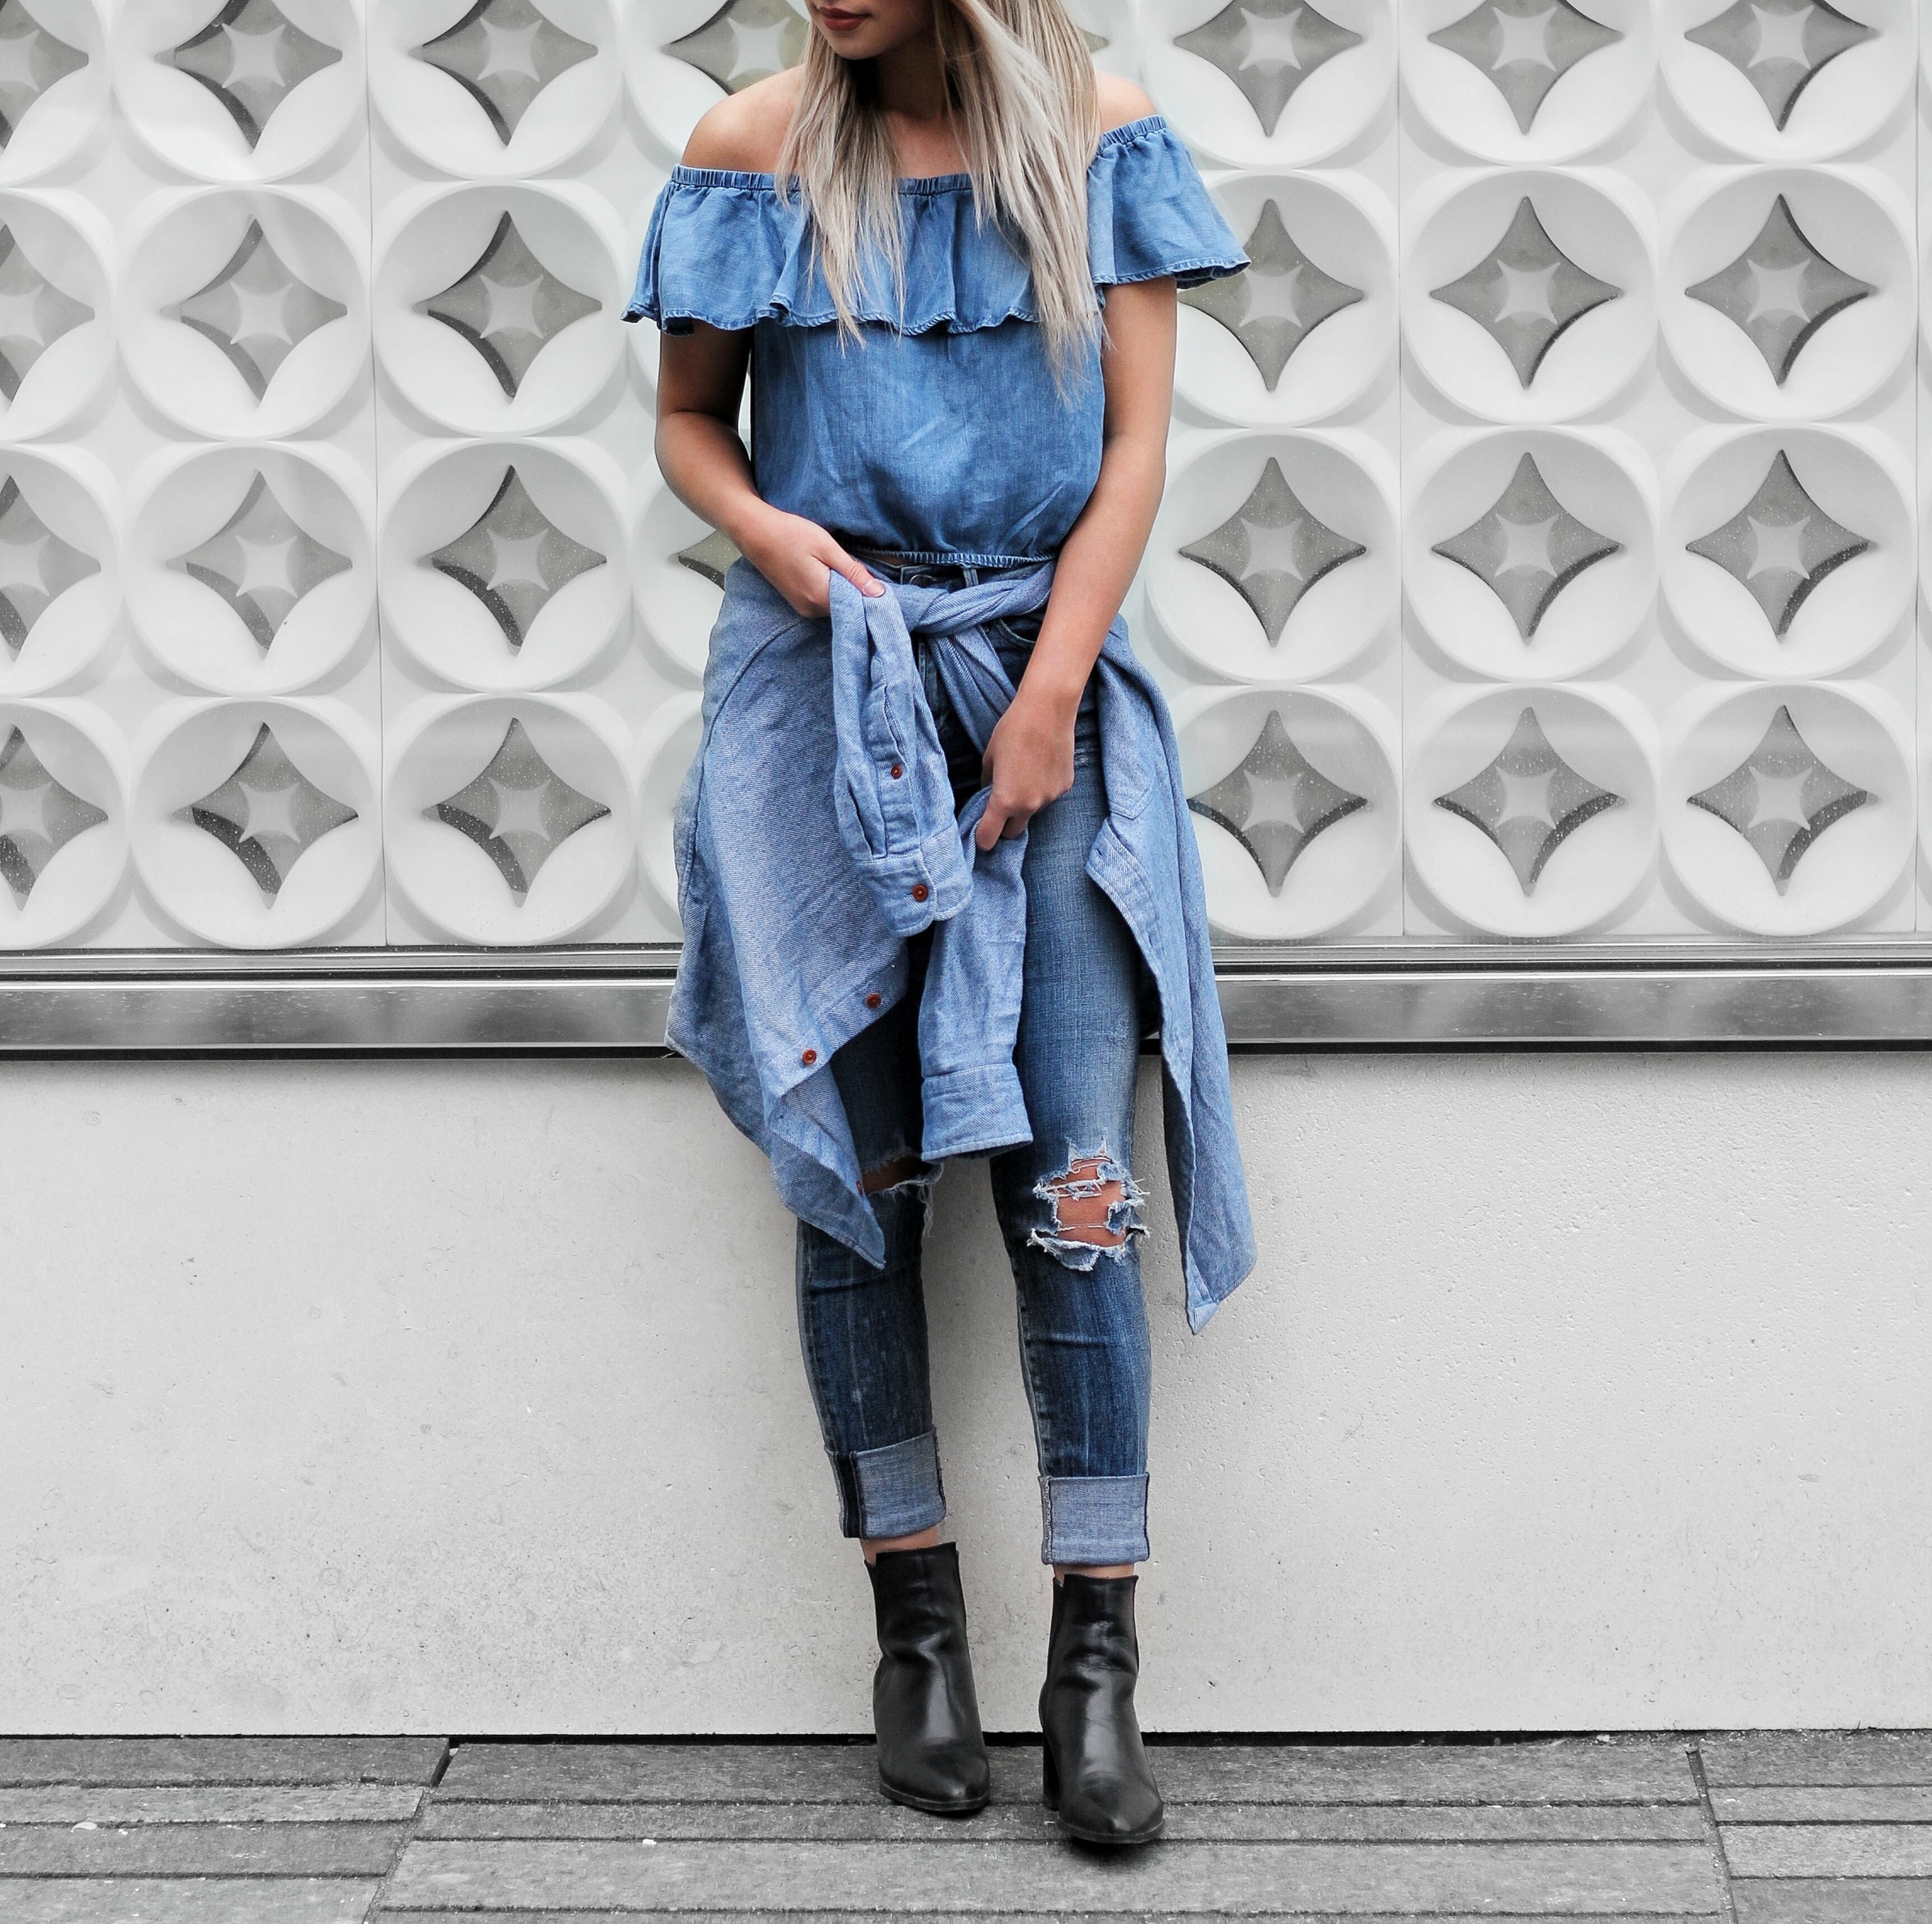
For comparison, this is what the above photo looked originally:
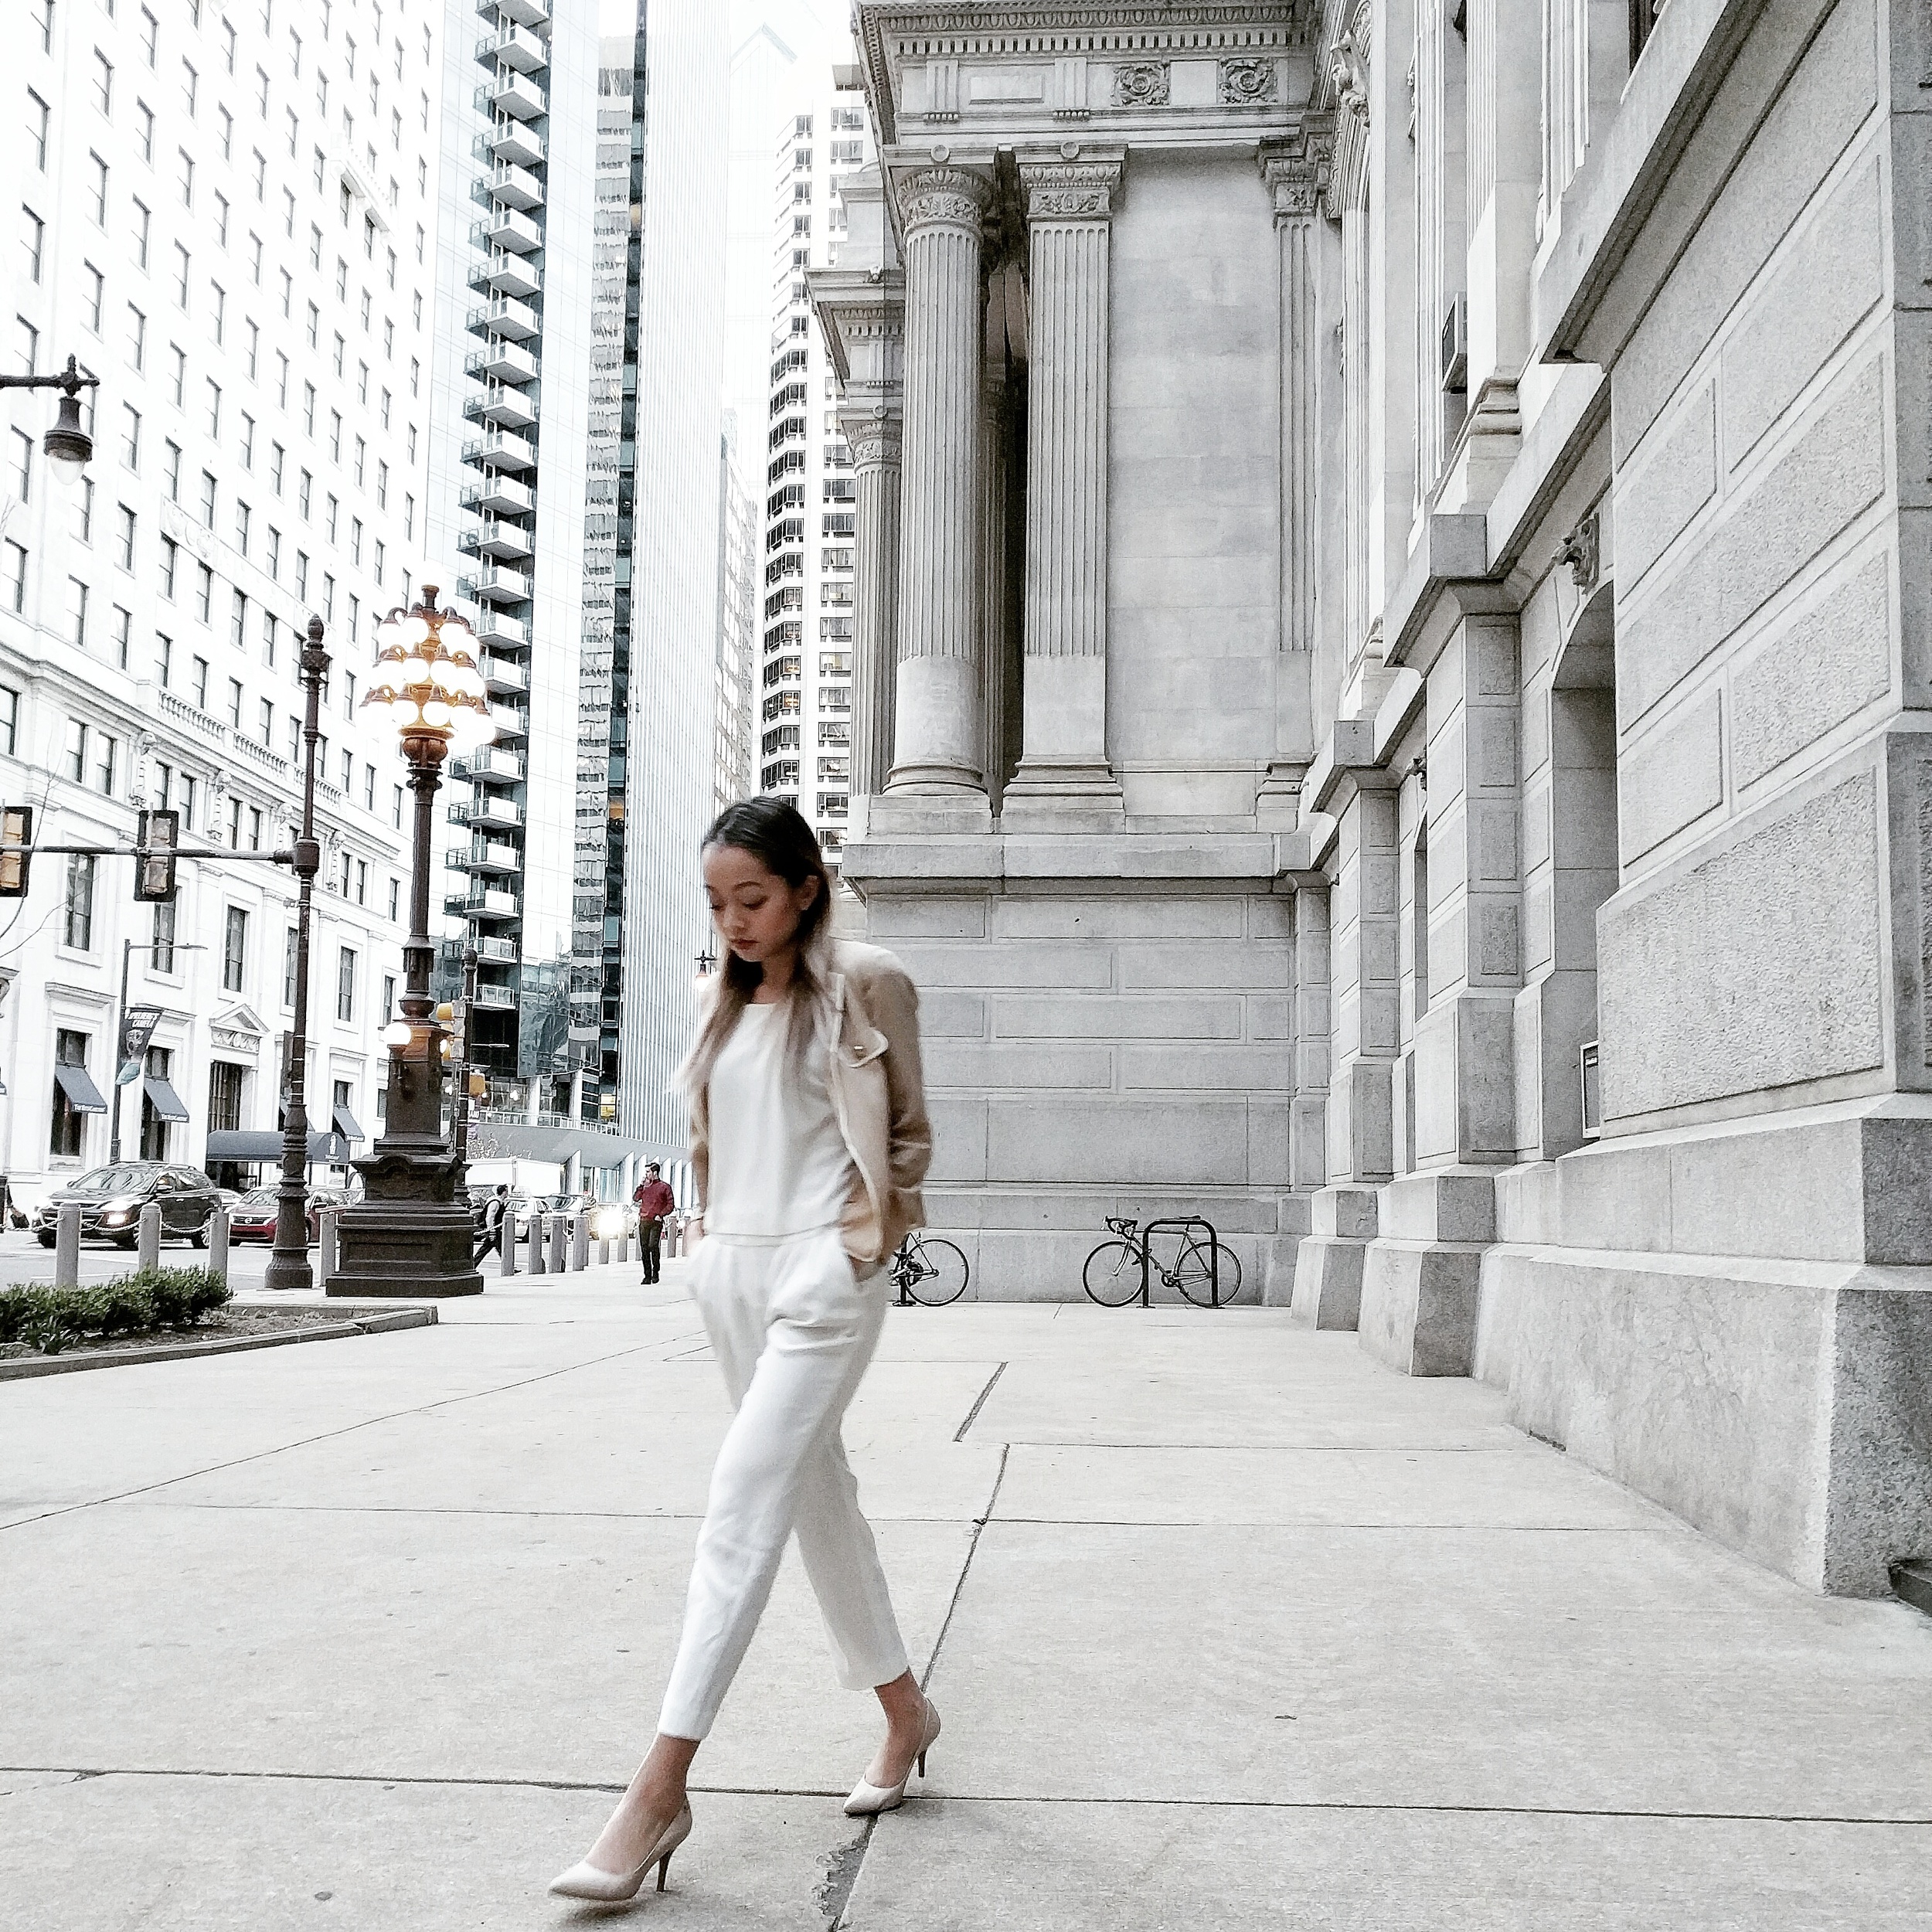
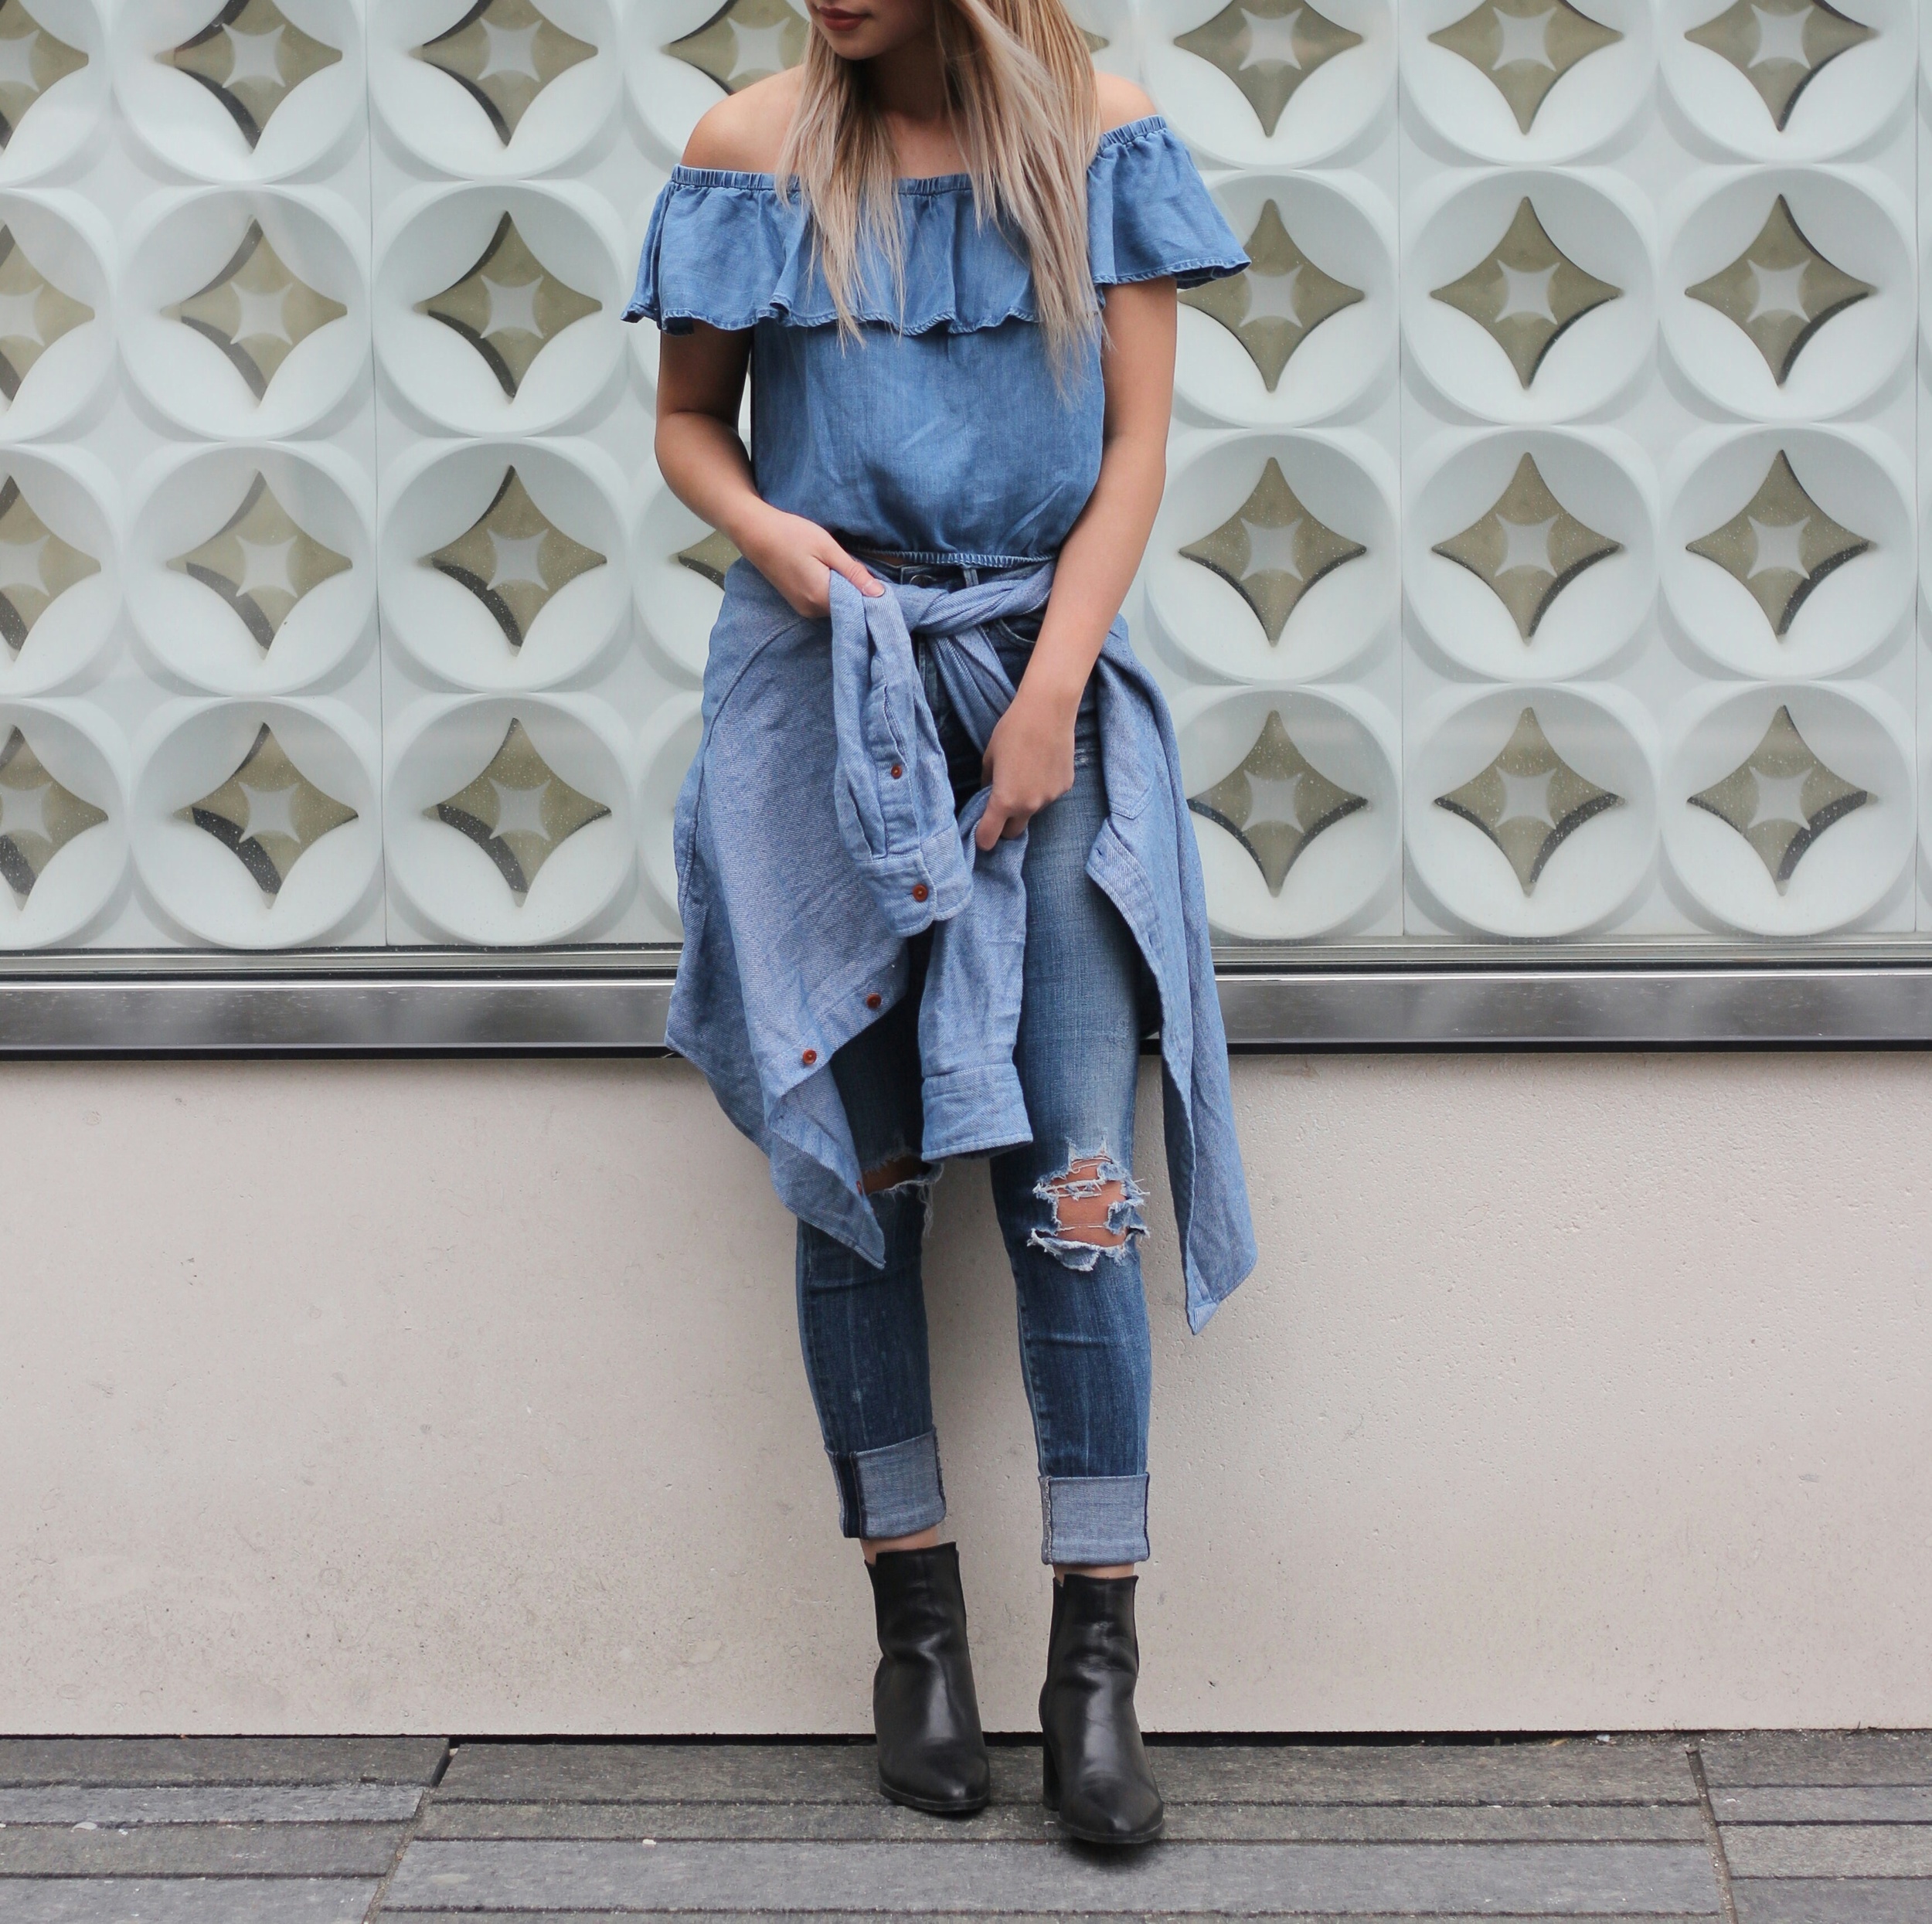
Mind blown yet? Here are a few more before and afters:
Struggles of maintaining a consistent feed!
No Photoshop required
#TrustIssues - Never trust what you see in pictures, folks.
So, how!?
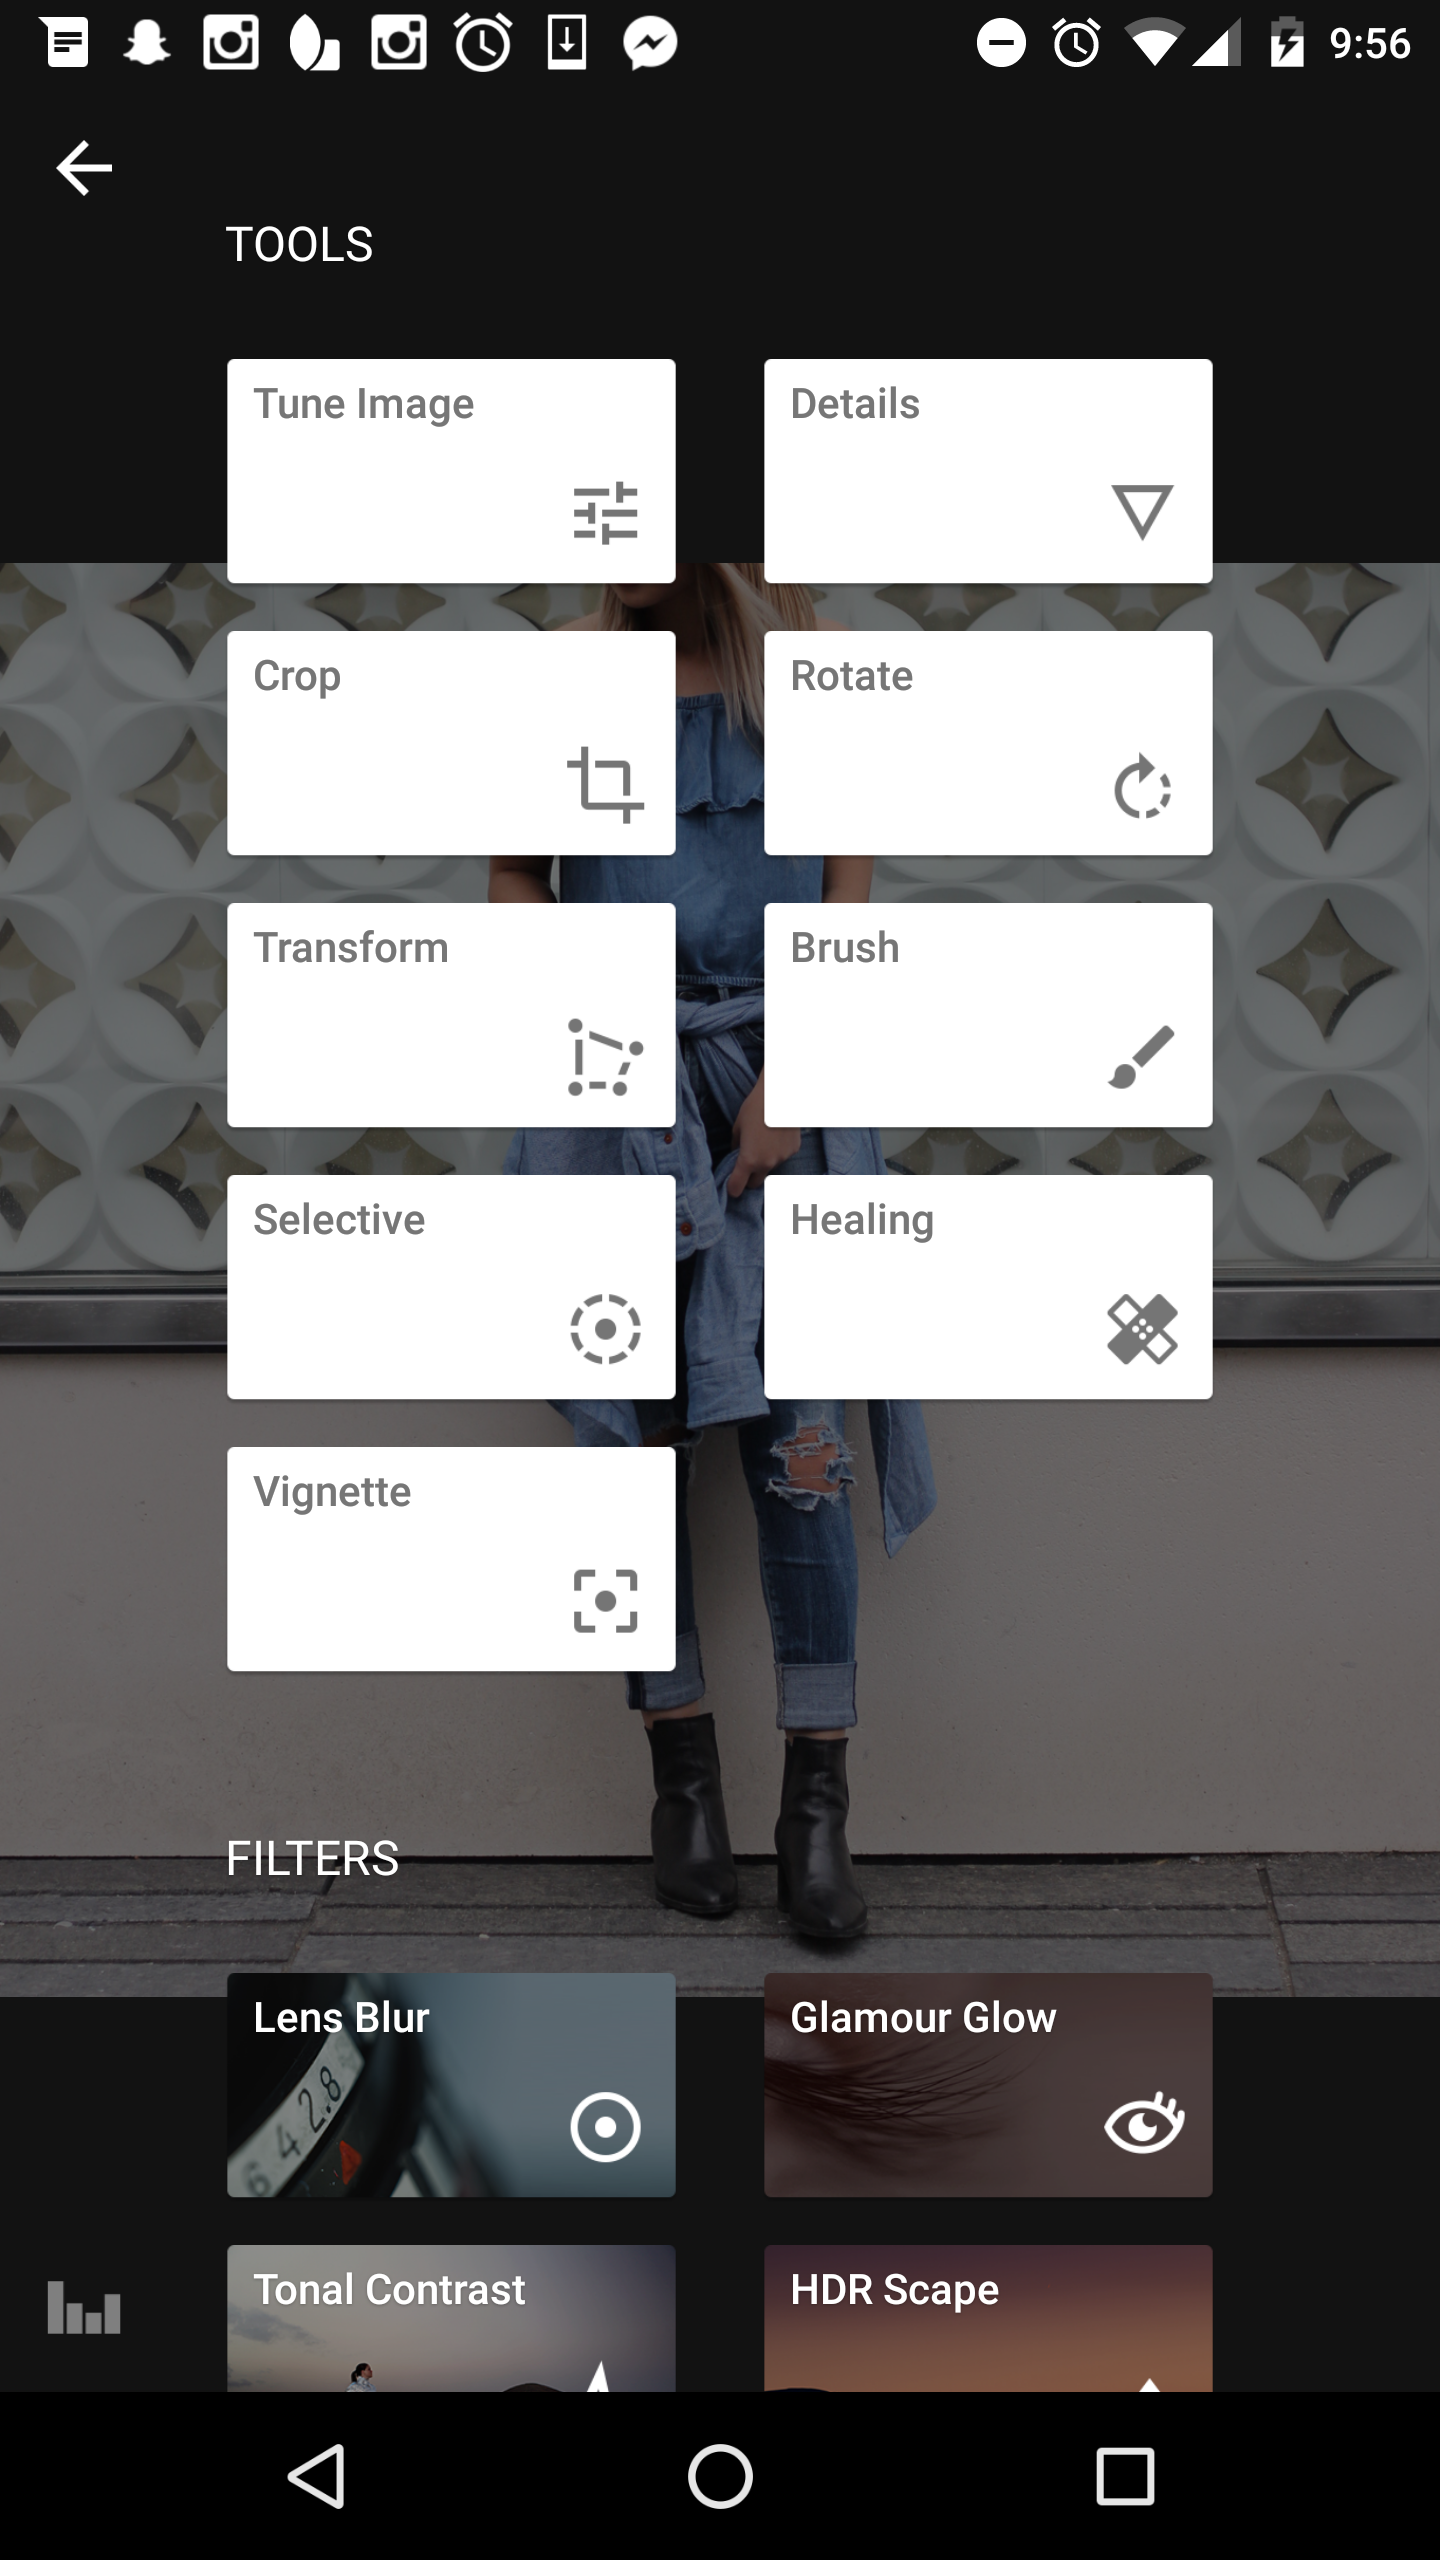
Snapseed my friends, is the best editing app out there. I hashtag VSCO in all my photos, but I don't actually use the app and find no use for it - unpopular opinion, I know. Let me take you through the steps I take to edit using an old photo:
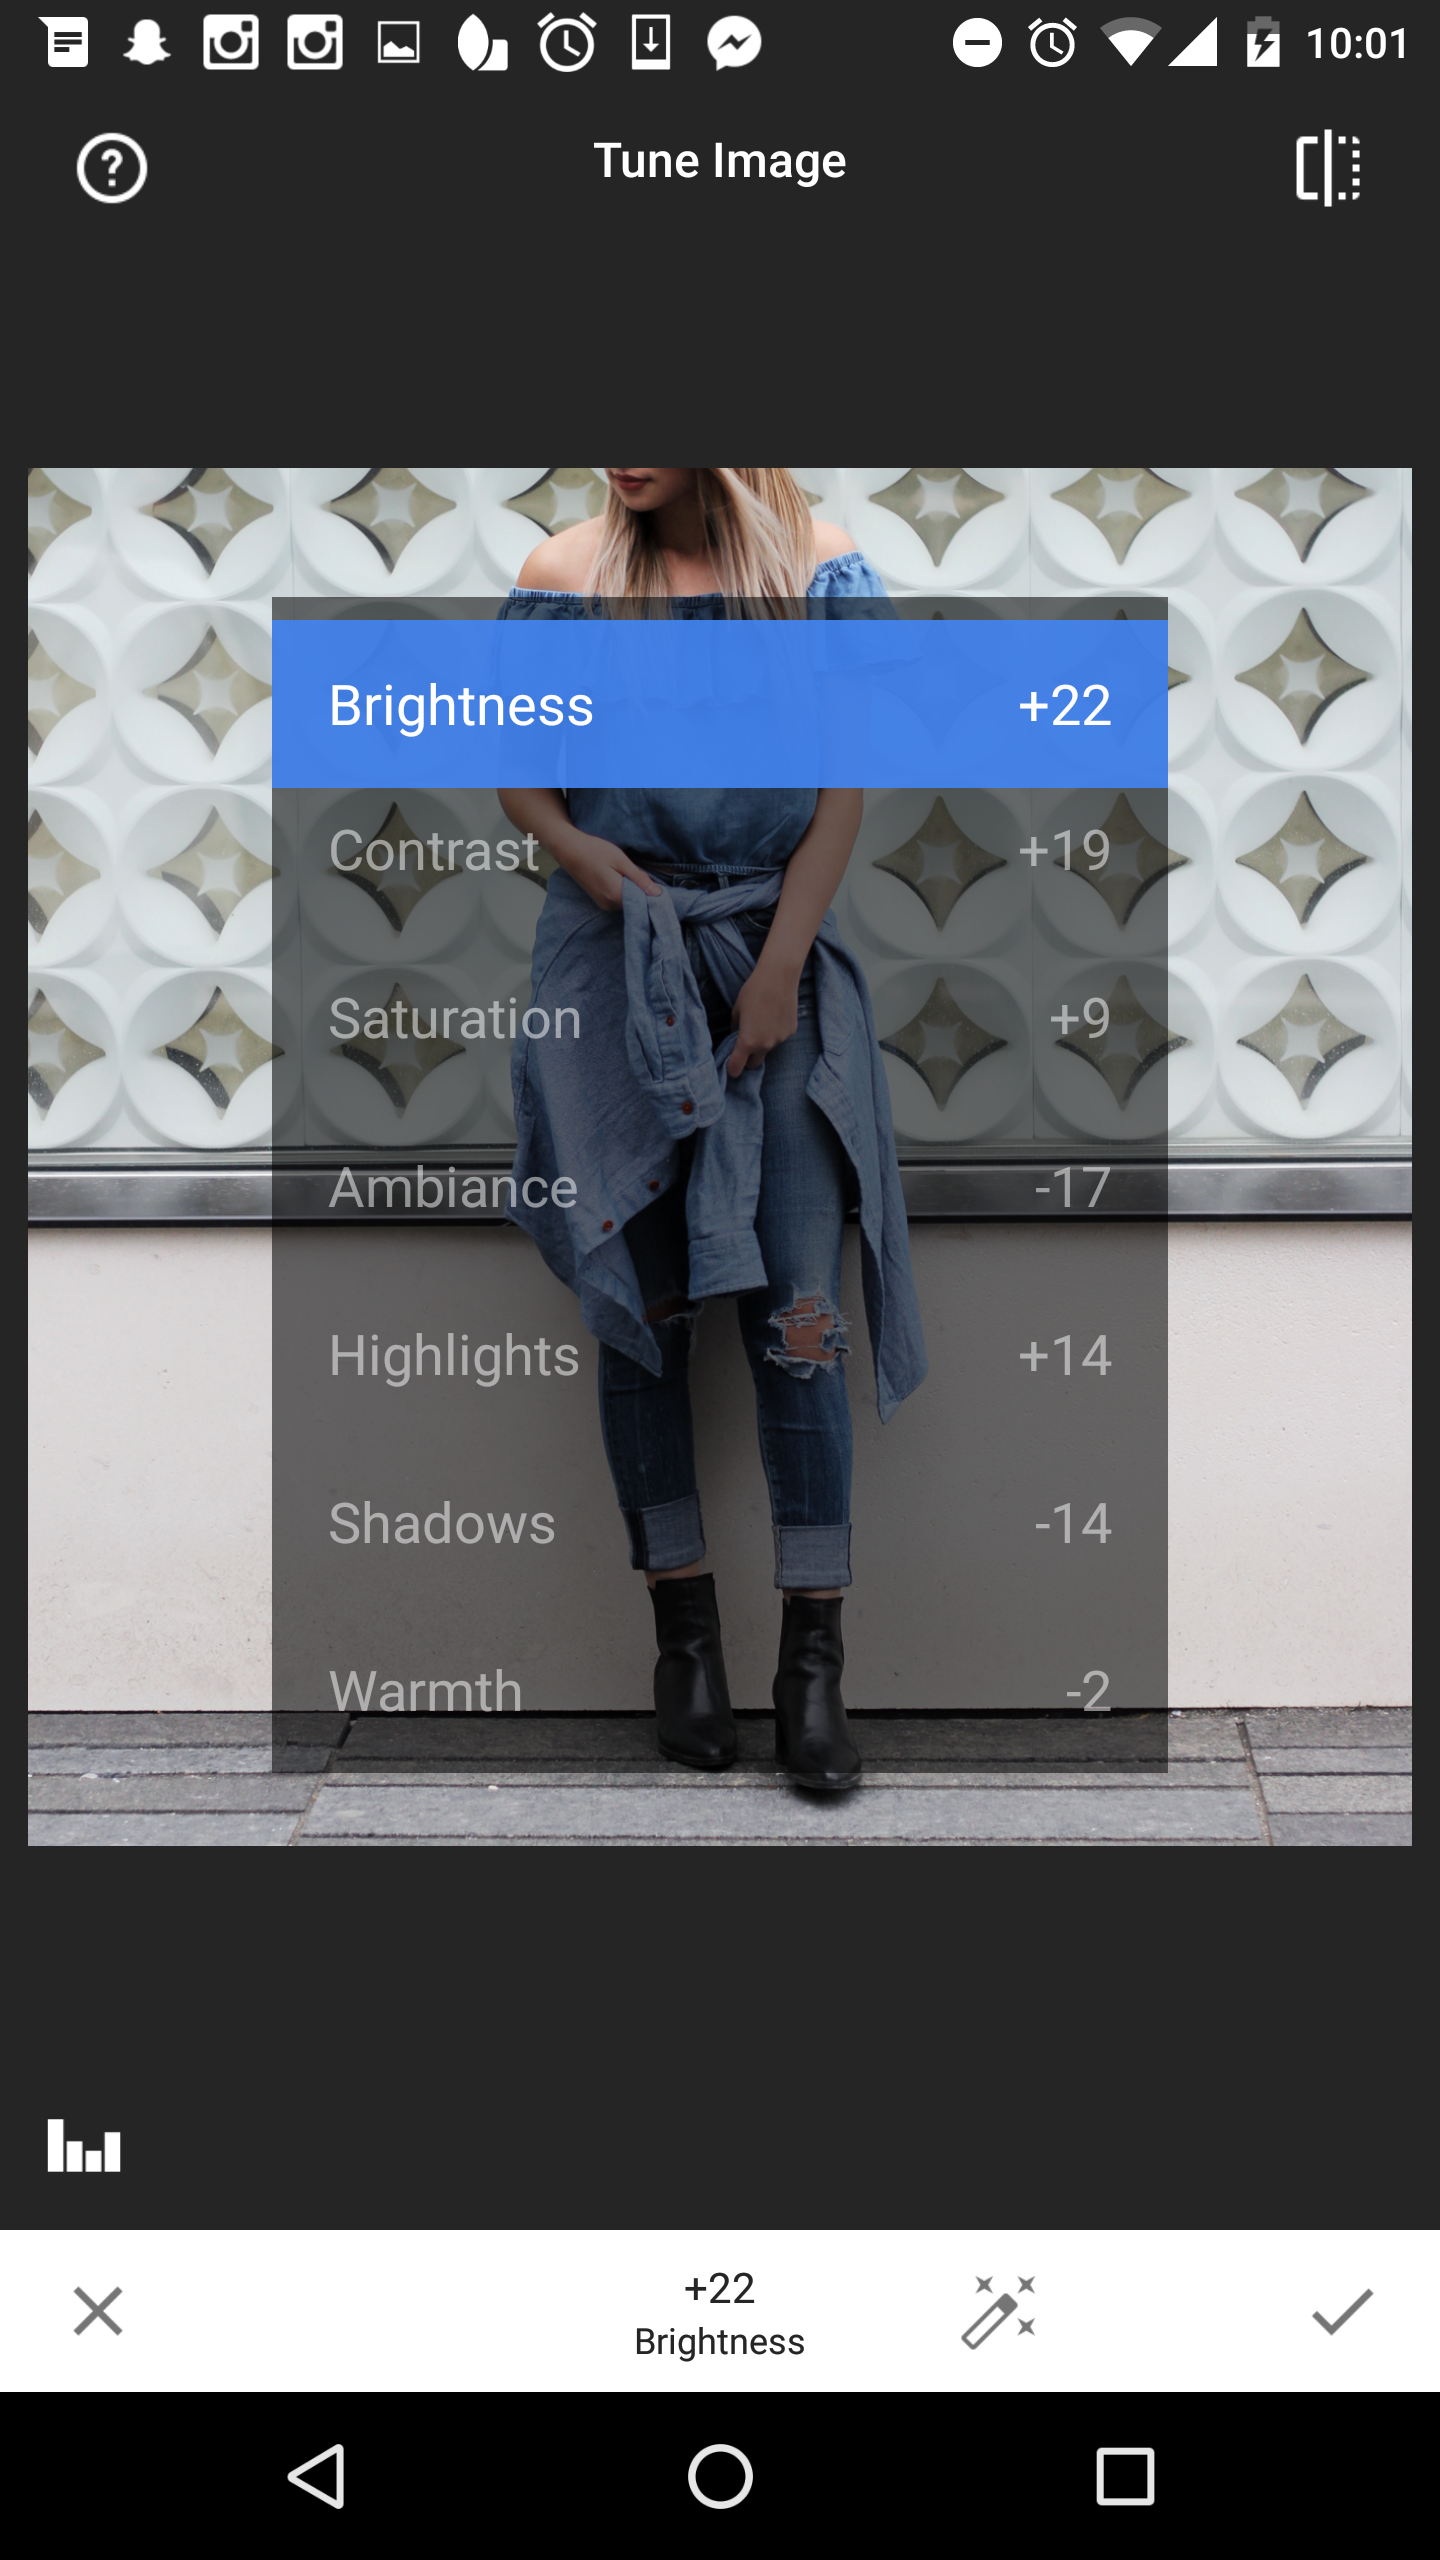
Step One - Tune Image: I usually increase the brightness, contrast, saturation and highlights to my liking; Then lower ambiance, shadows and warmth [As shown in second photo]
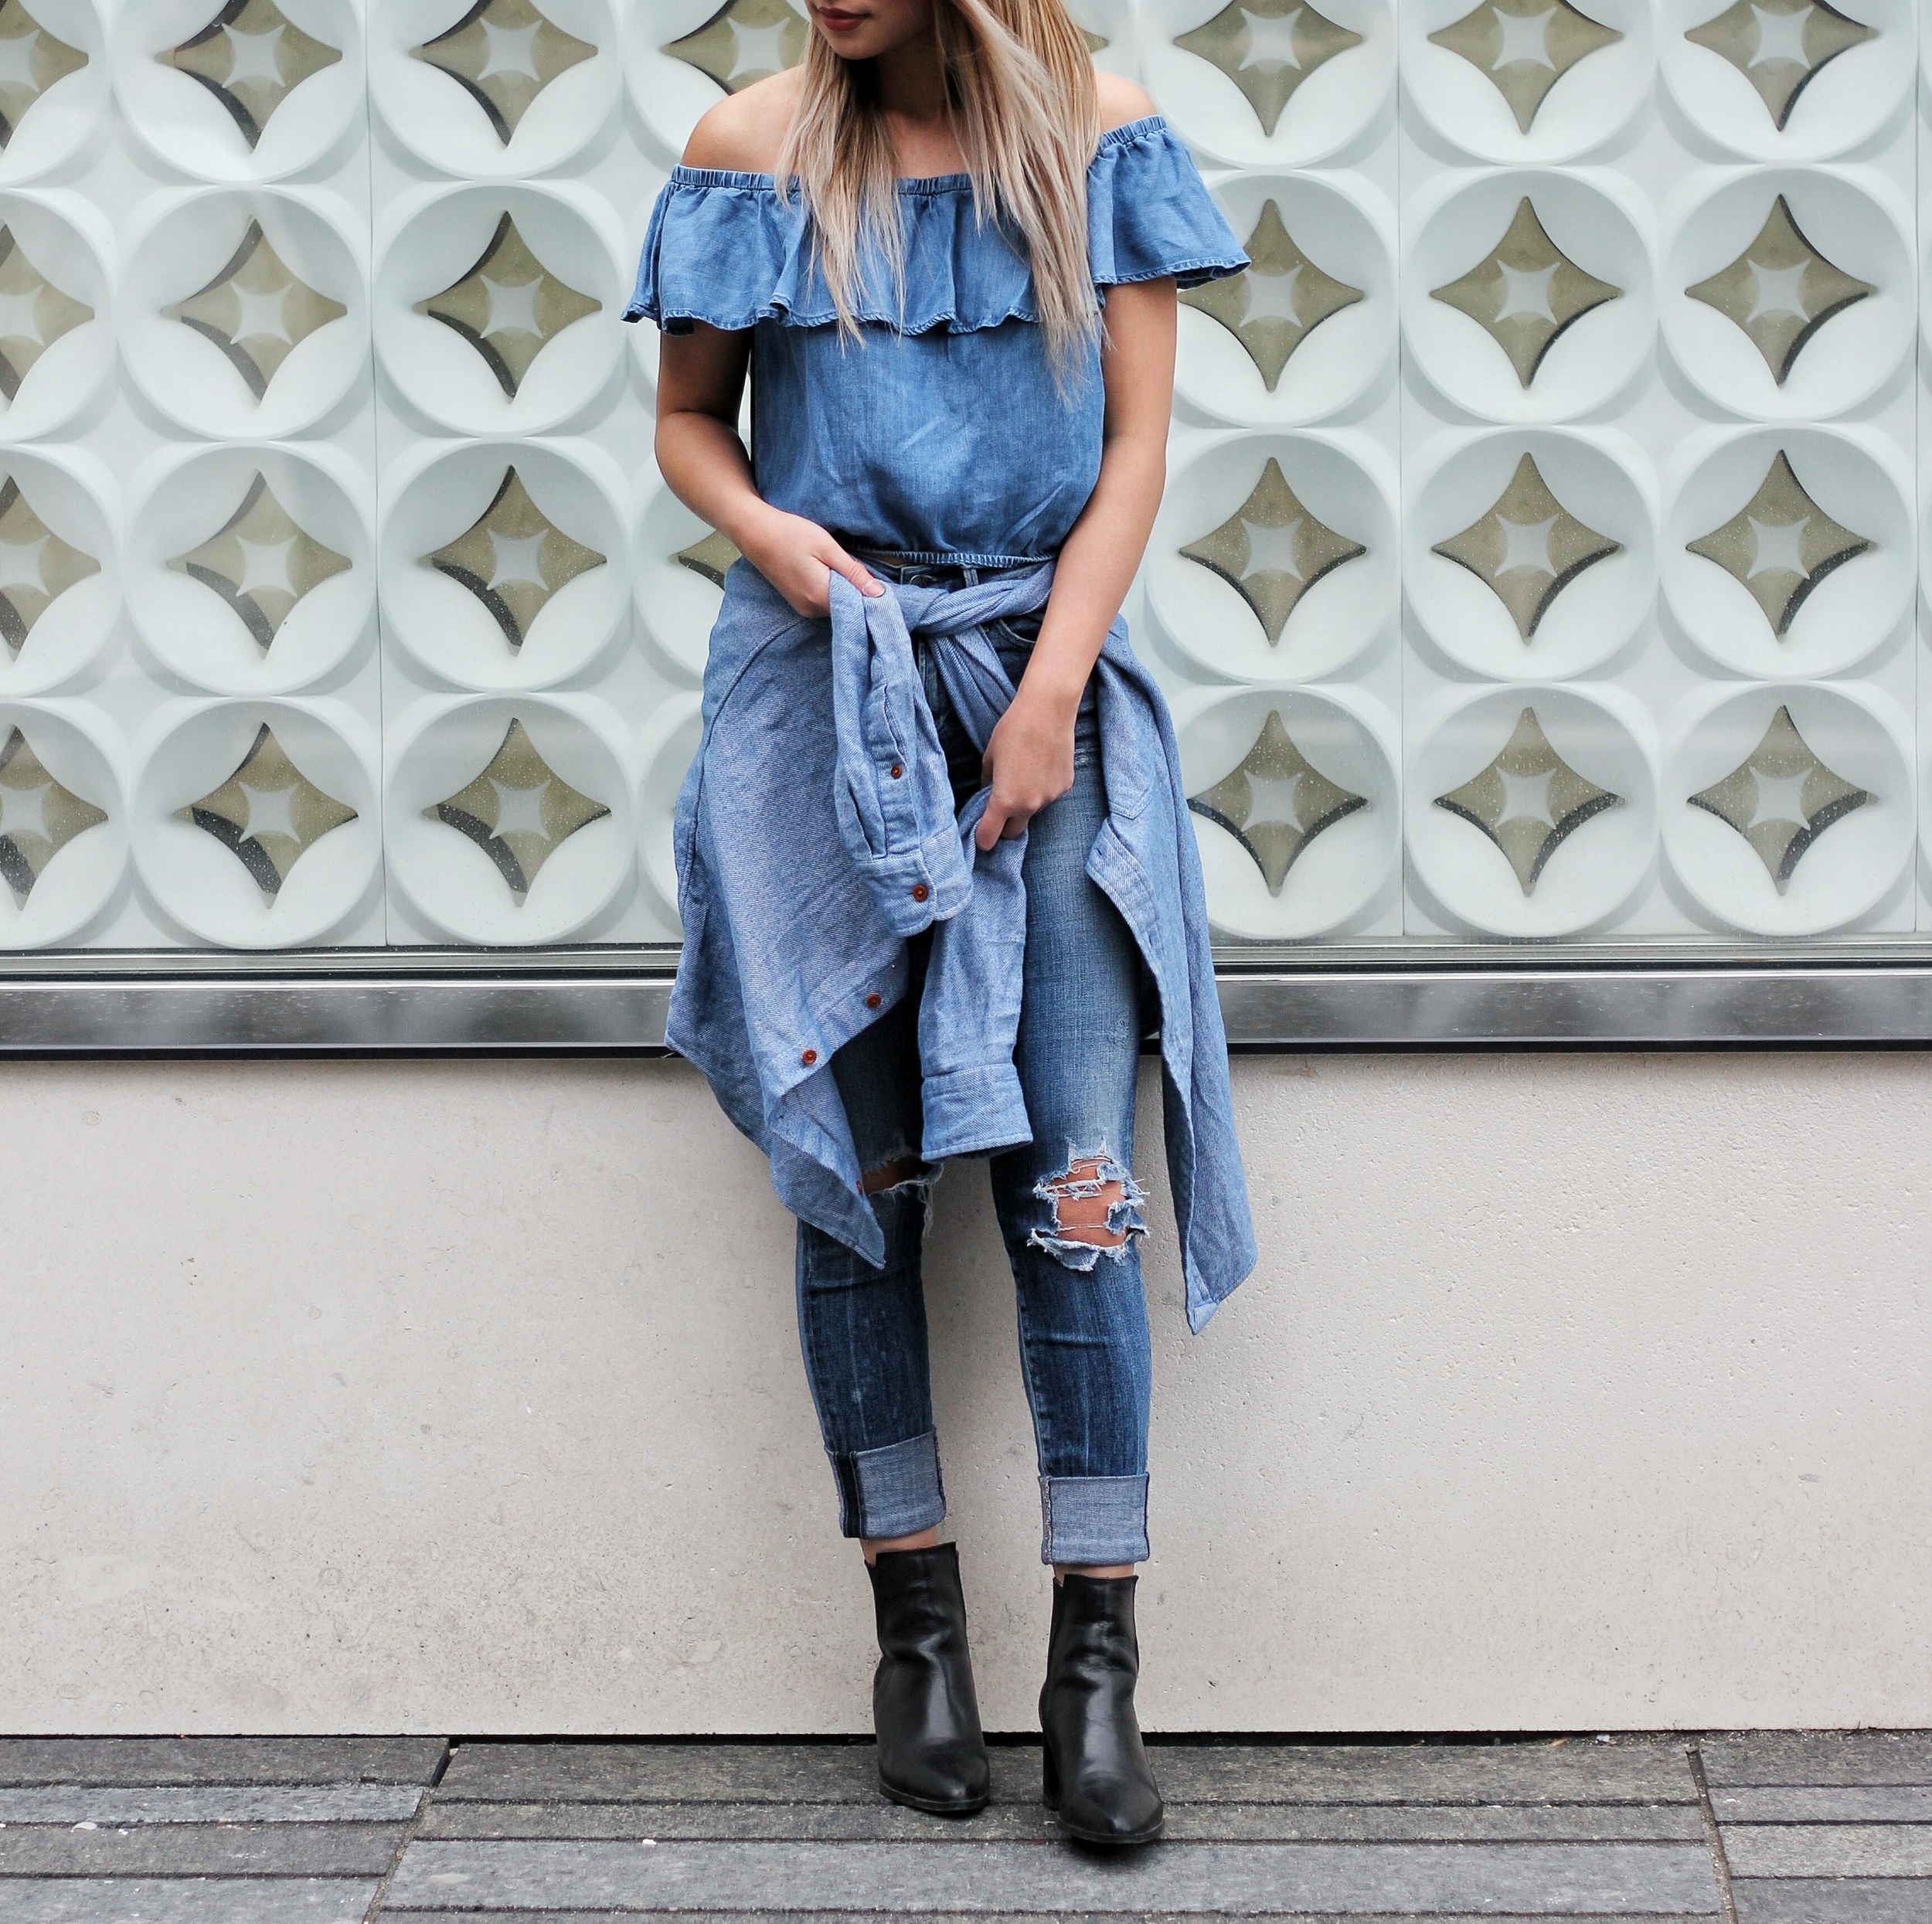
What it now looks like compared to the original [slight difference]:
Step Two - Details: I like to increase structure and sharpen slightly
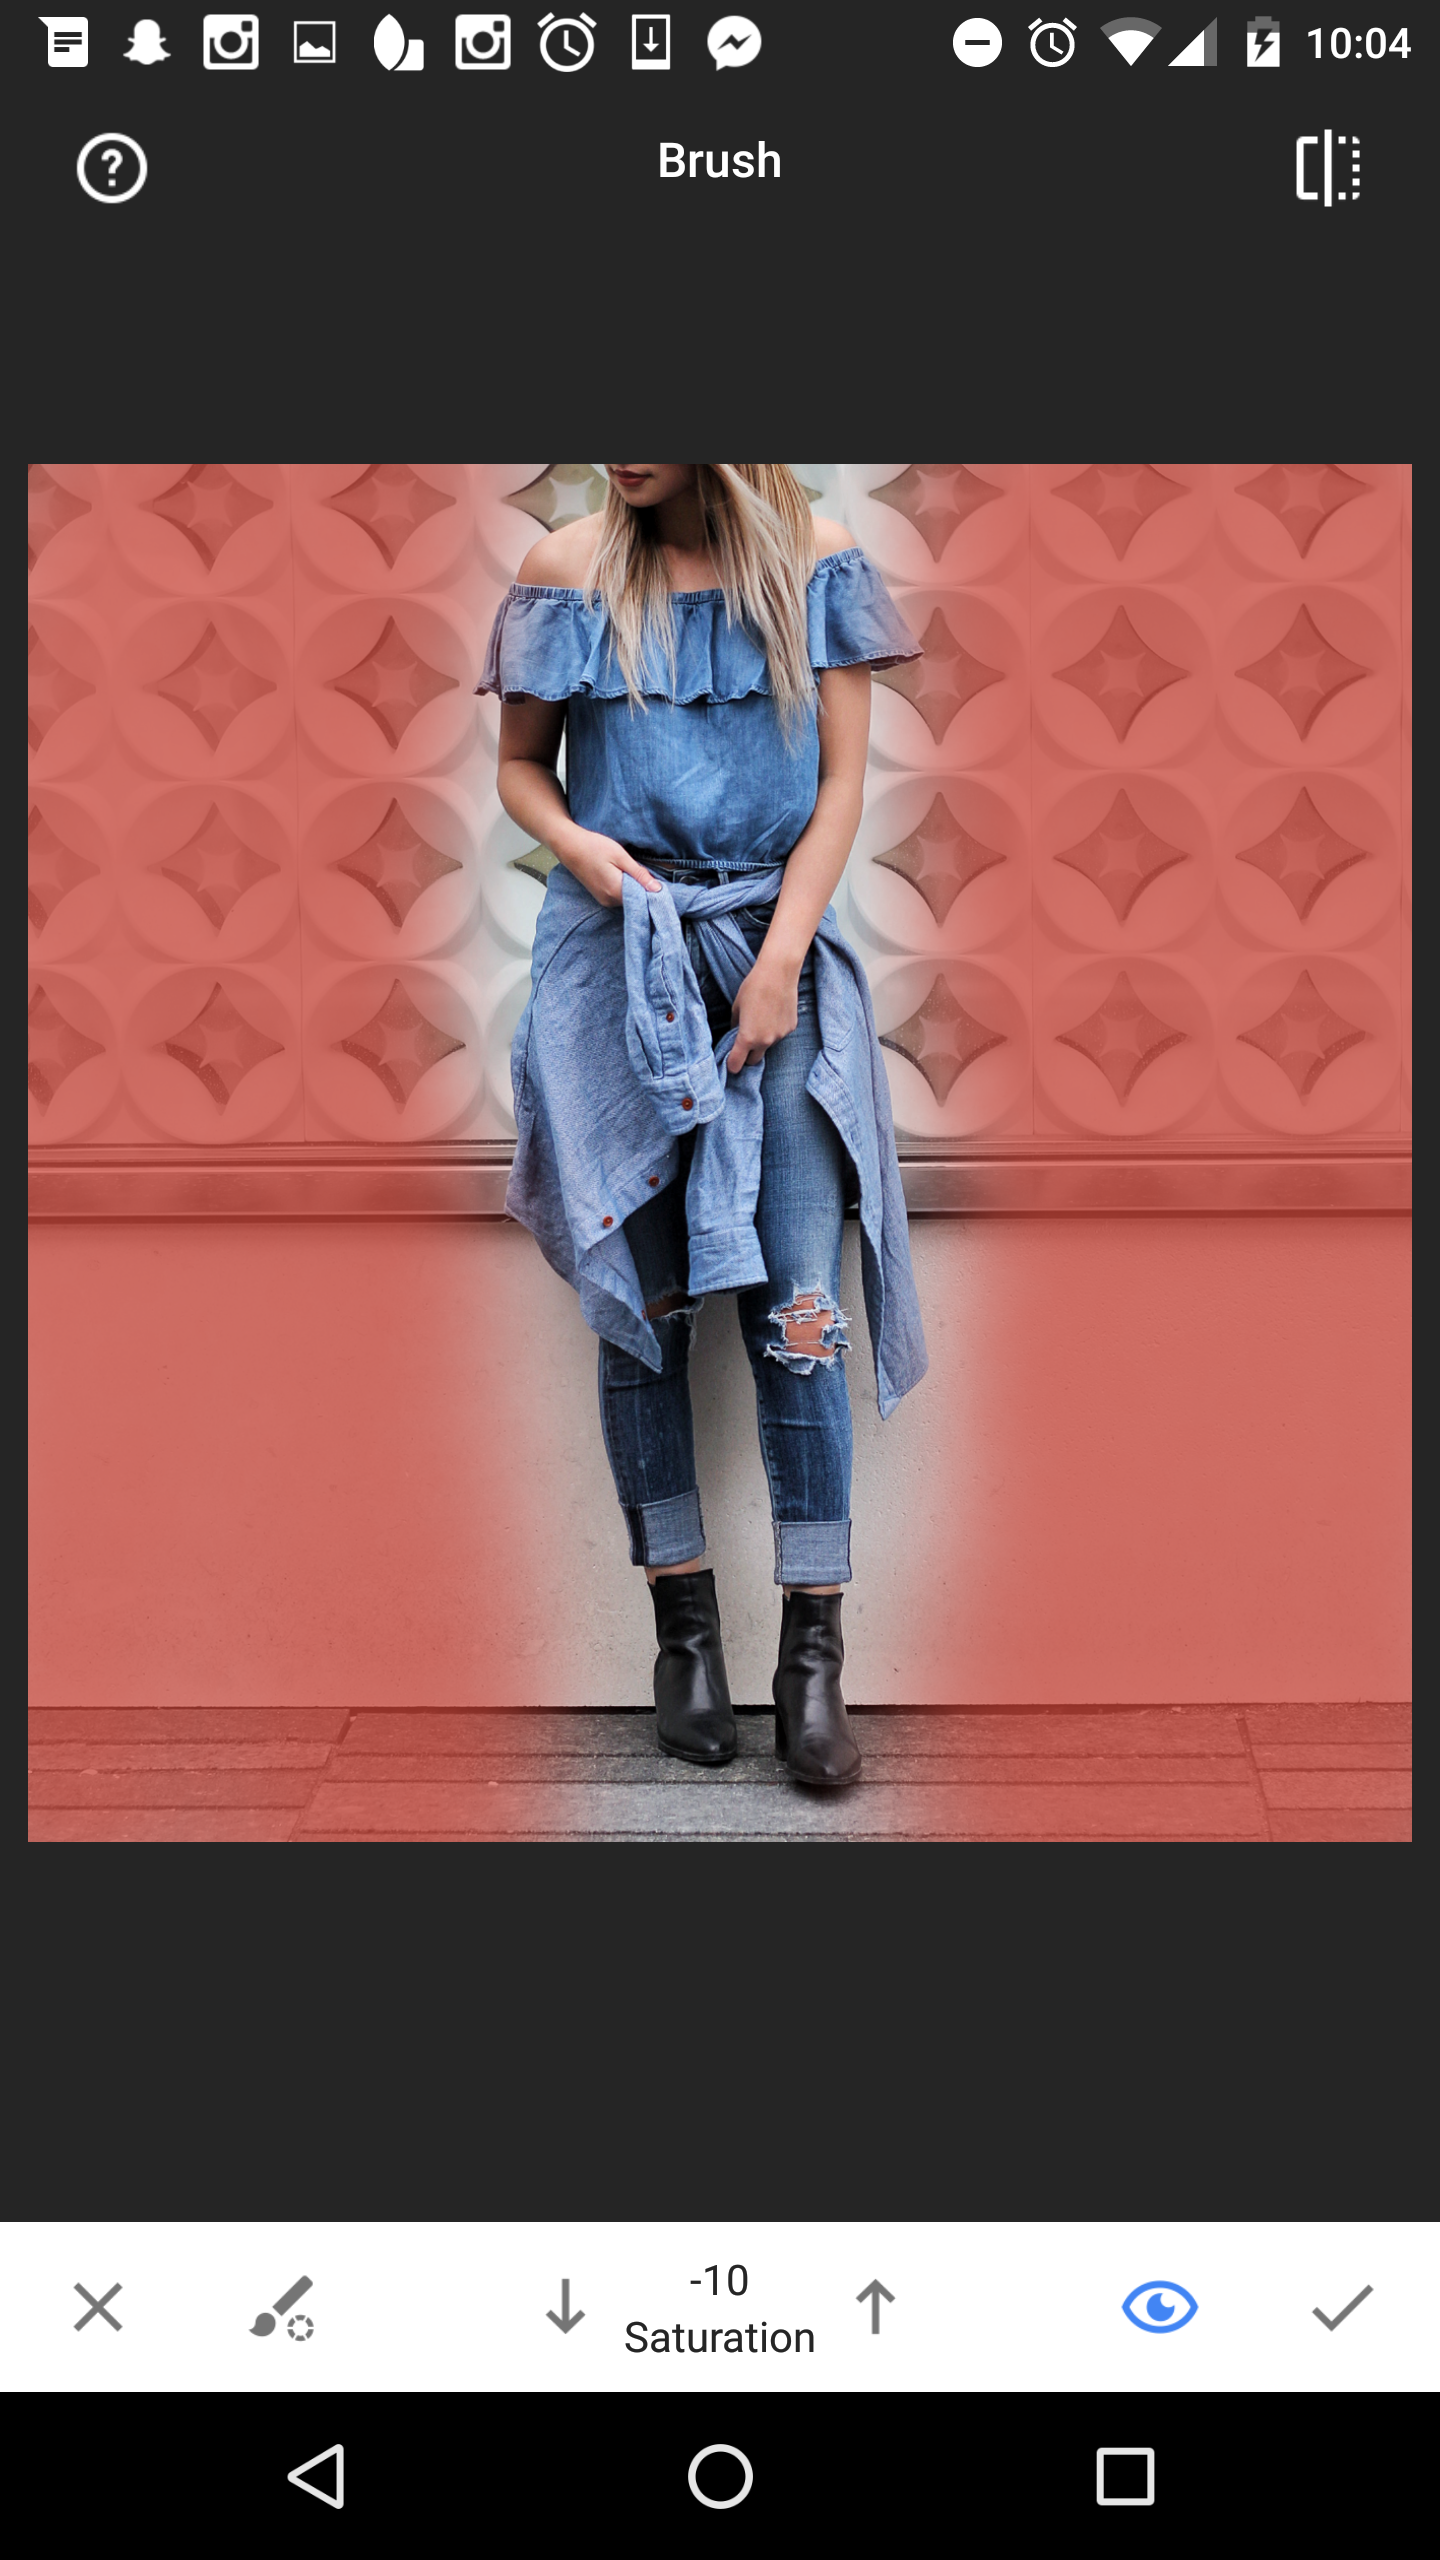
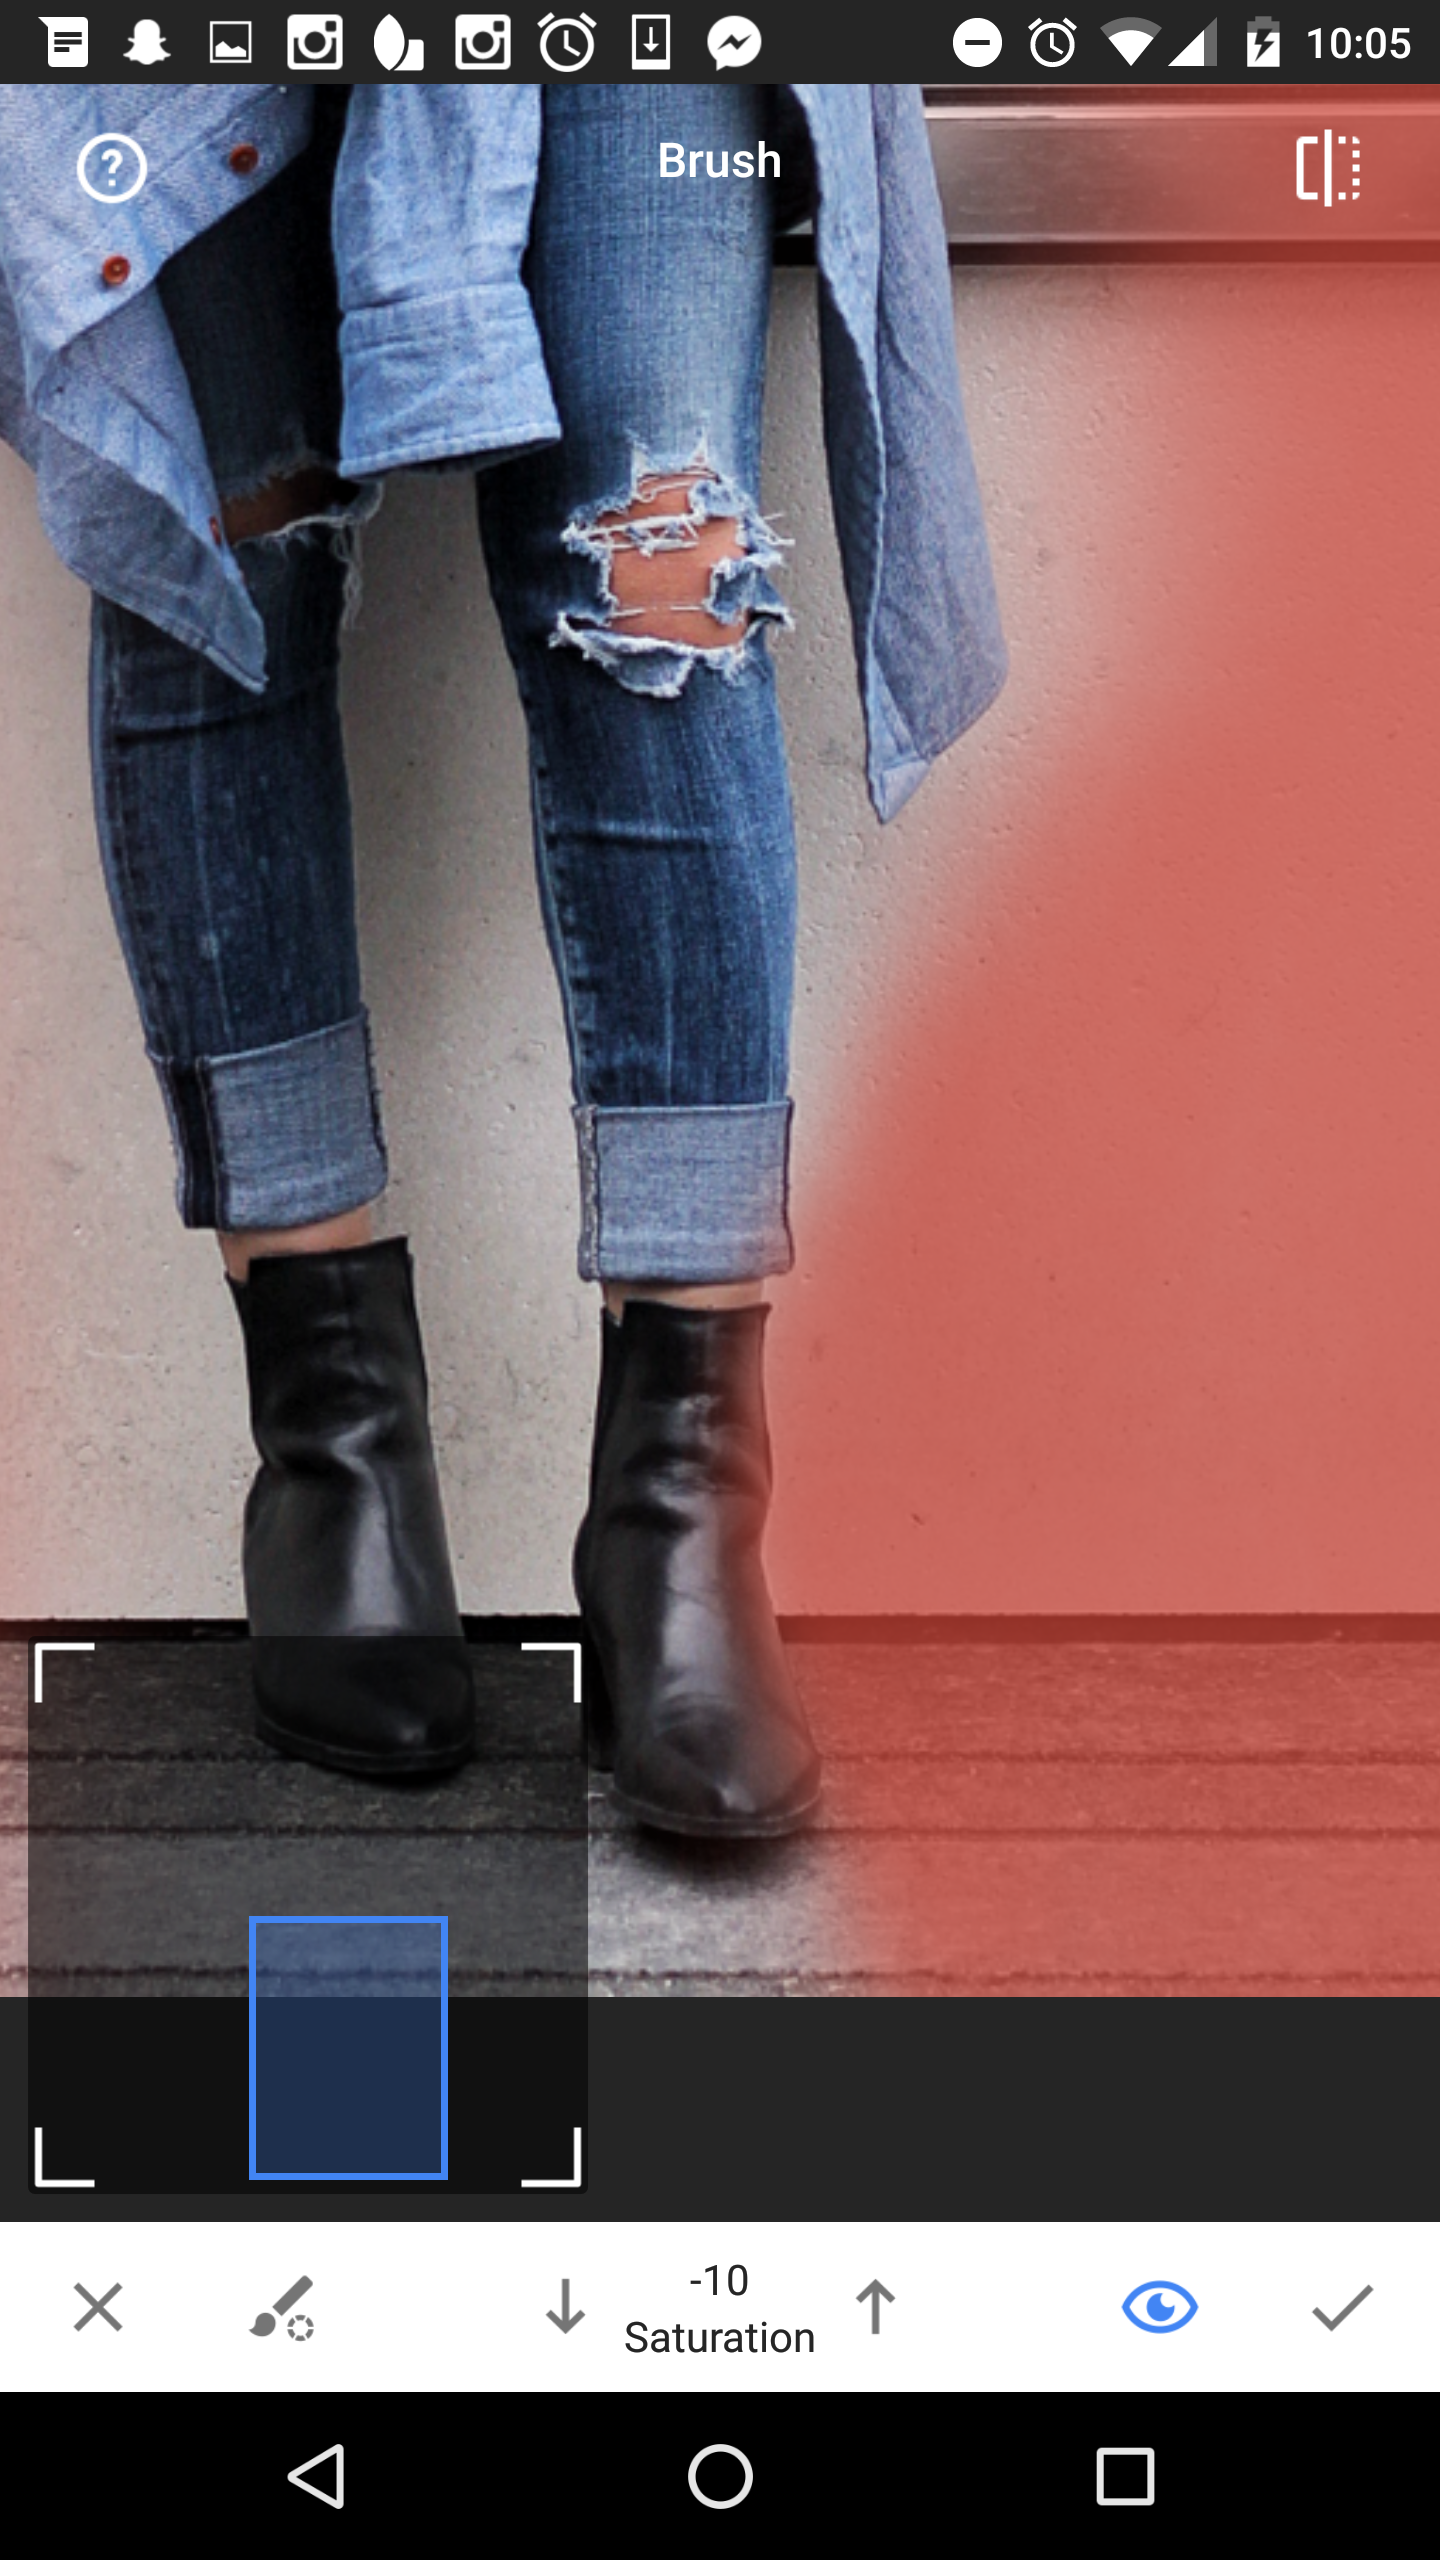
Step Three - Brush: My feed has a lot of white/grey hues, so I like to desaturate the background by lowering saturation to -10 and highlighting the entire background. Toggle the preview (eye button) to see where you're colouring. When I get close to the subject (in this case it's me), I zoom in to make the brush smaller, and continue to outline around it.
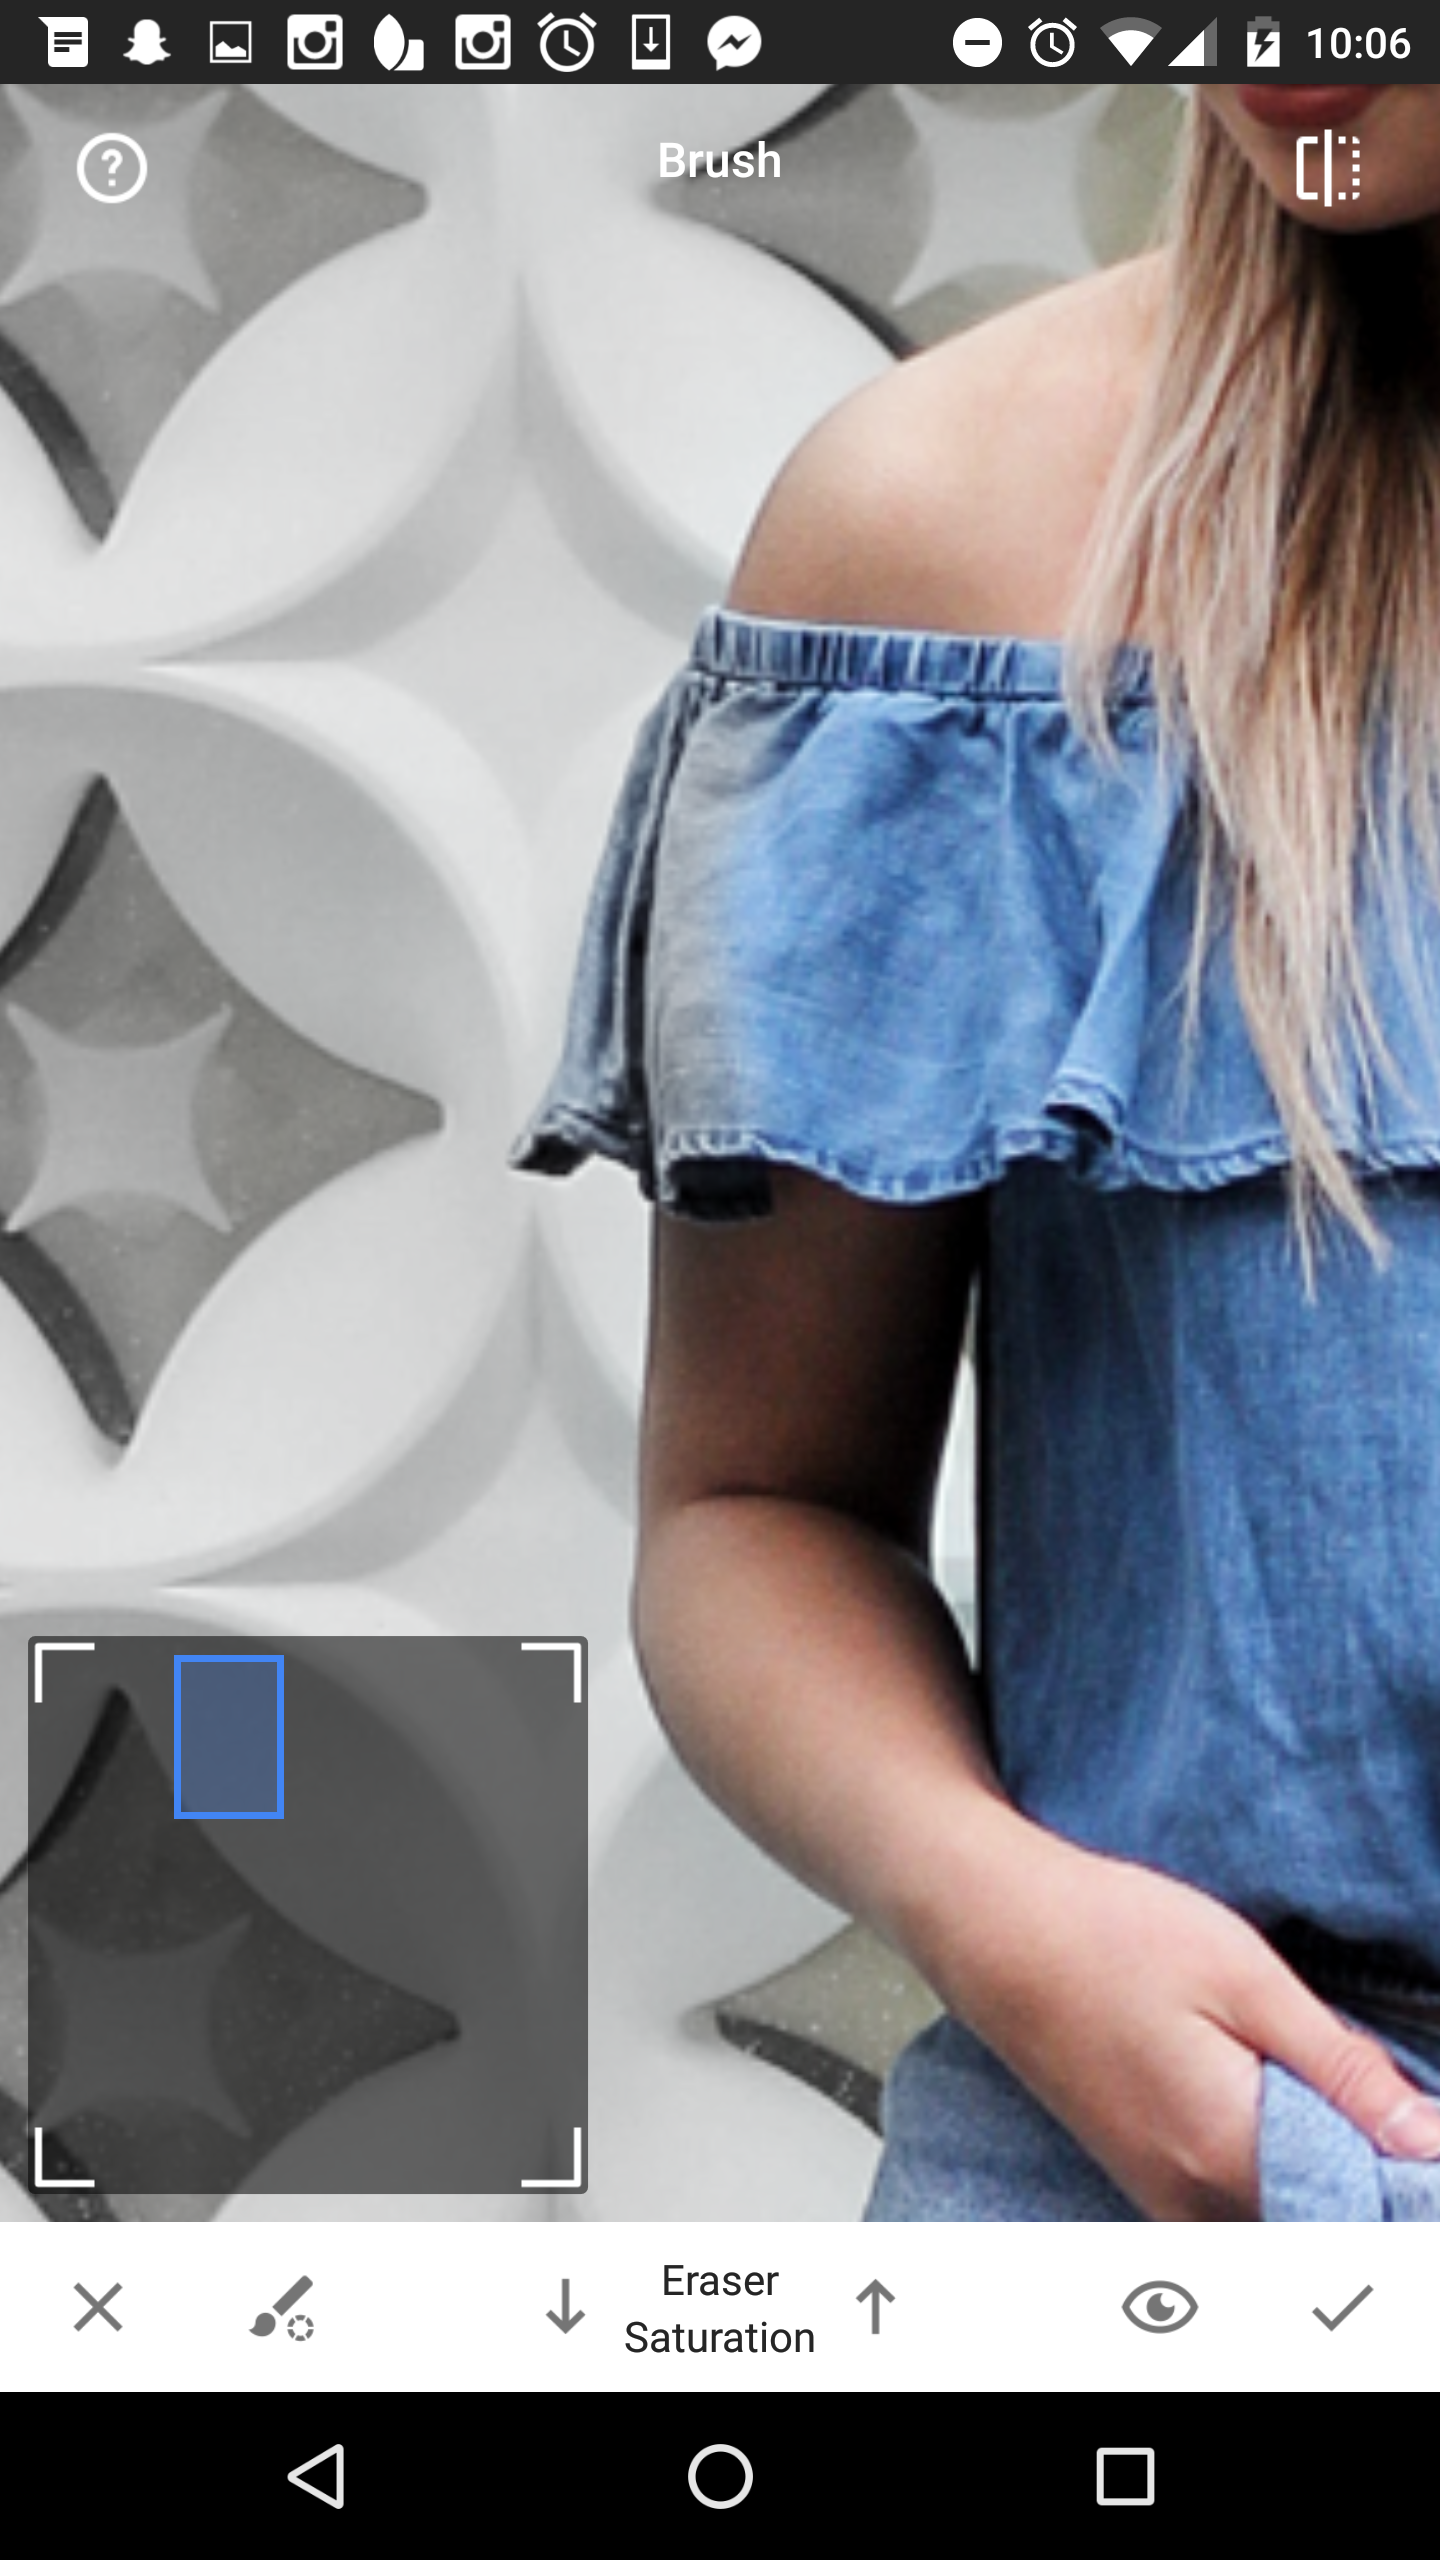
Change the saturation brush to 'eraser' to go over areas you did not want to touch. While in Brush mode, I also like to use the exposure brush at 0.3 to slightly brighten the background, and the dodge & burn brush to expose/darken certain areas.
It now looks like this:
Step Four - Finish off in Instagram - As the last few steps, I usually apply the Ludwig filter at 10-15%, and slightly adjust as needed.
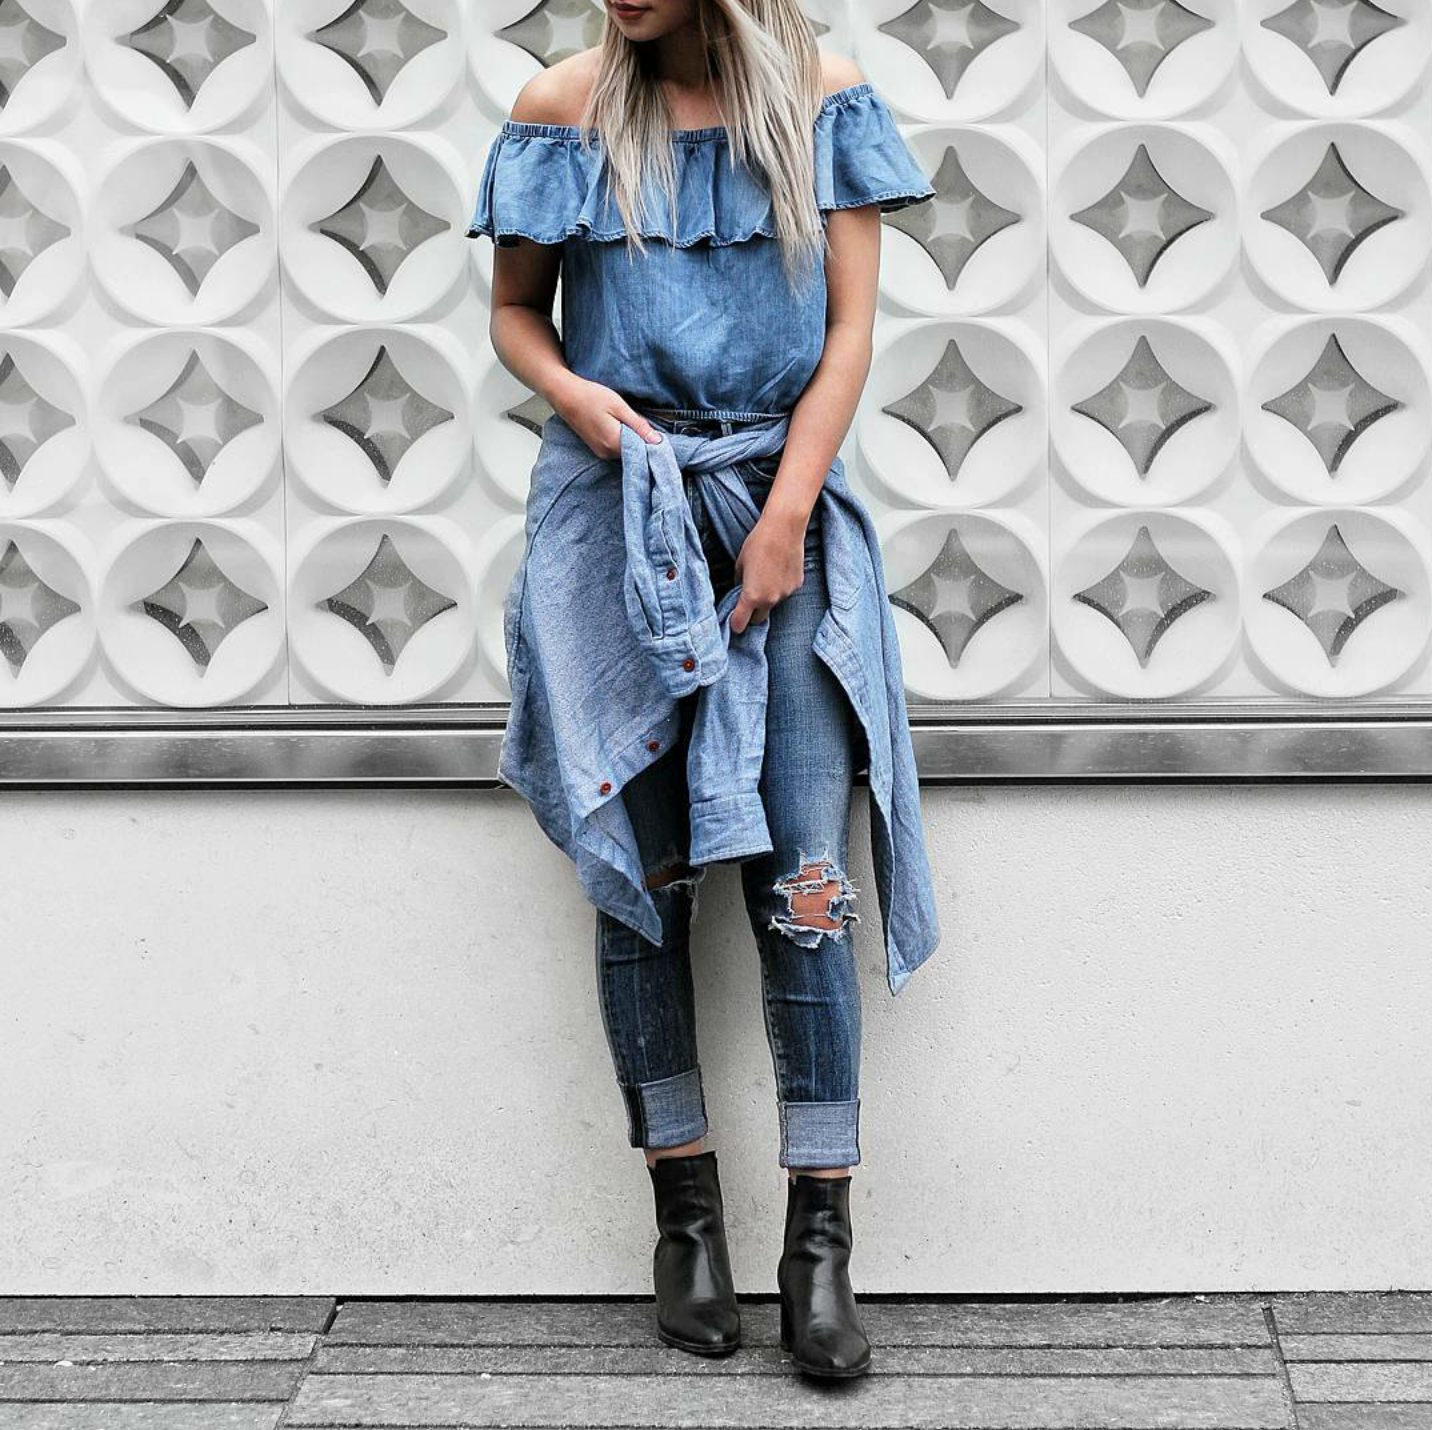
And voila! Final result against the original:
Hope you found this helpful! Everyone has a preference when it comes to editing; this is simply how I like to edit my photos. If you have any tips, let me know in the comments!
