How-To: Editing Pictures for Dummies Part 3

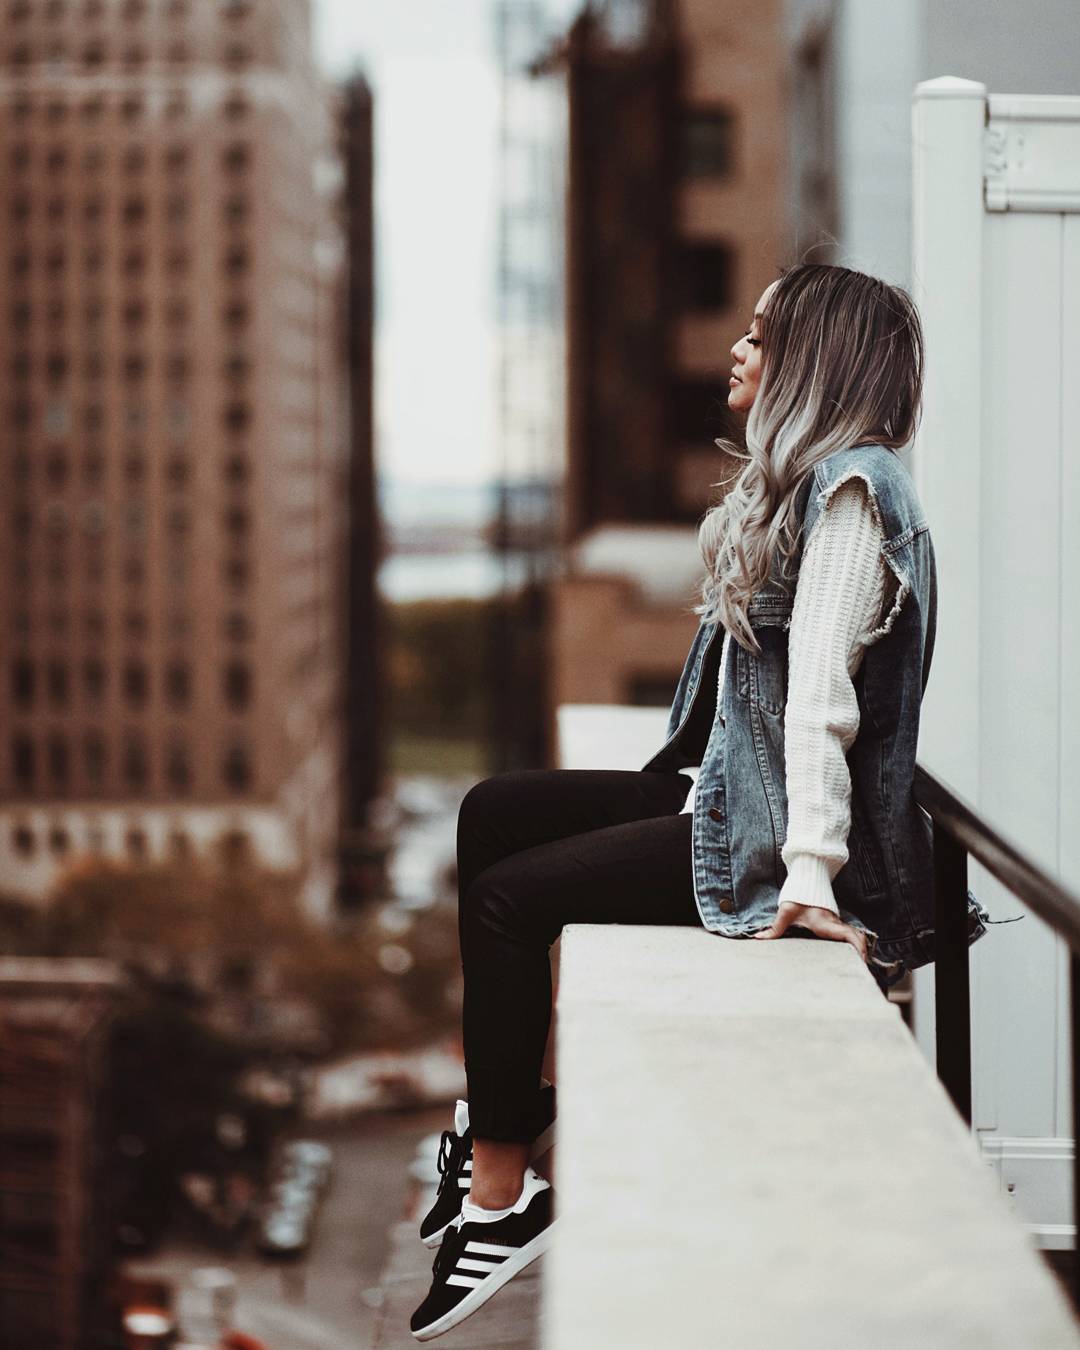
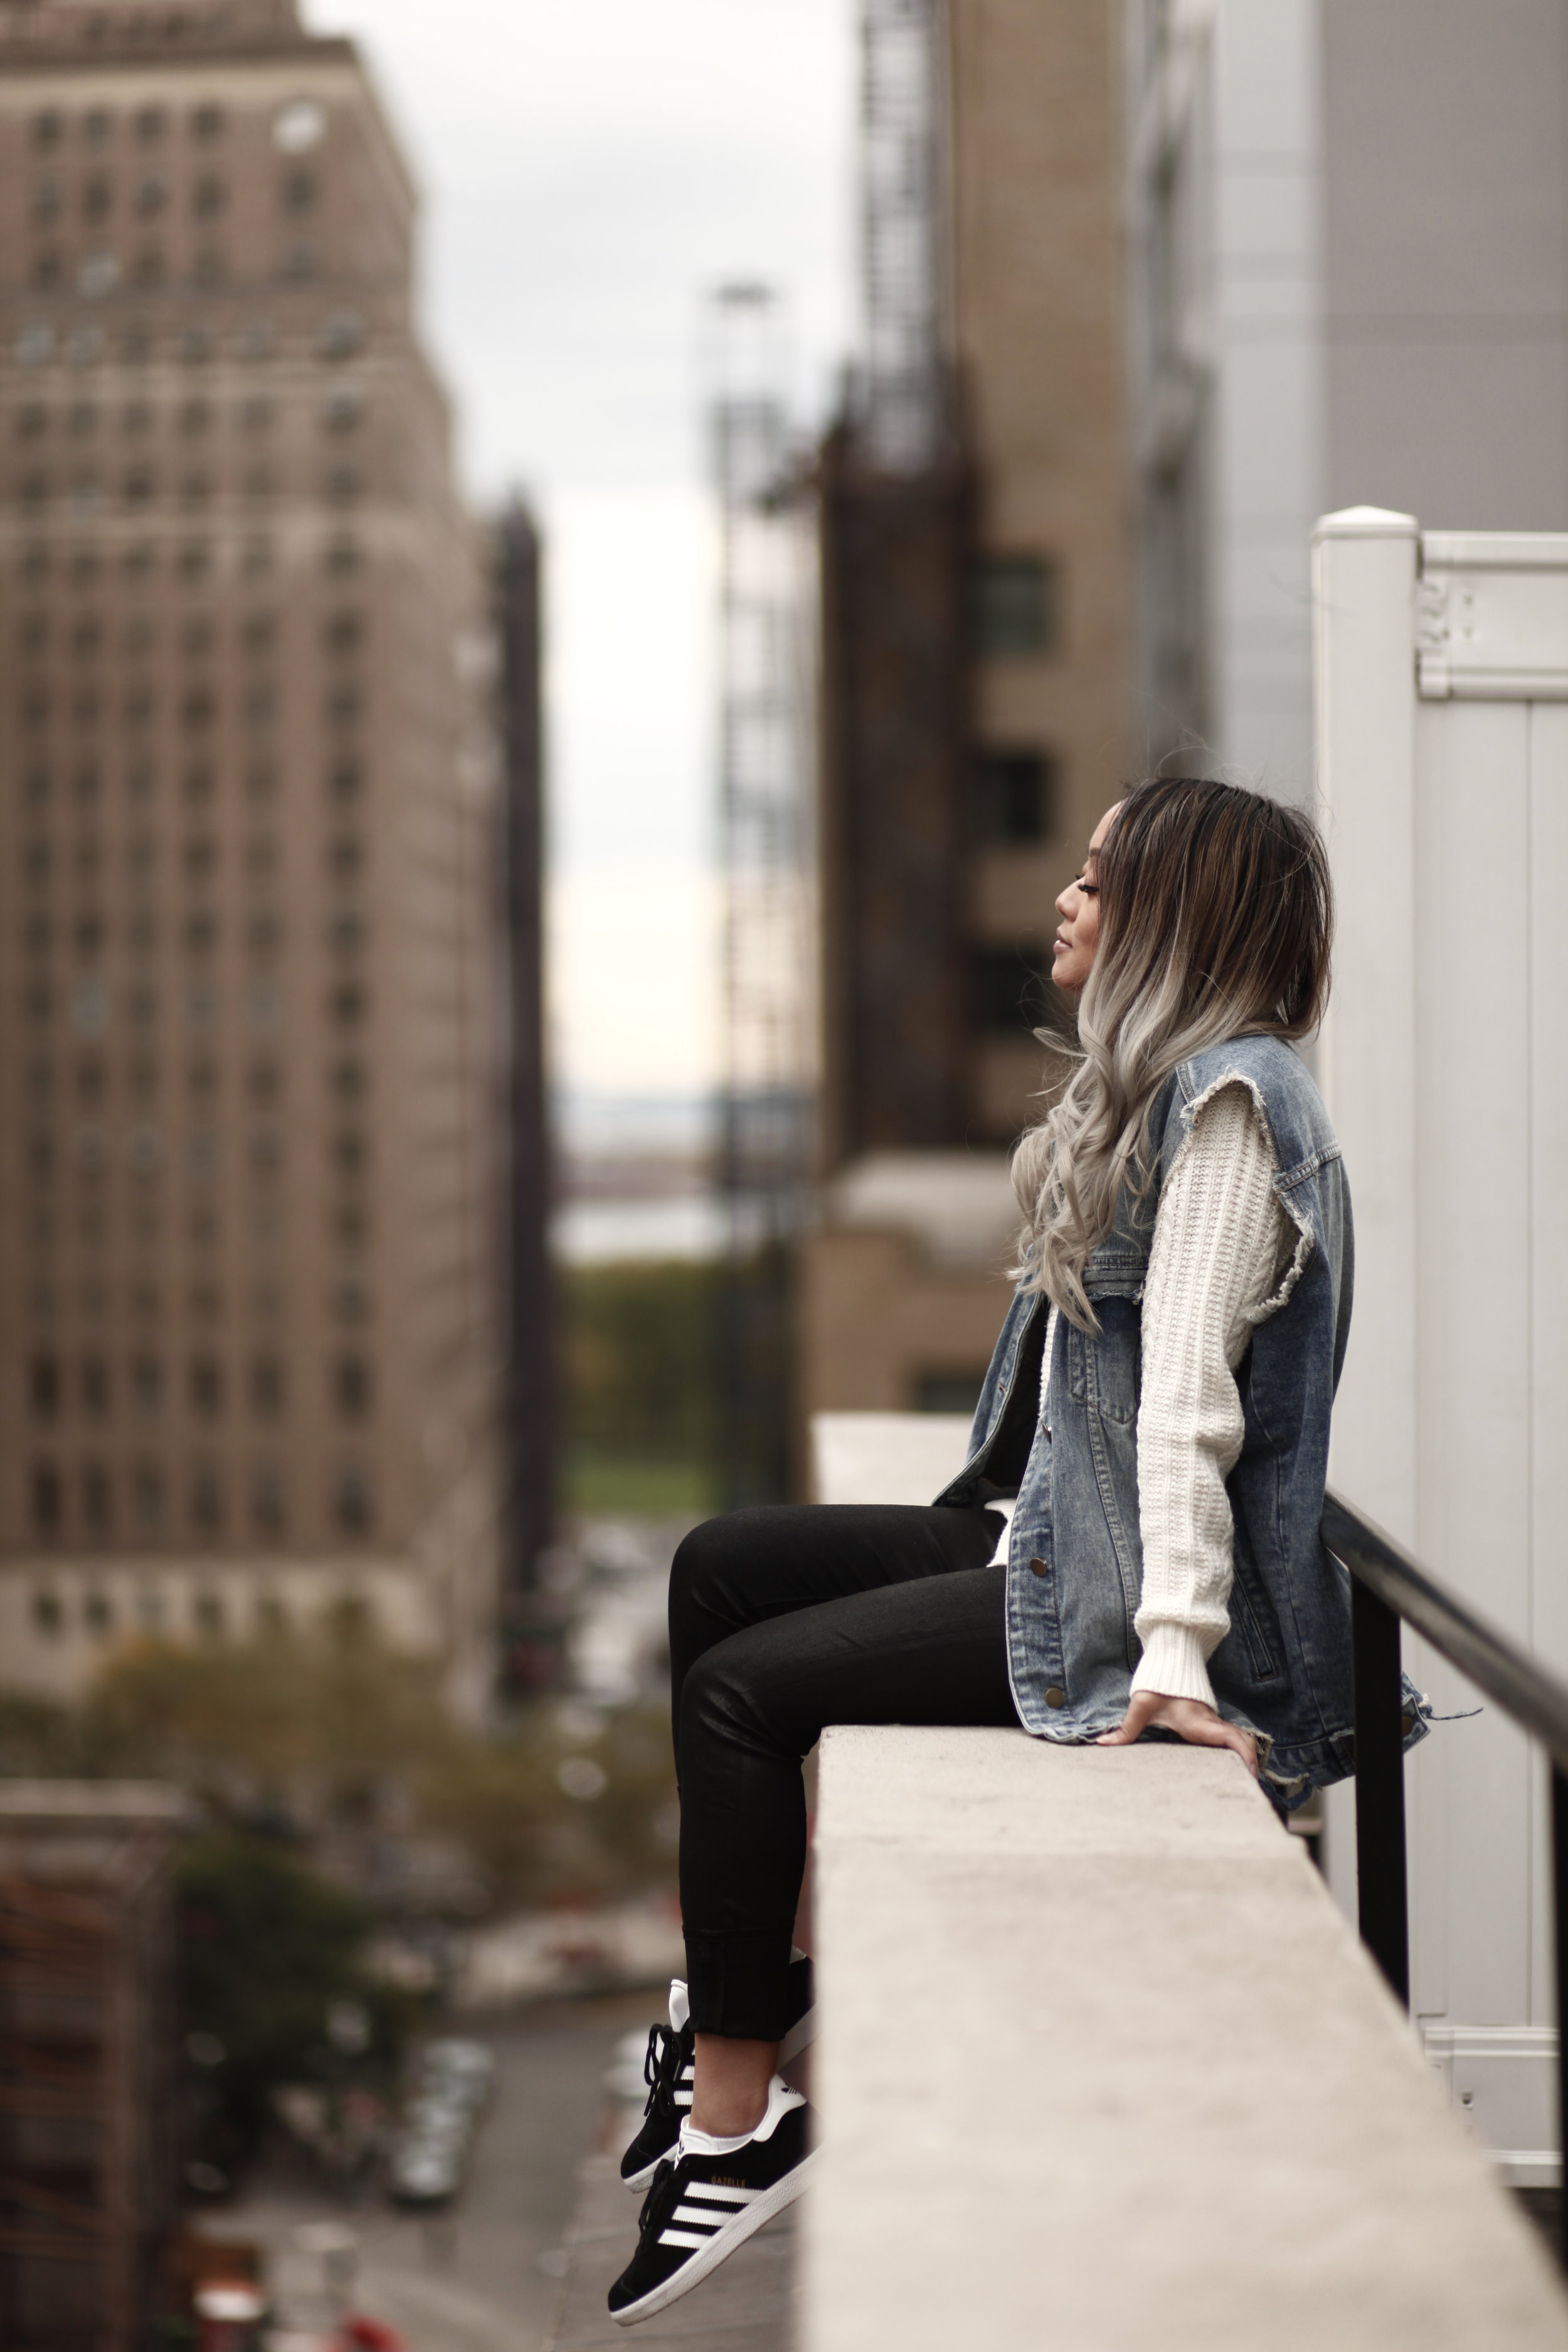
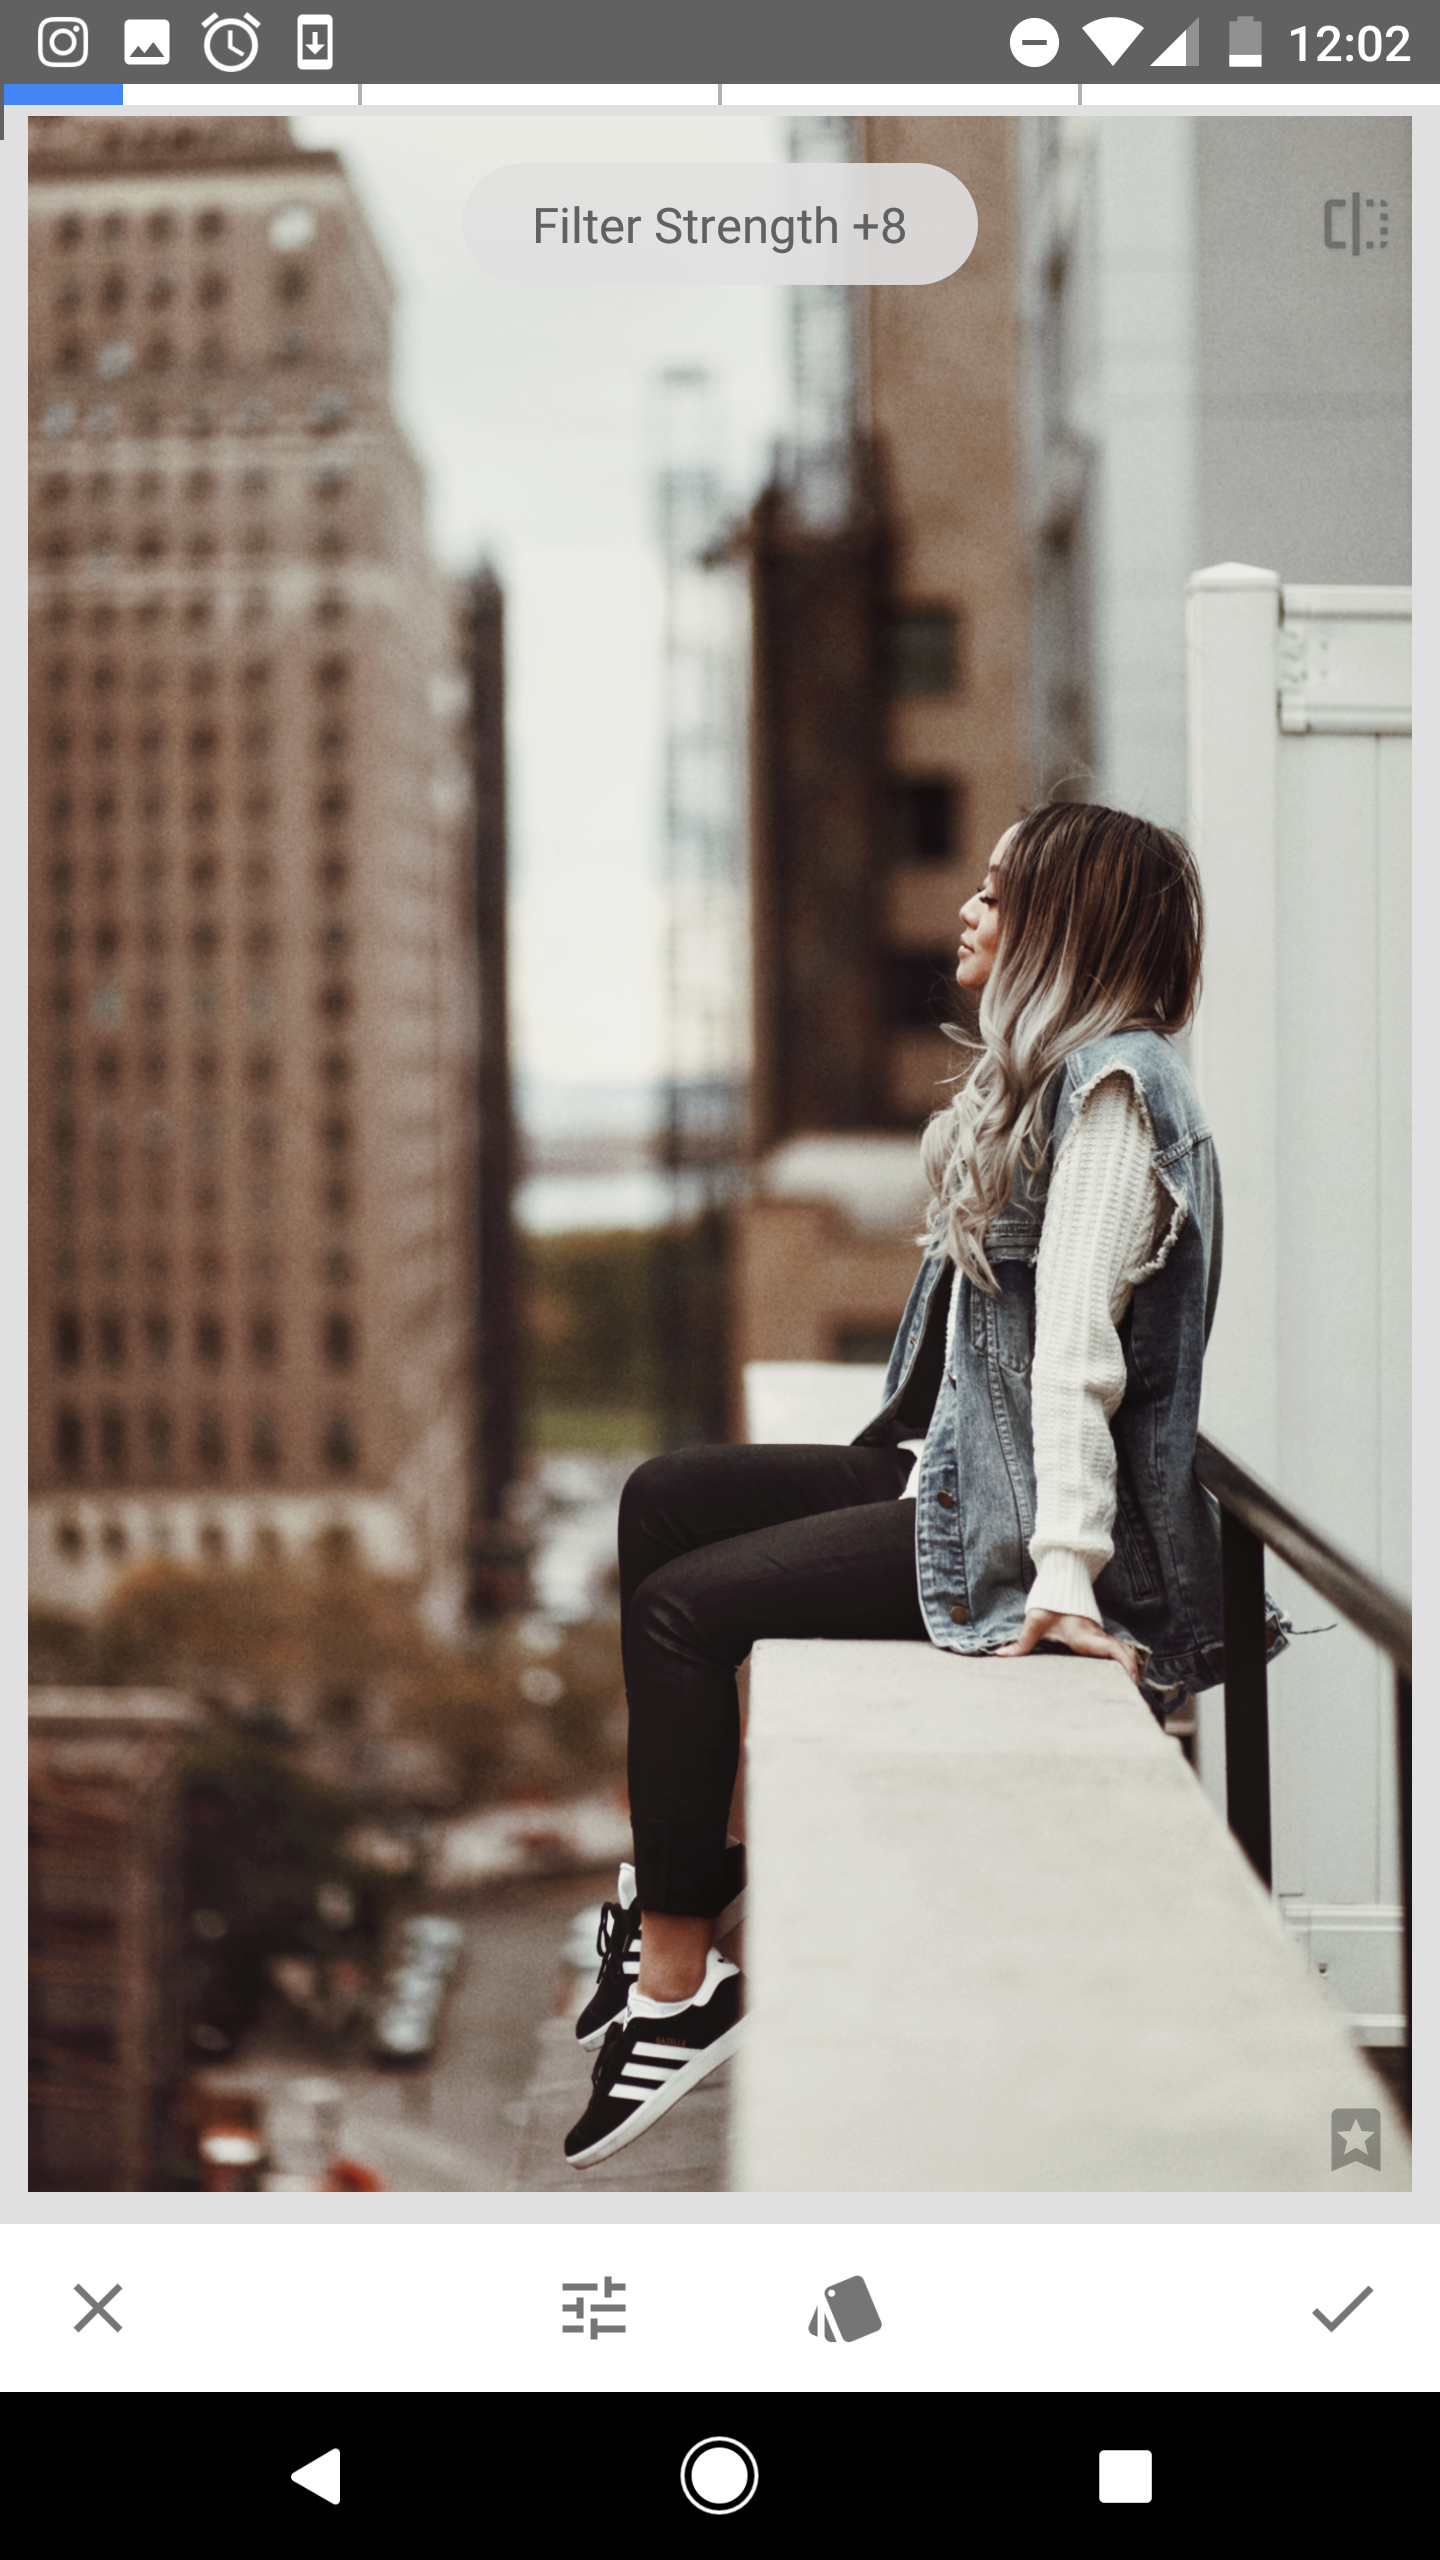
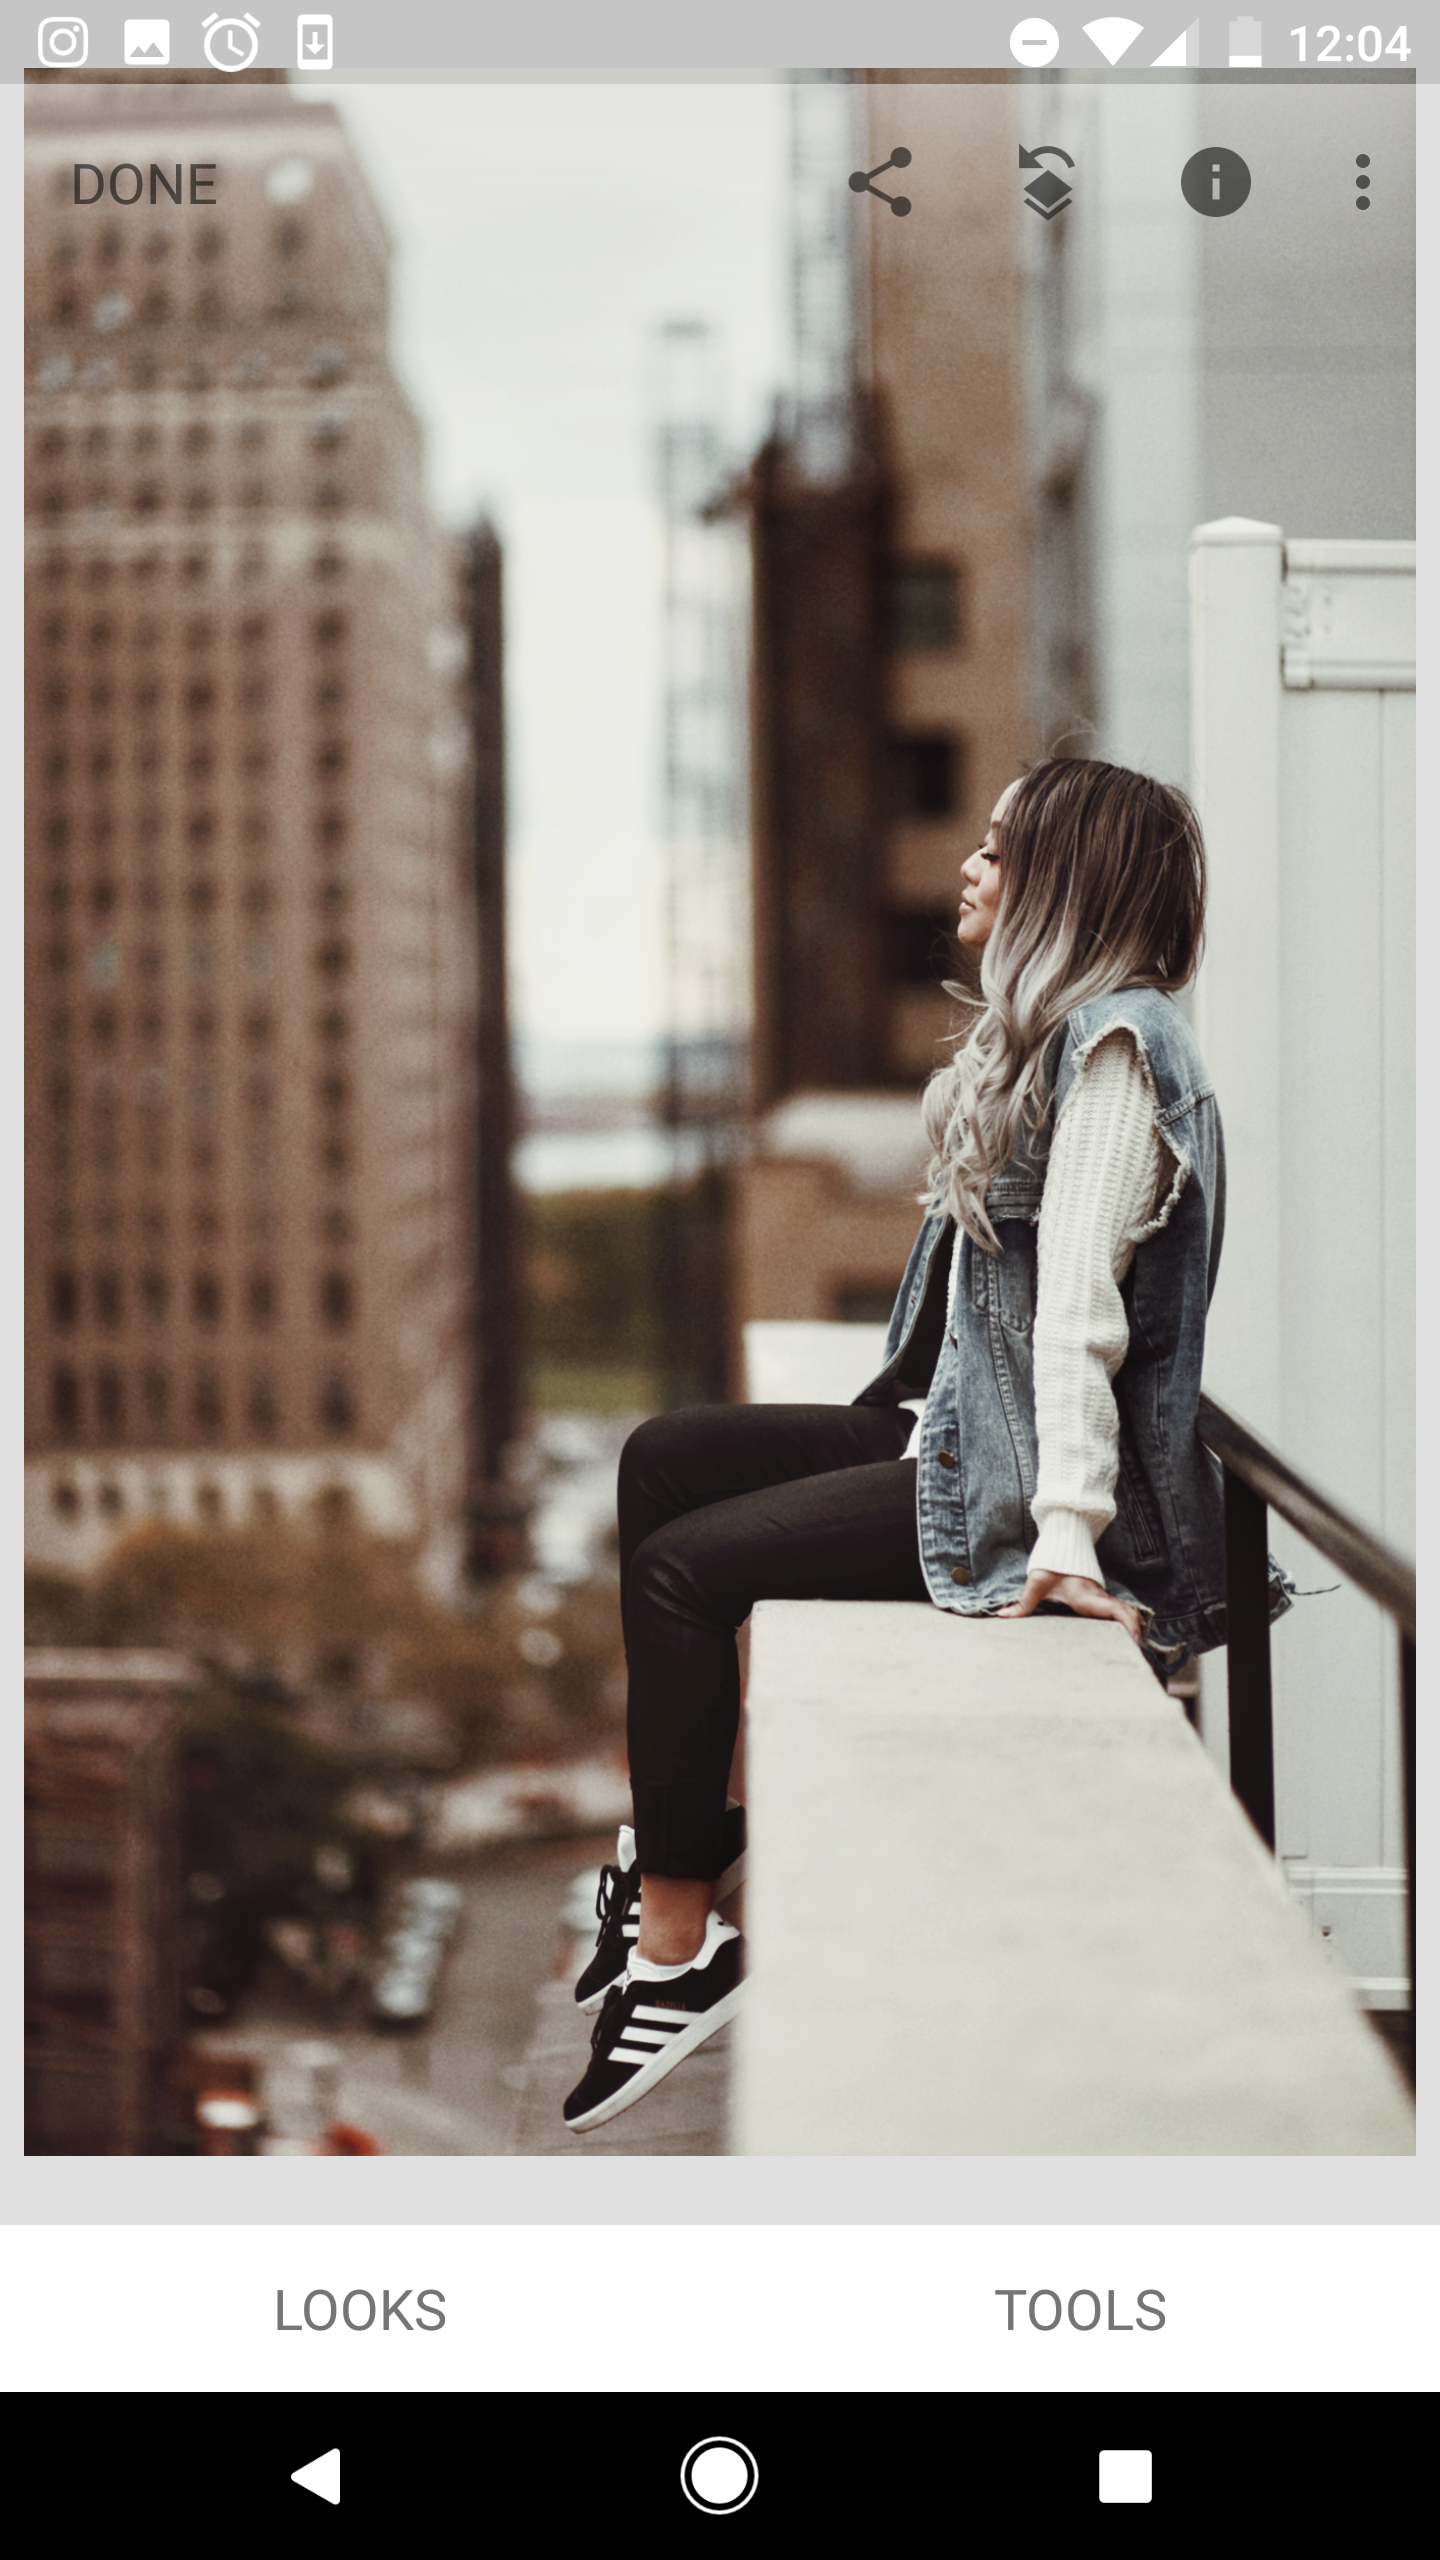
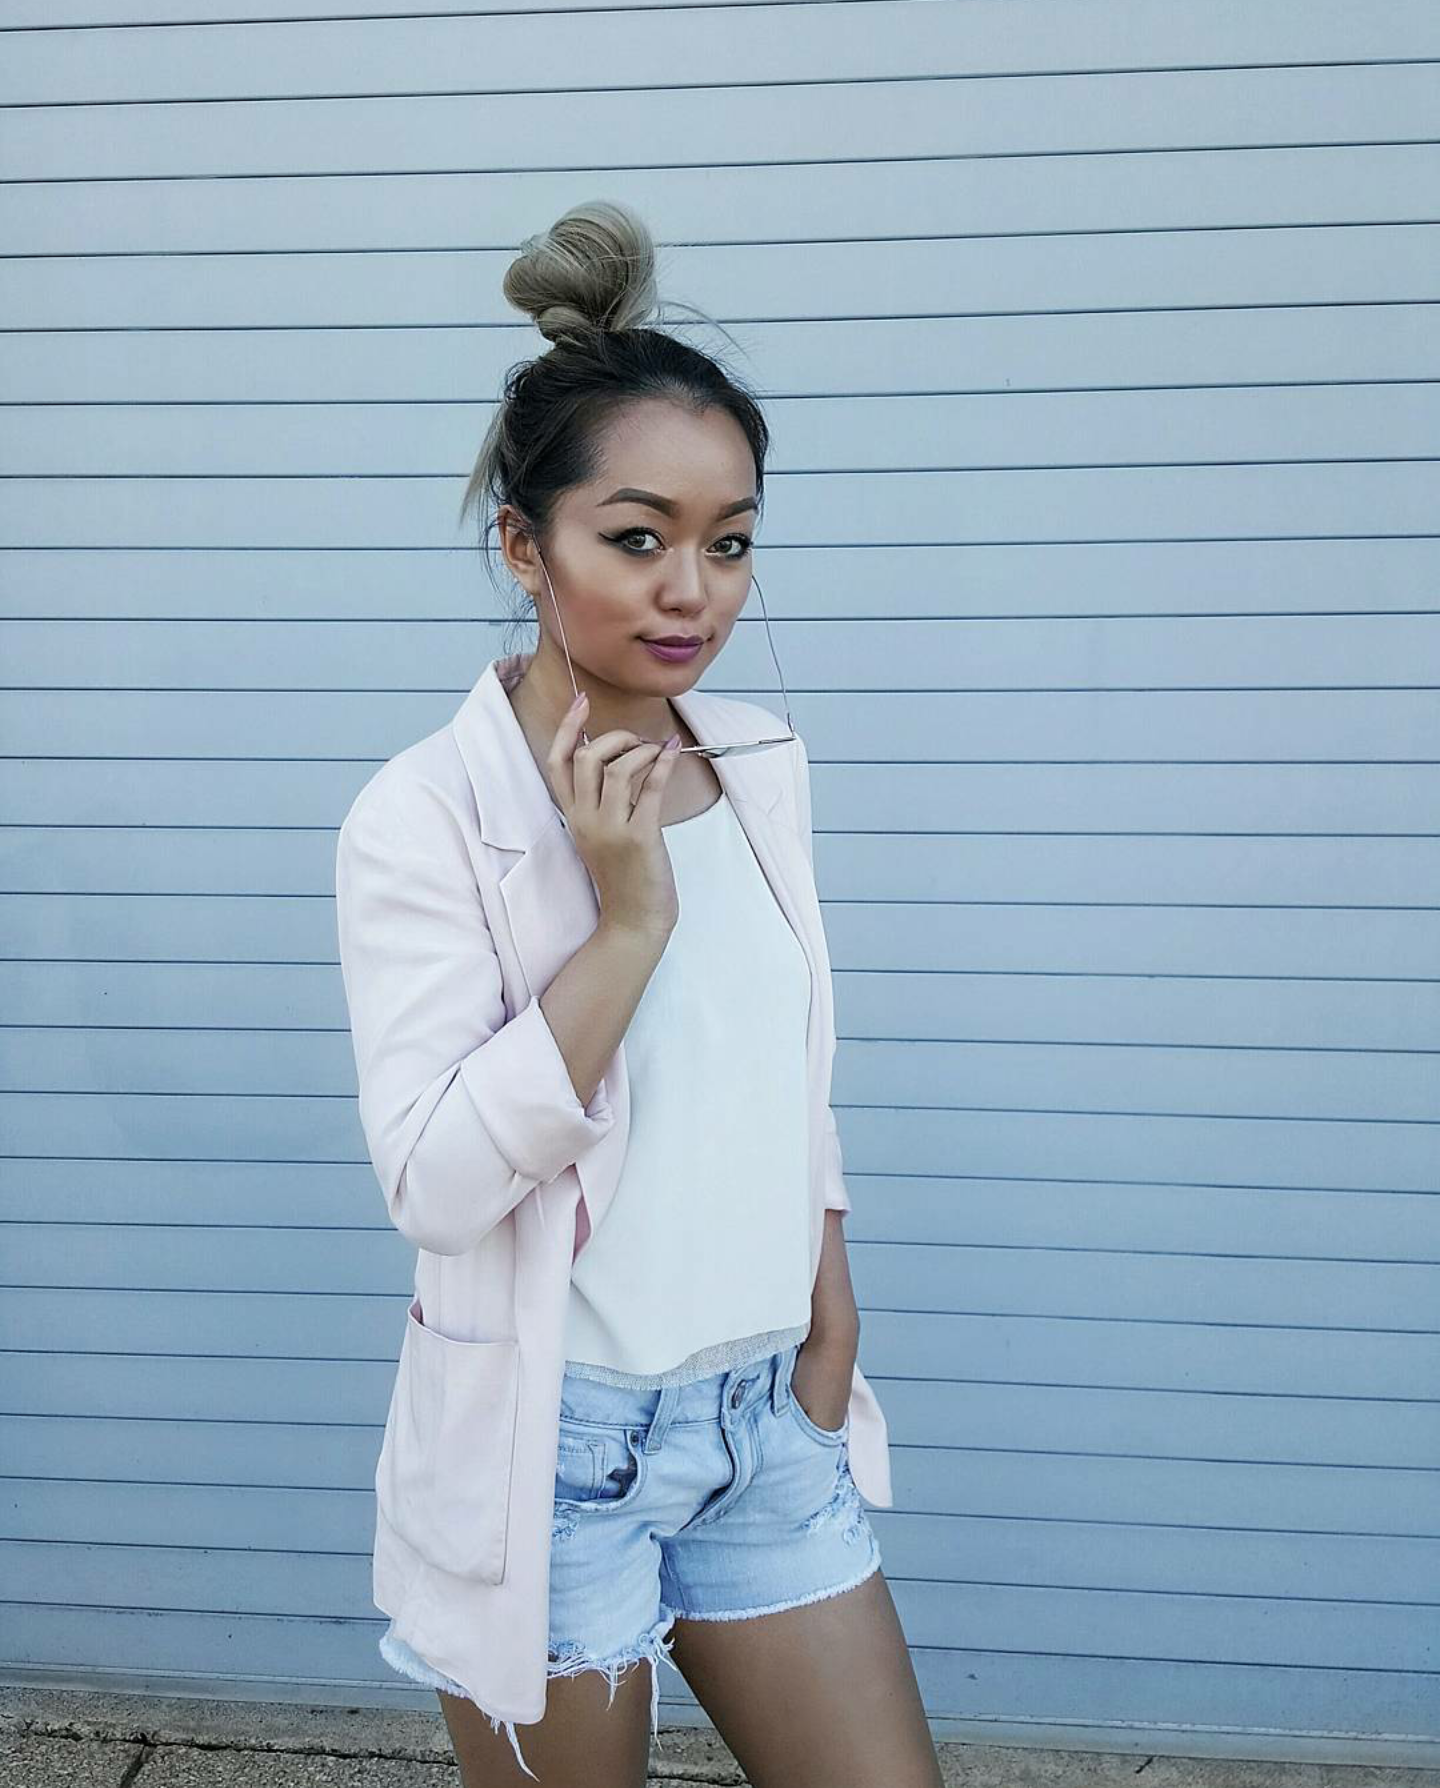
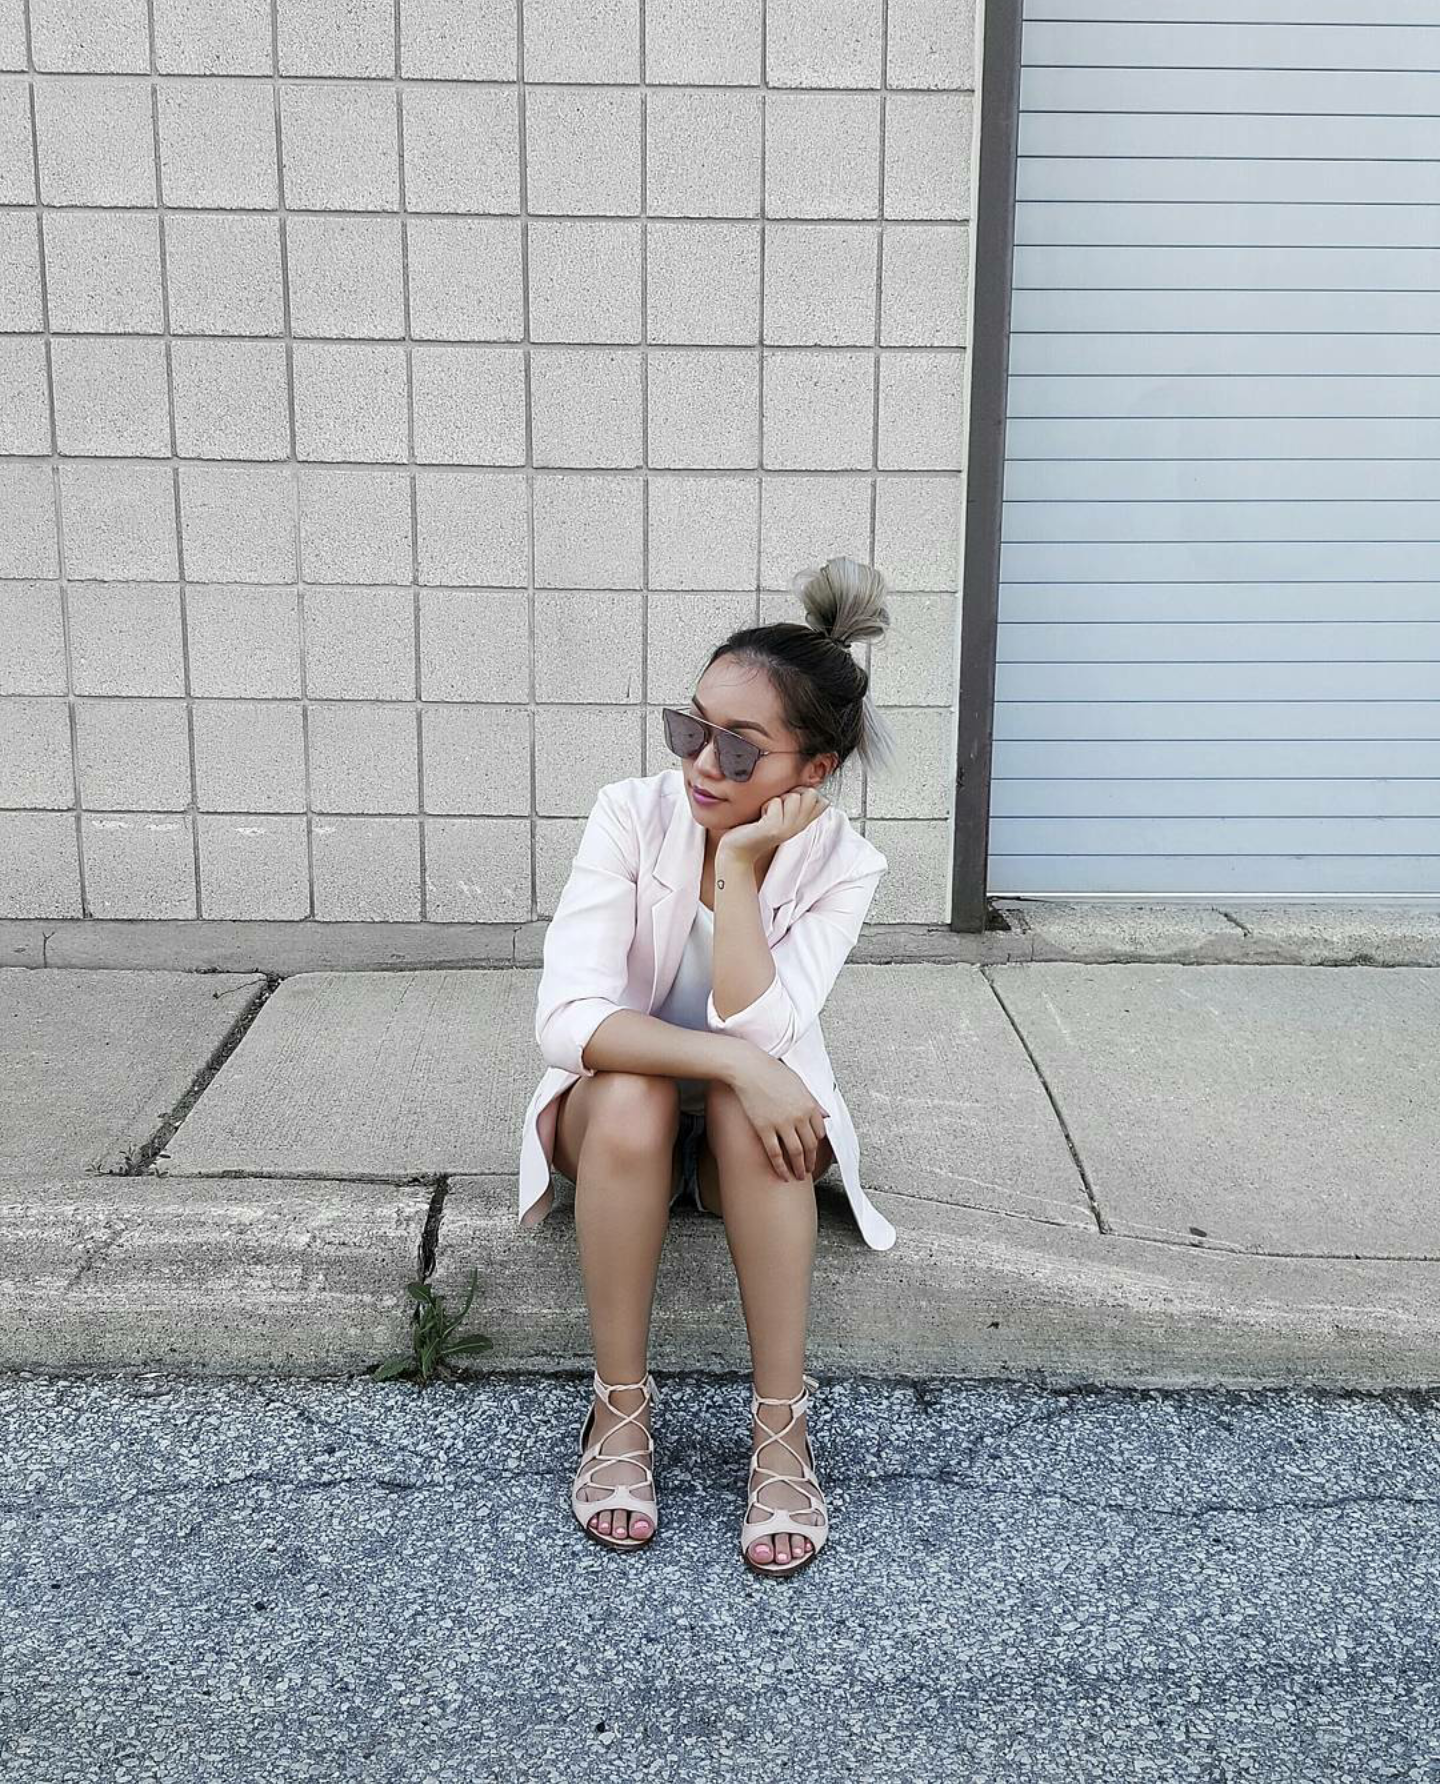
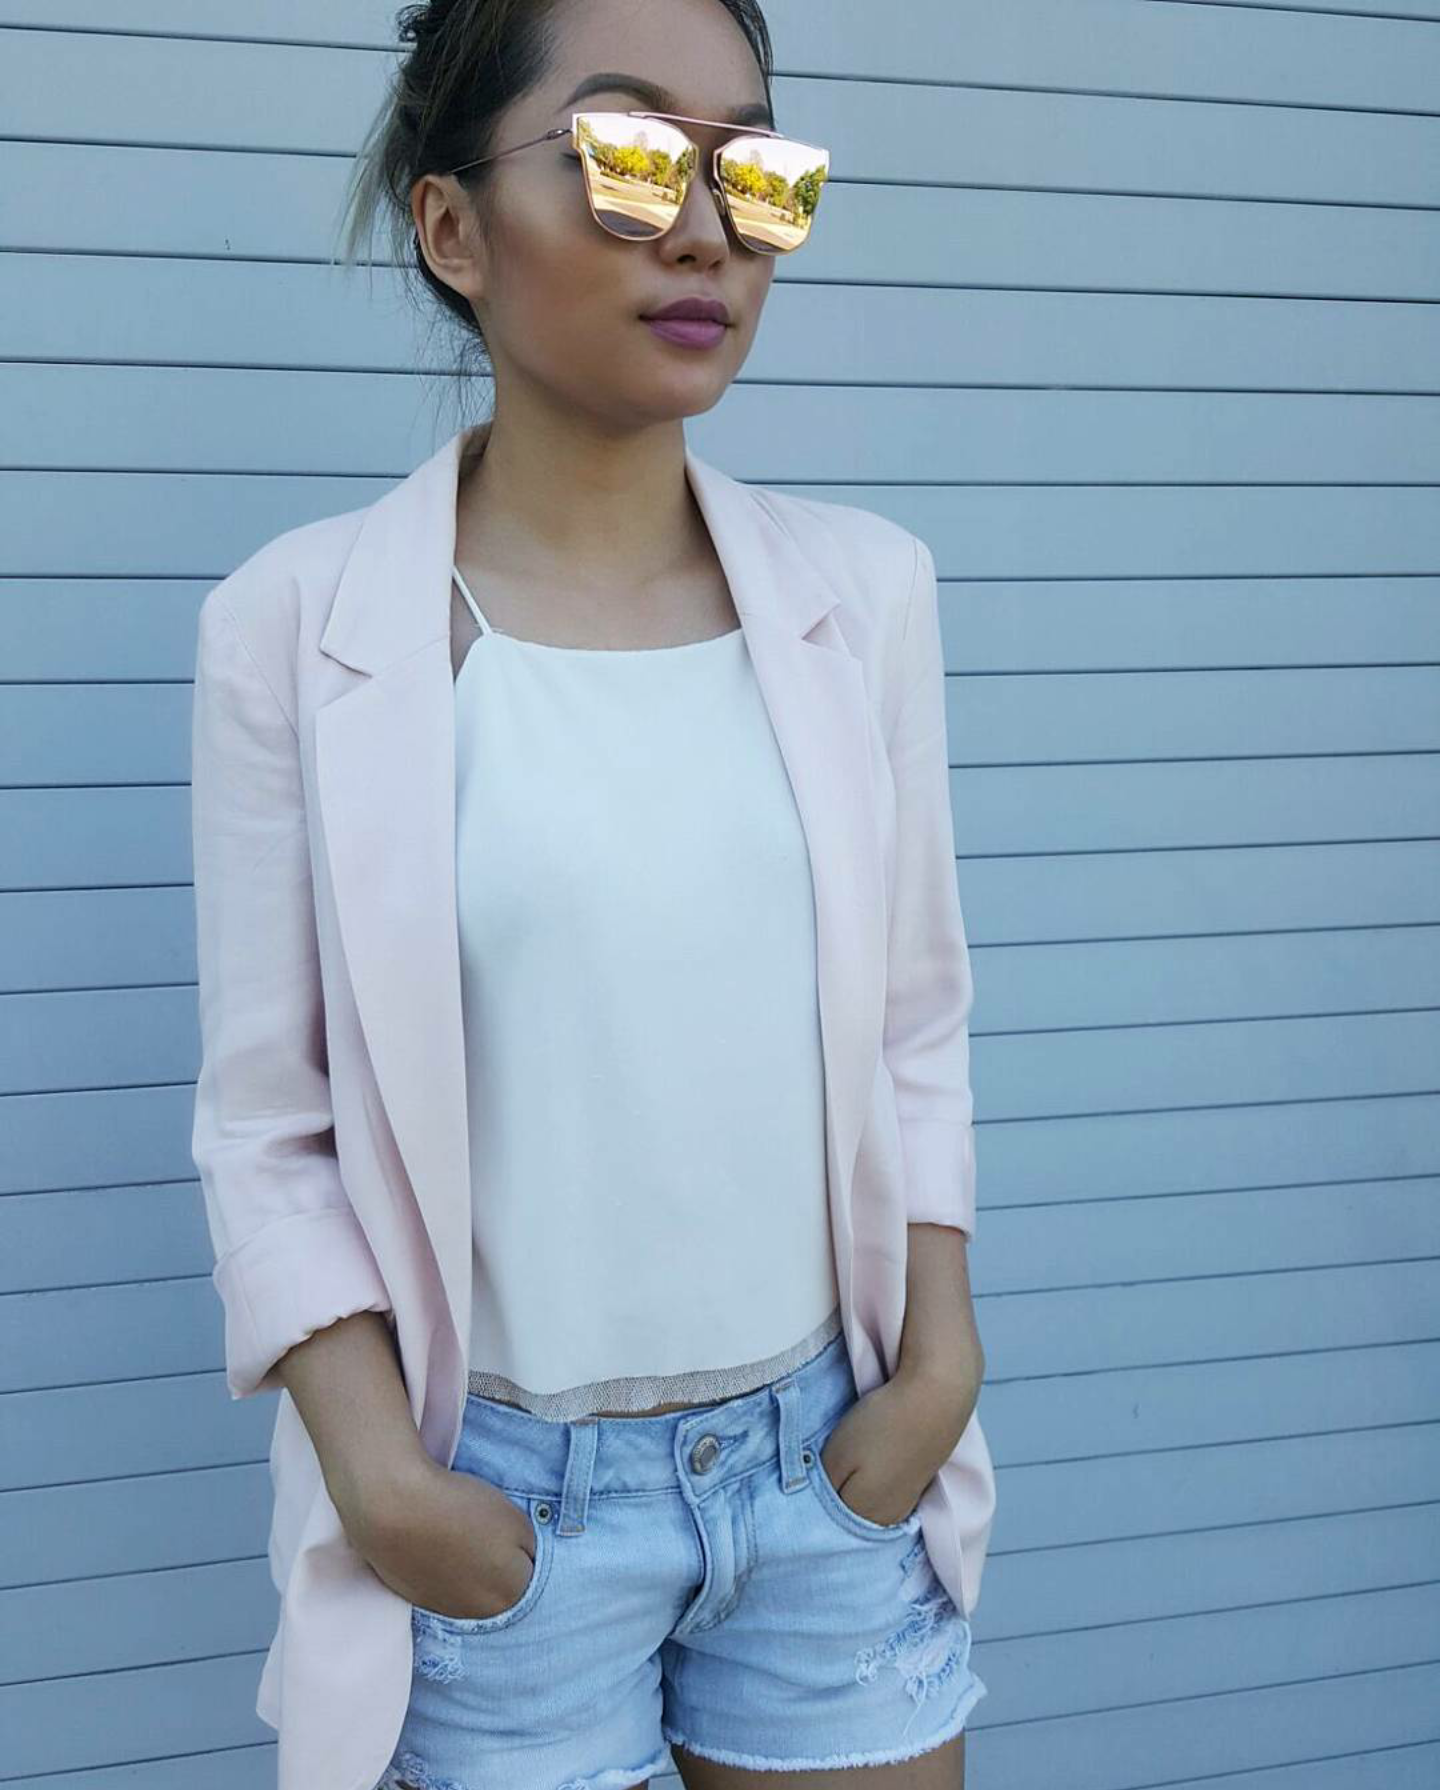
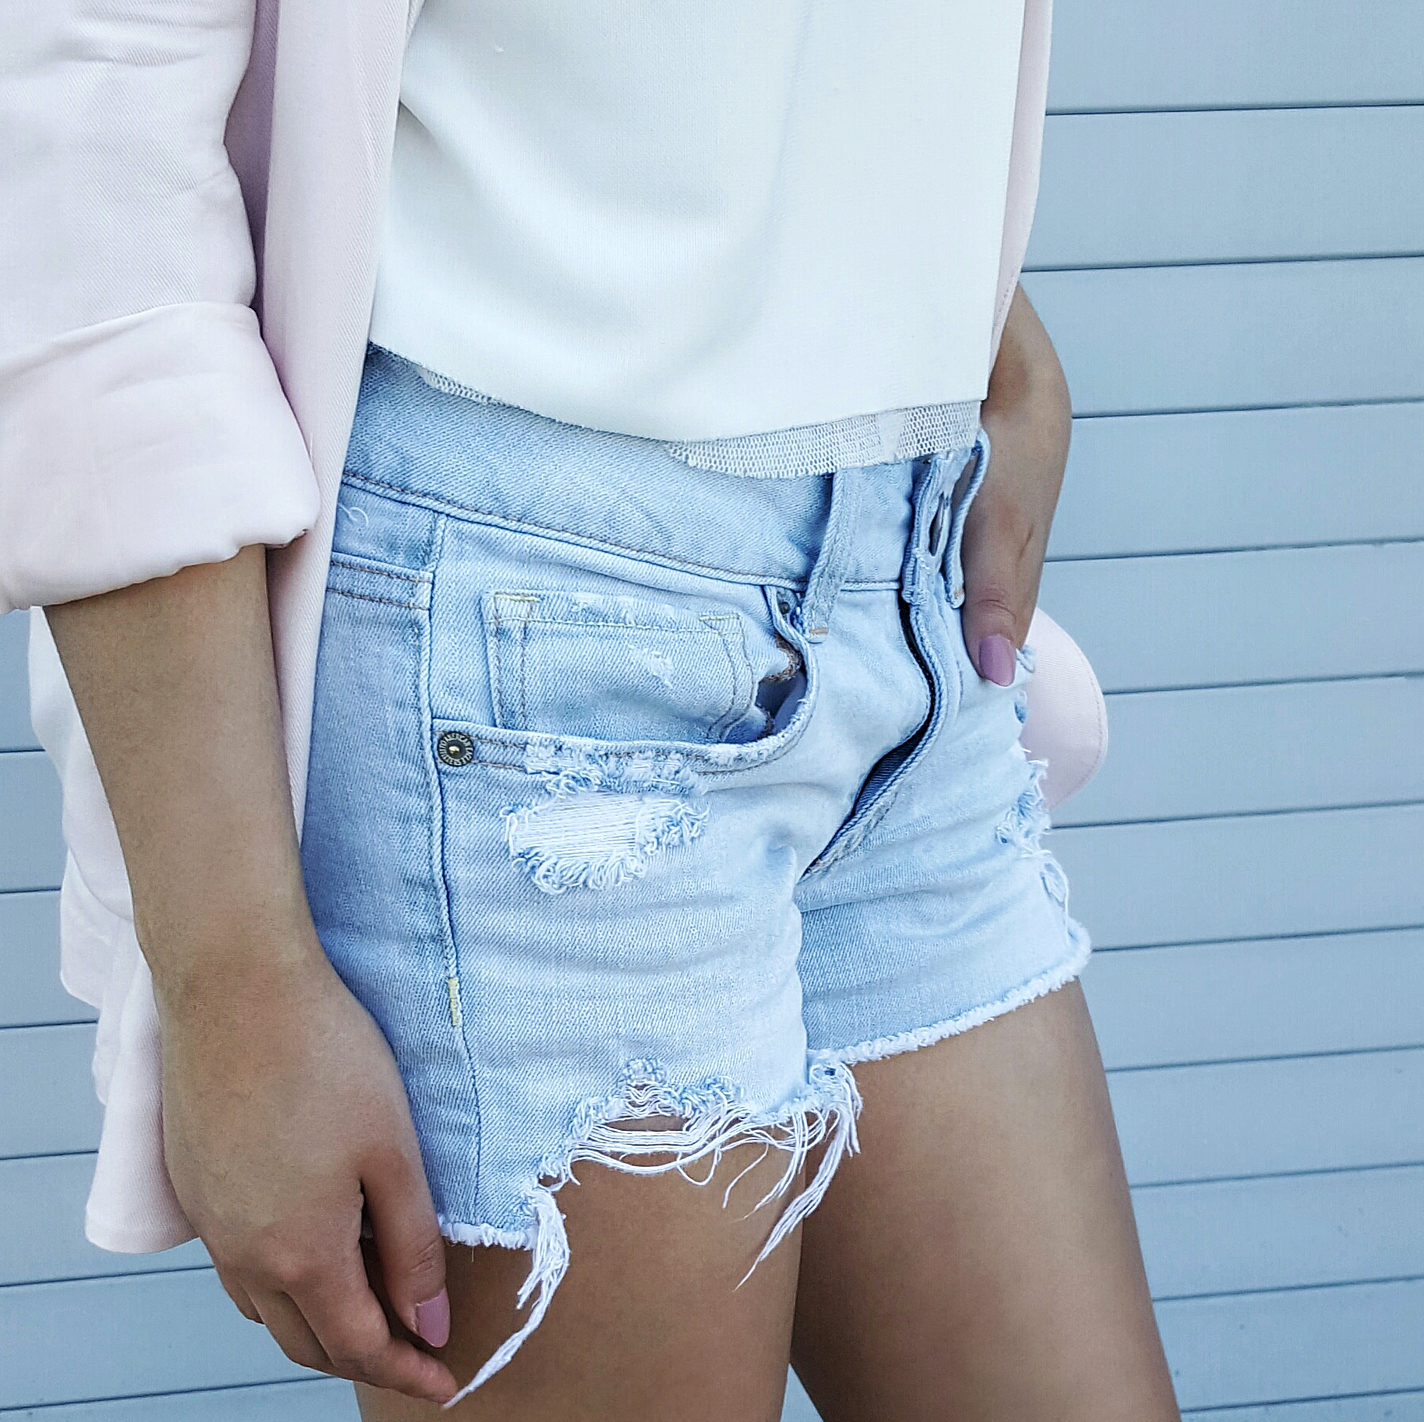
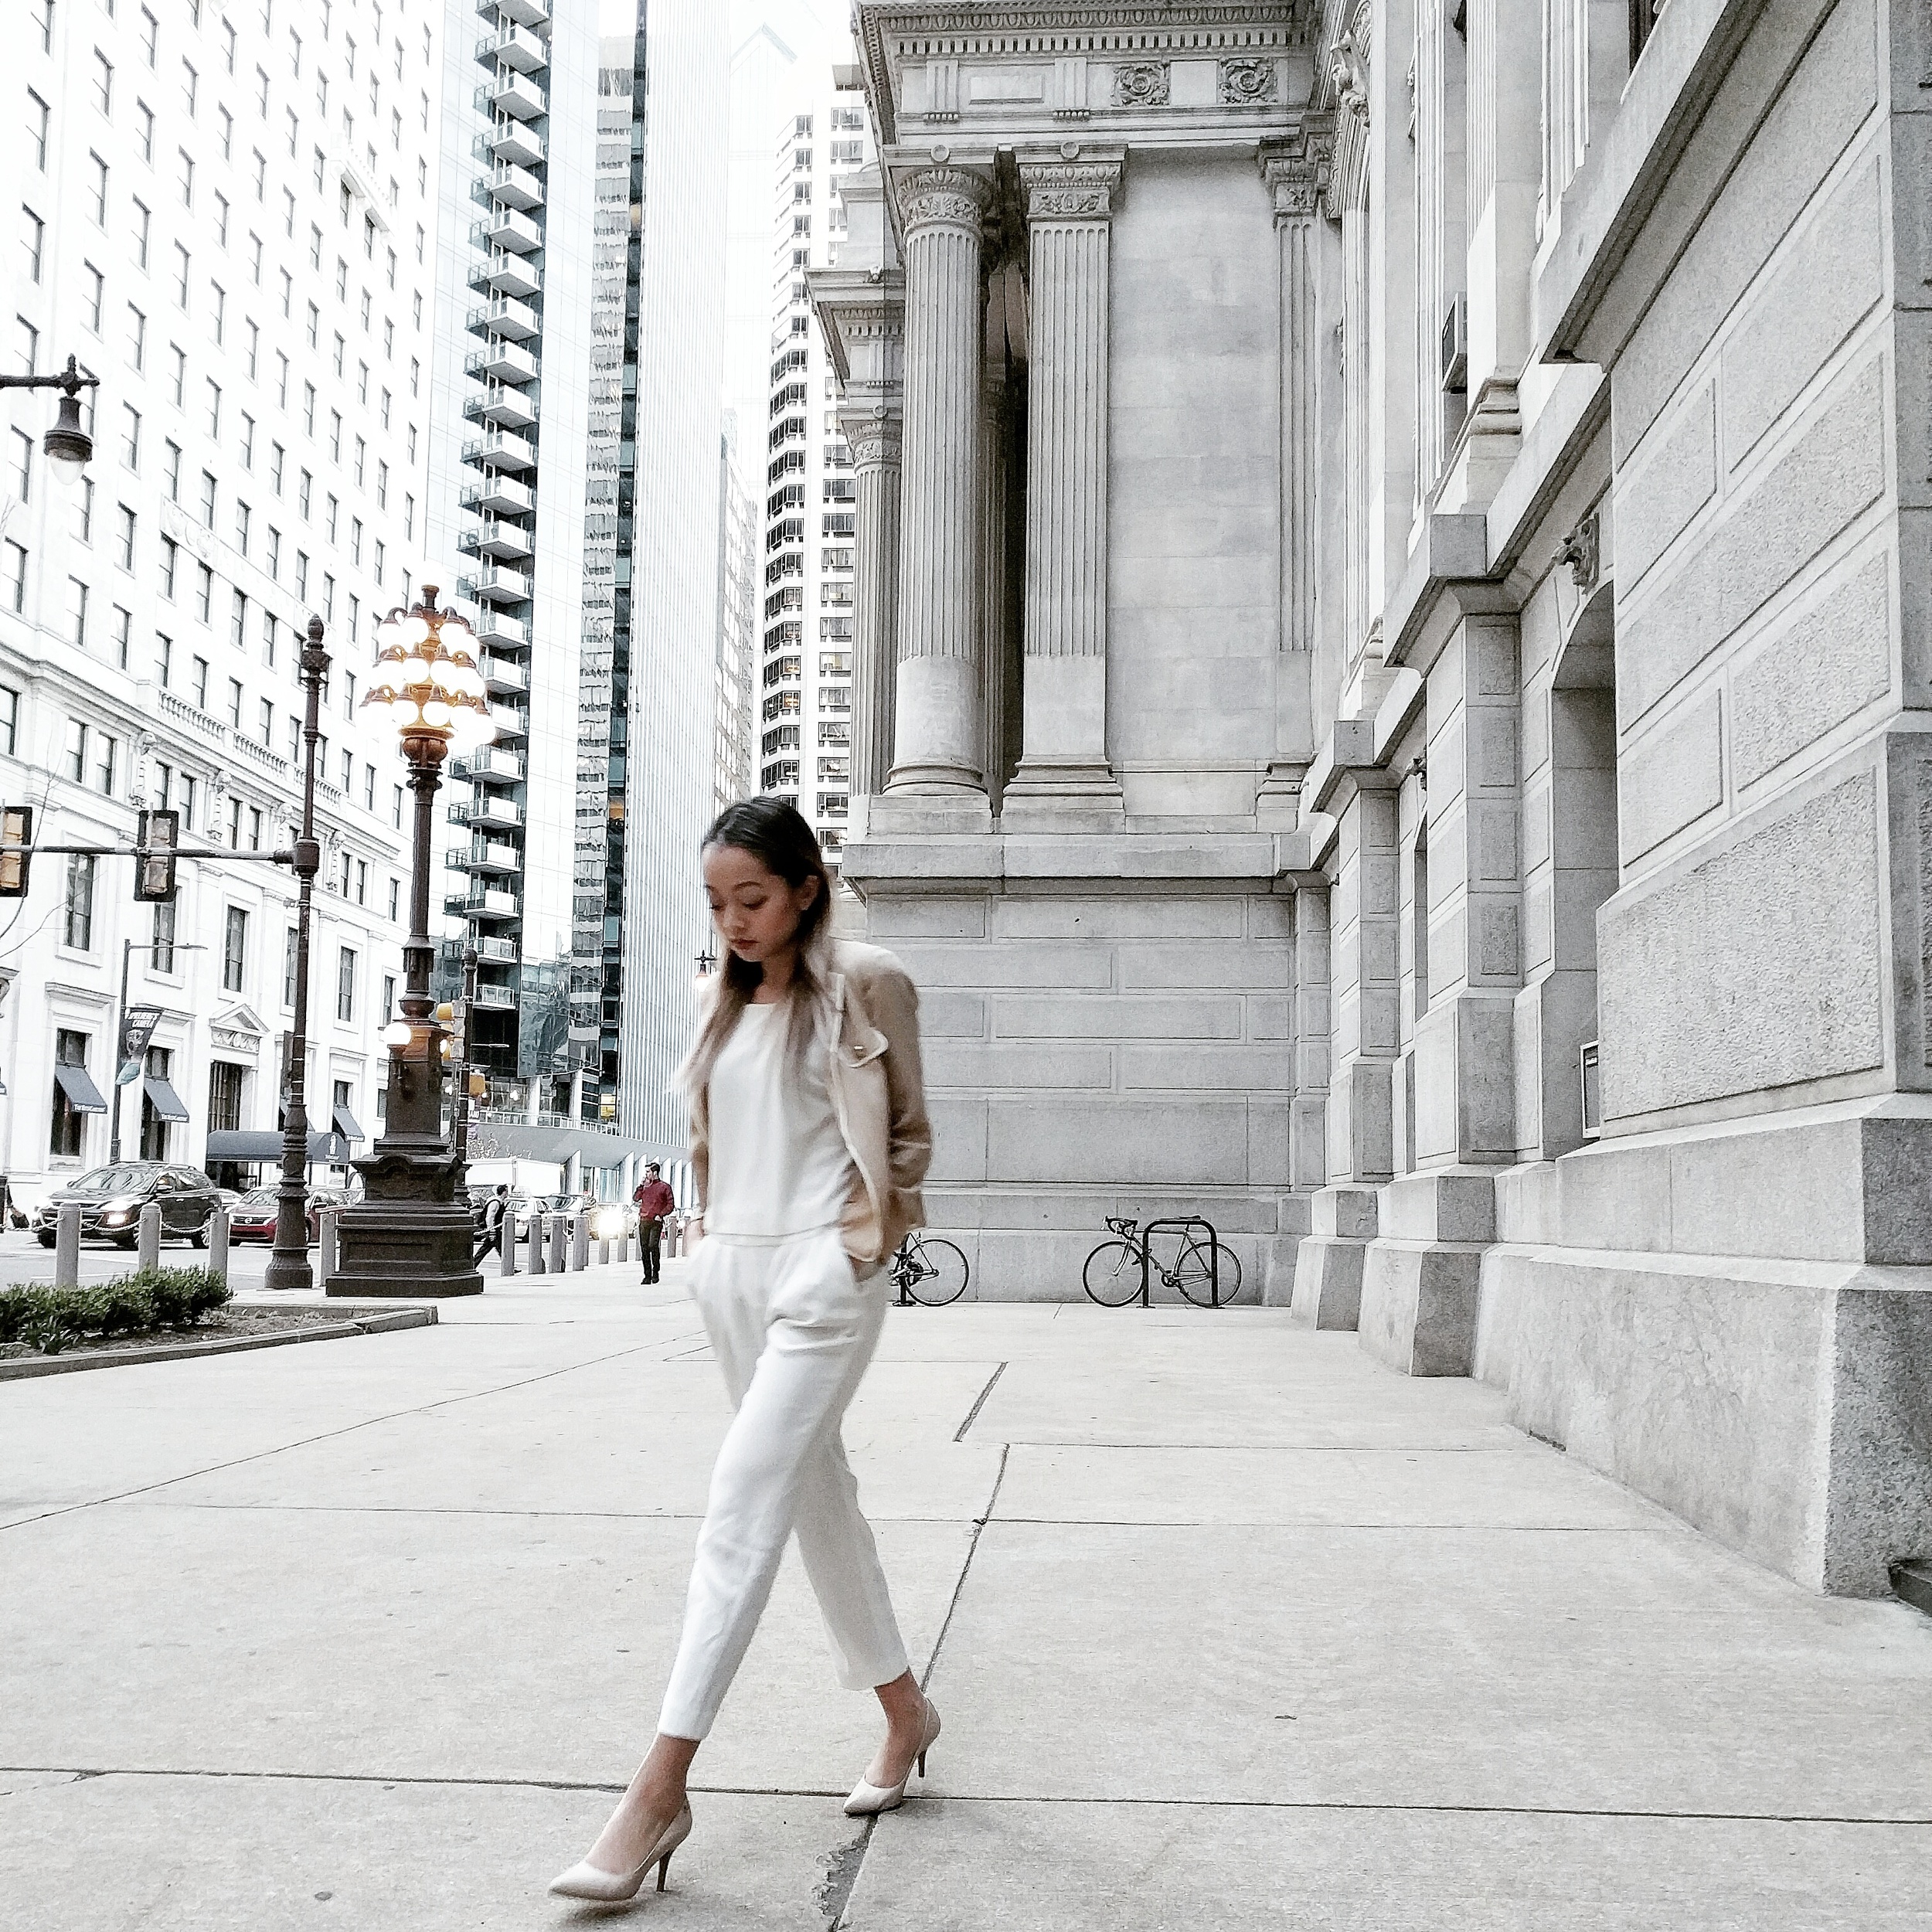
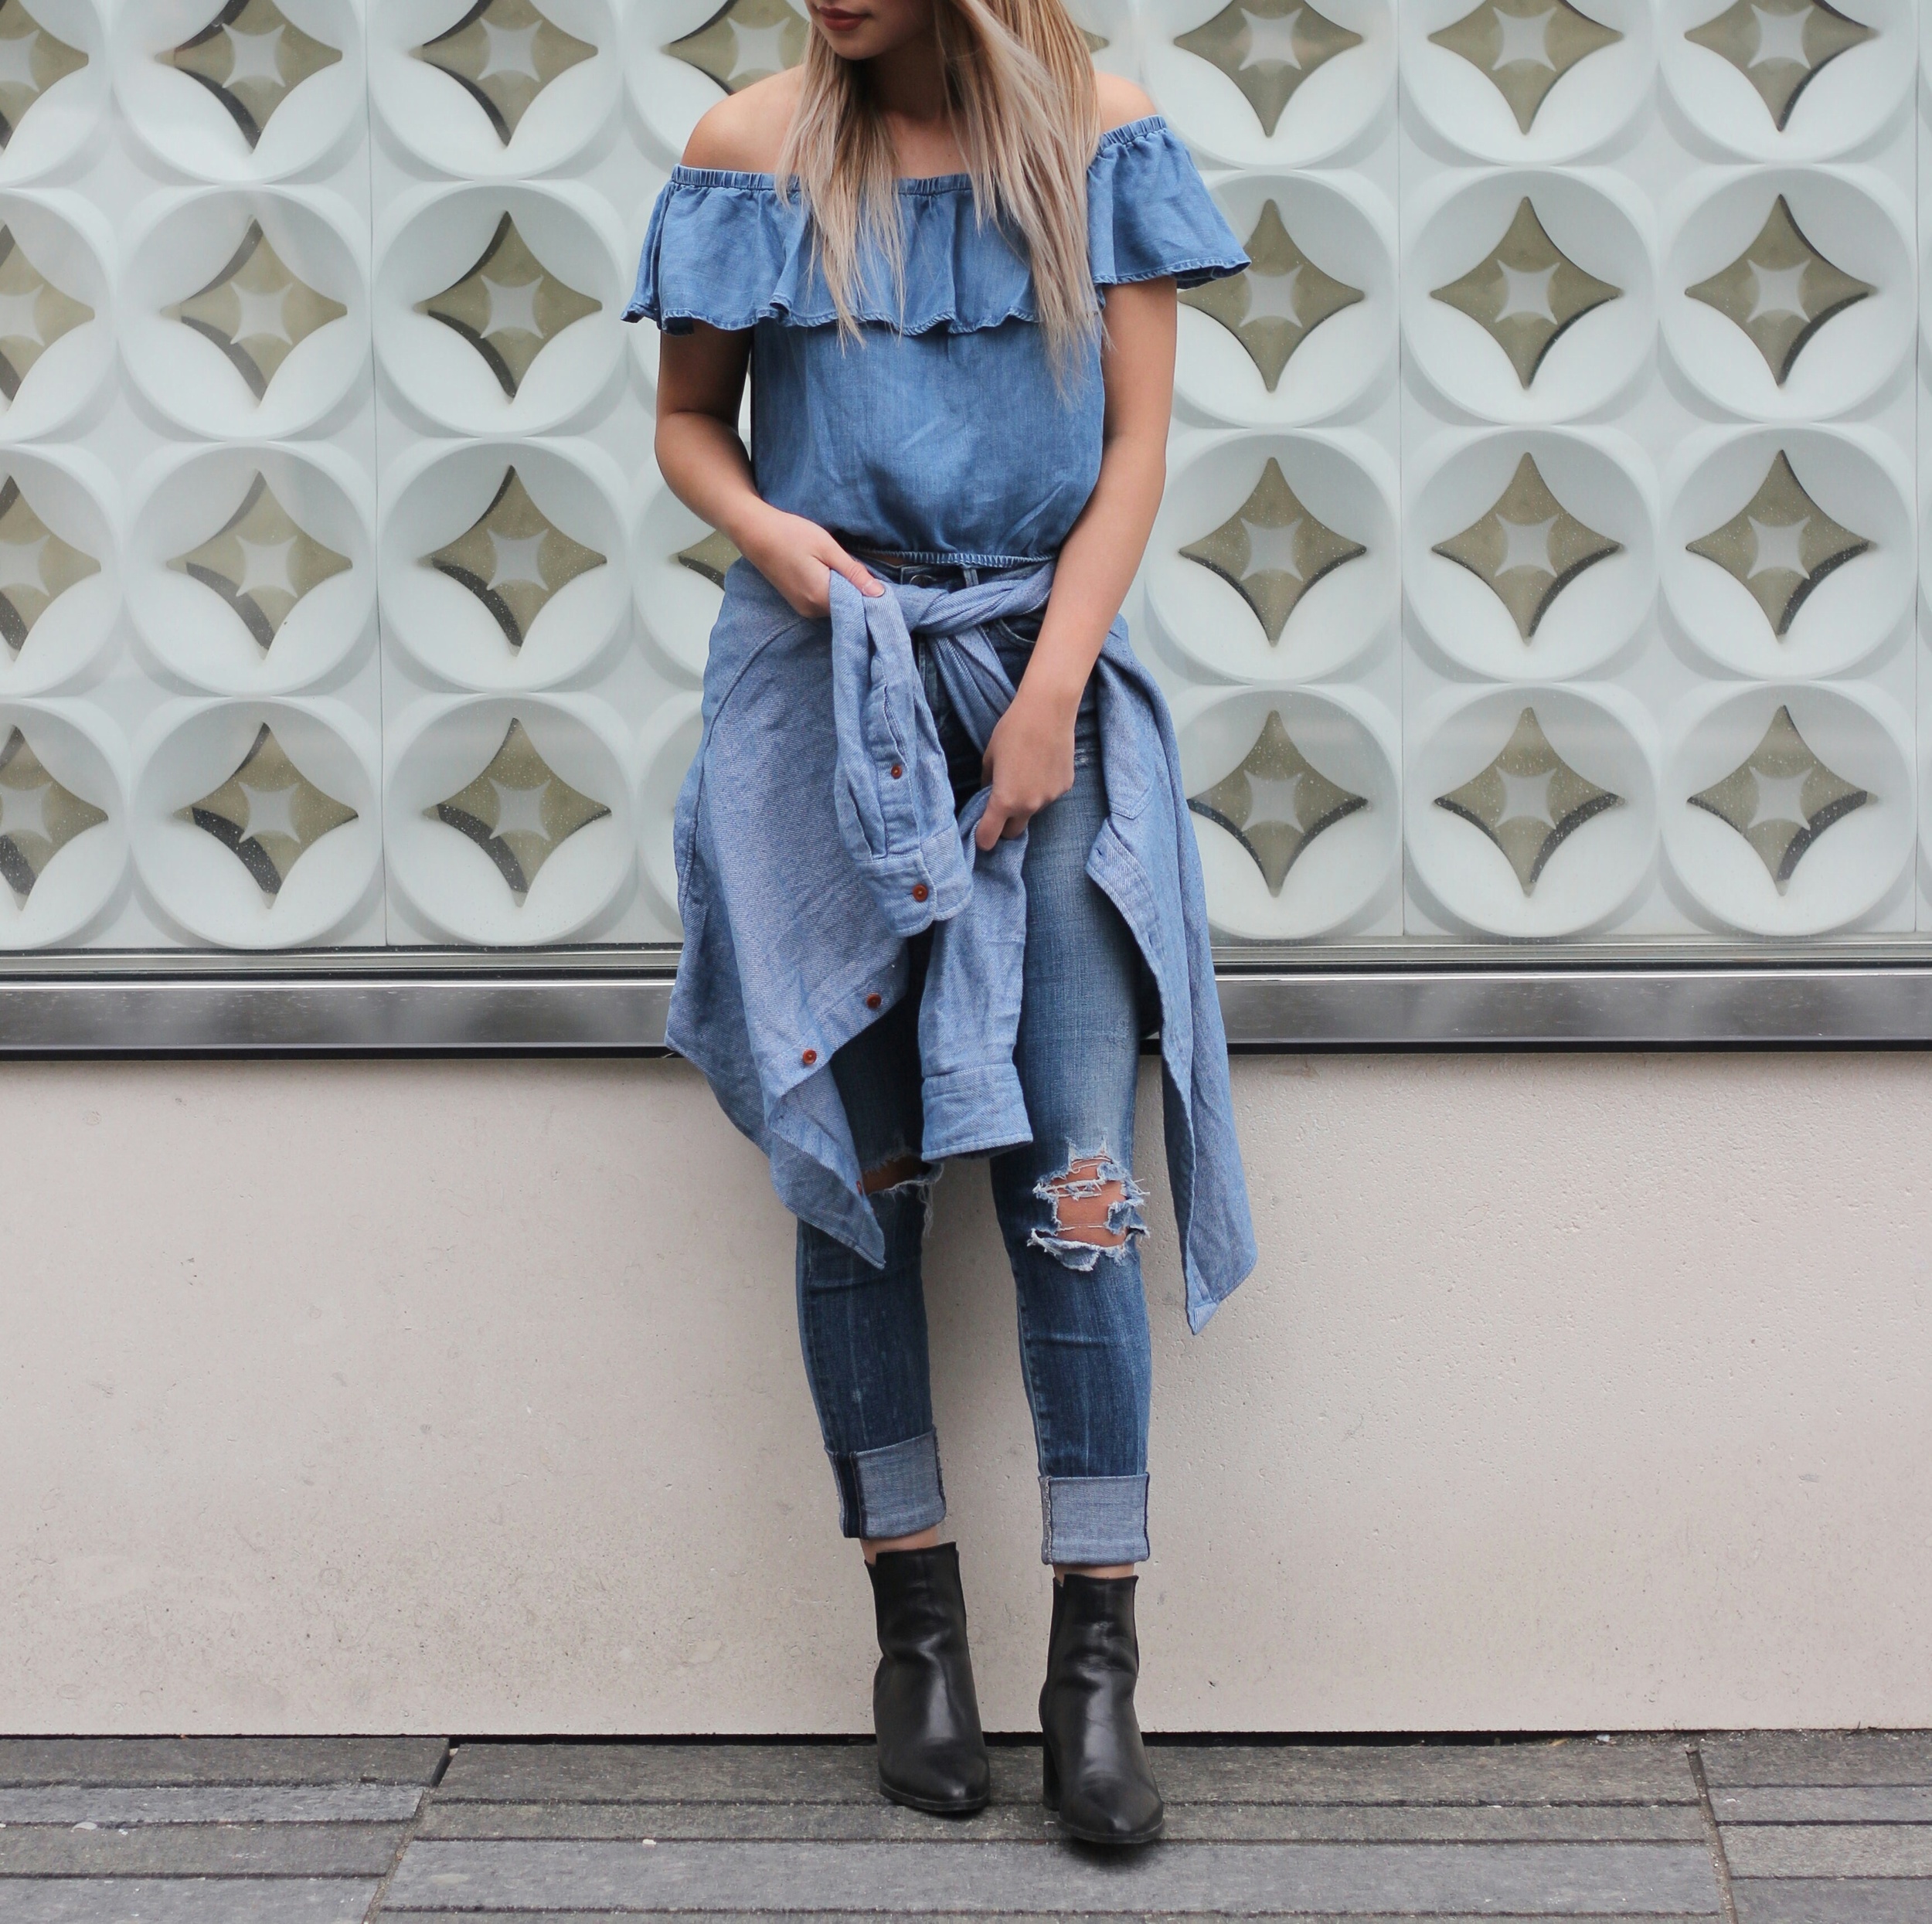
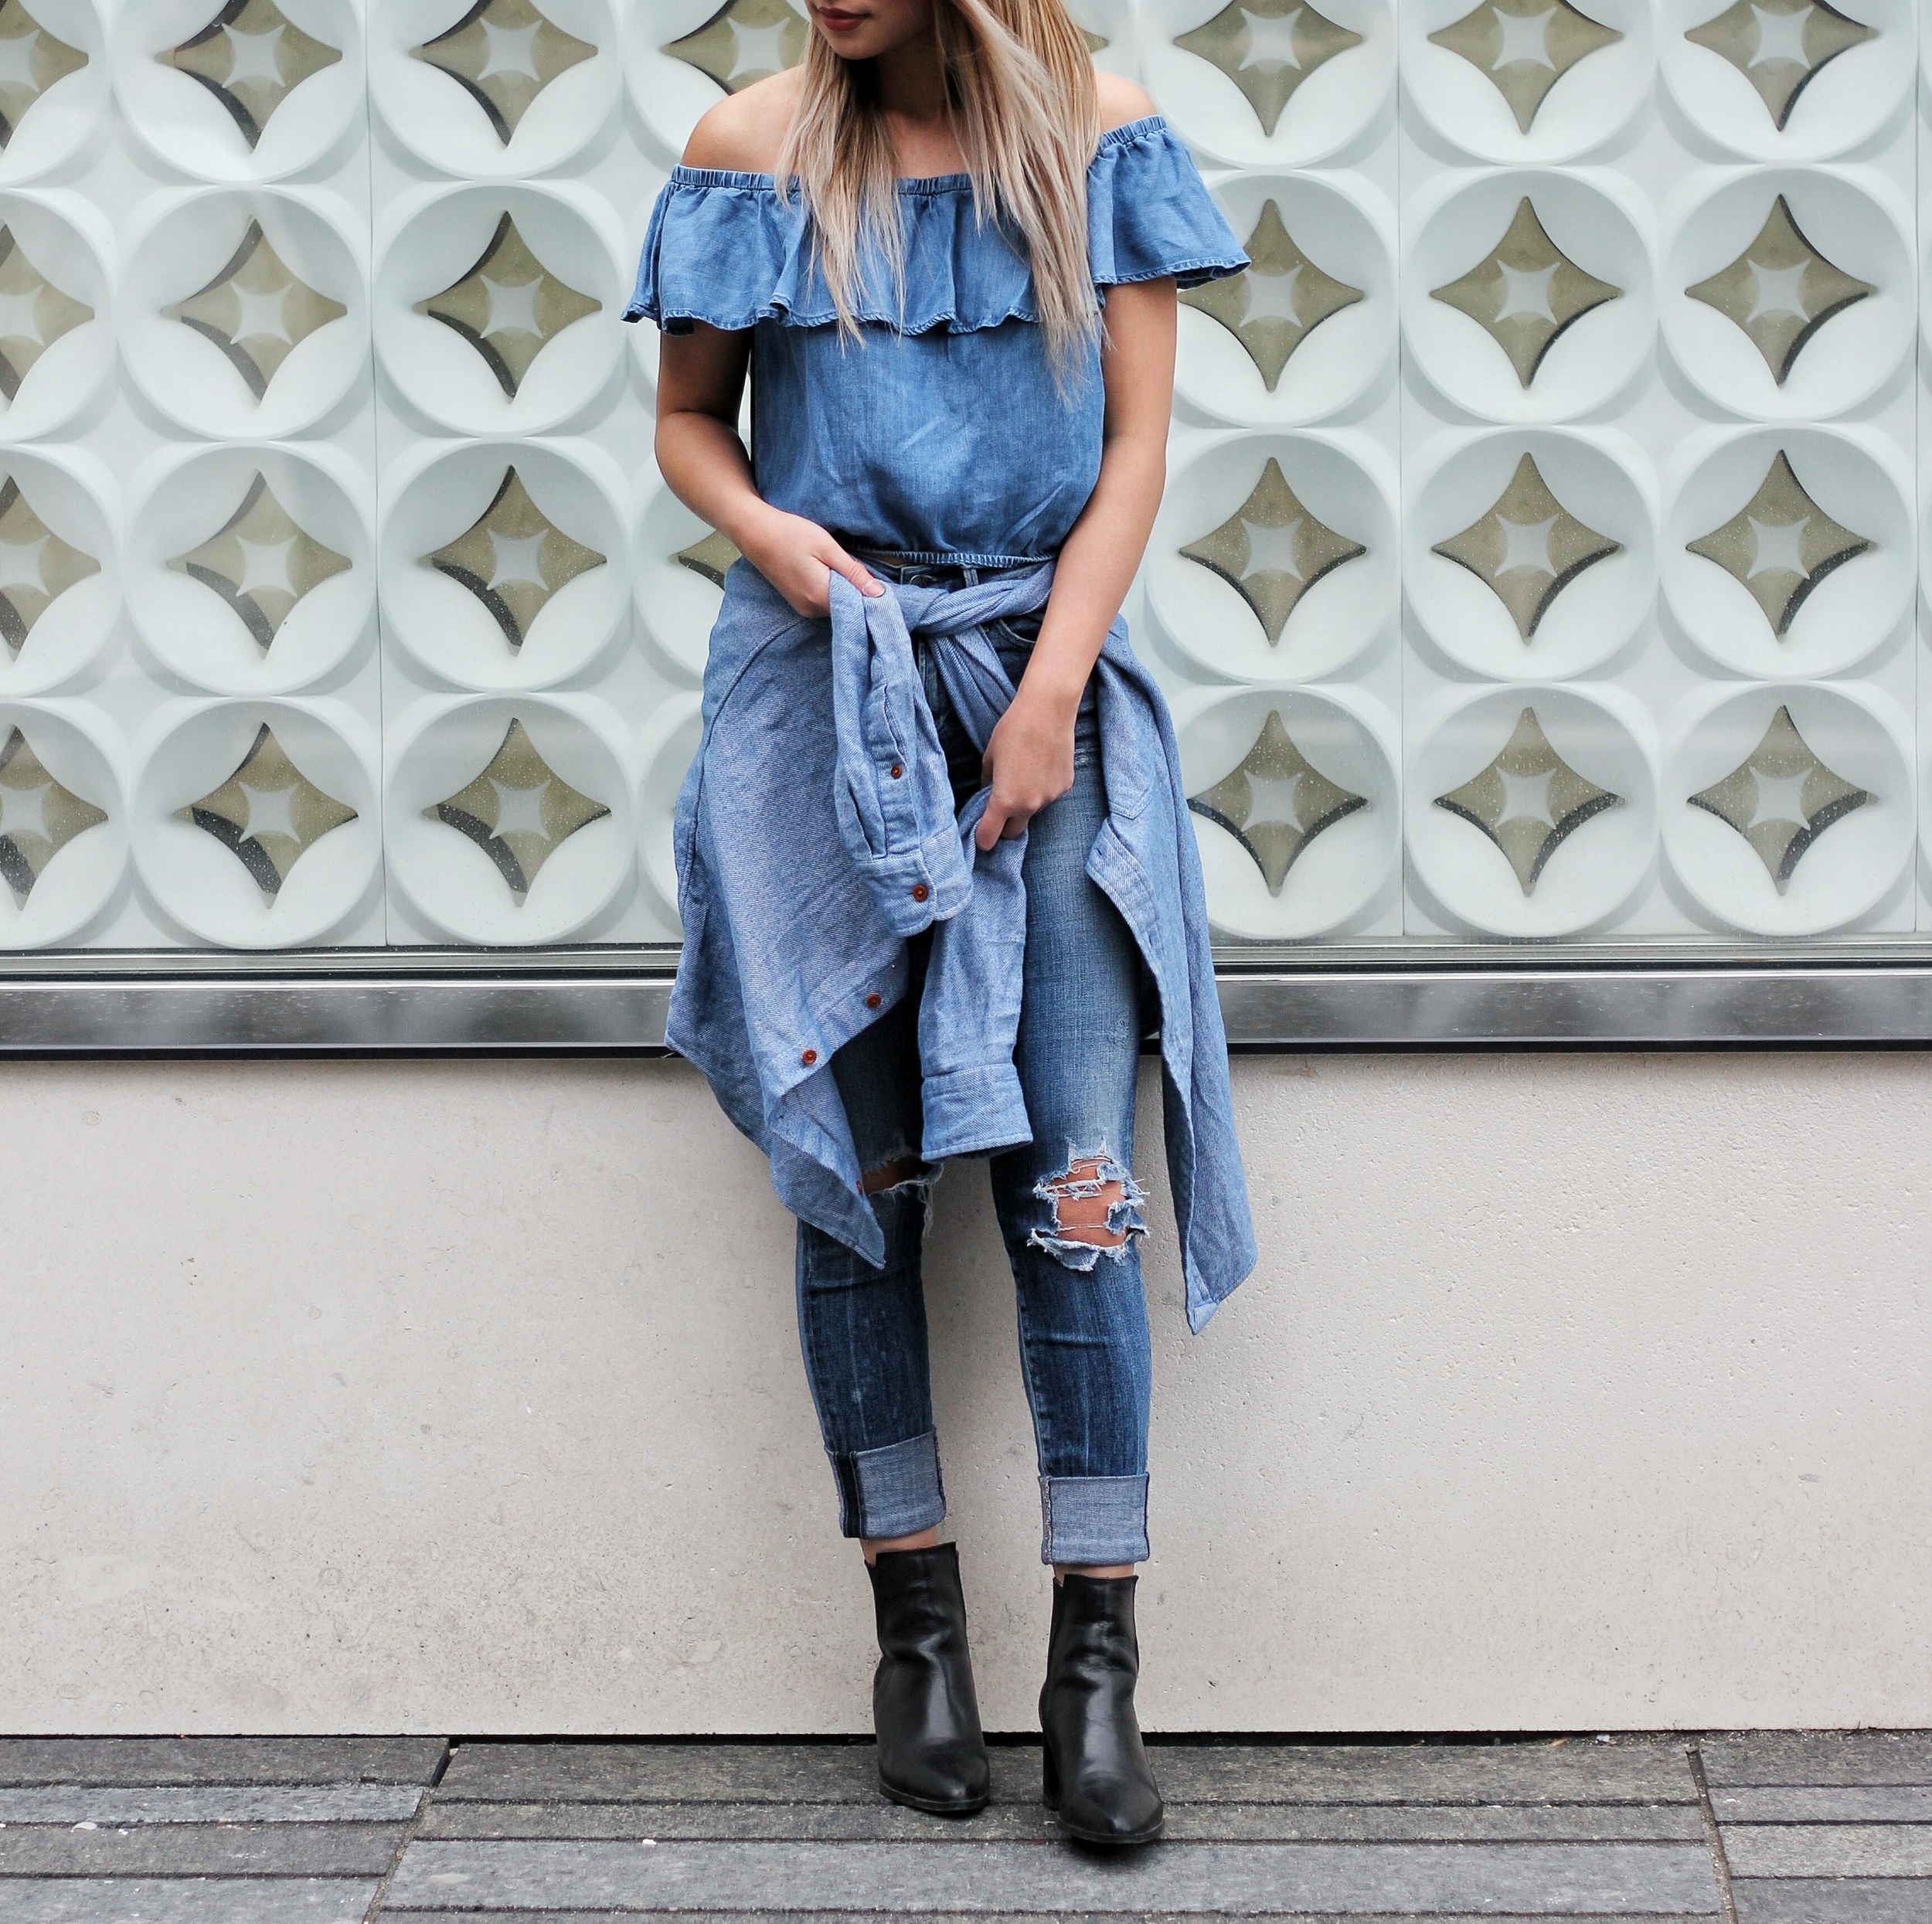
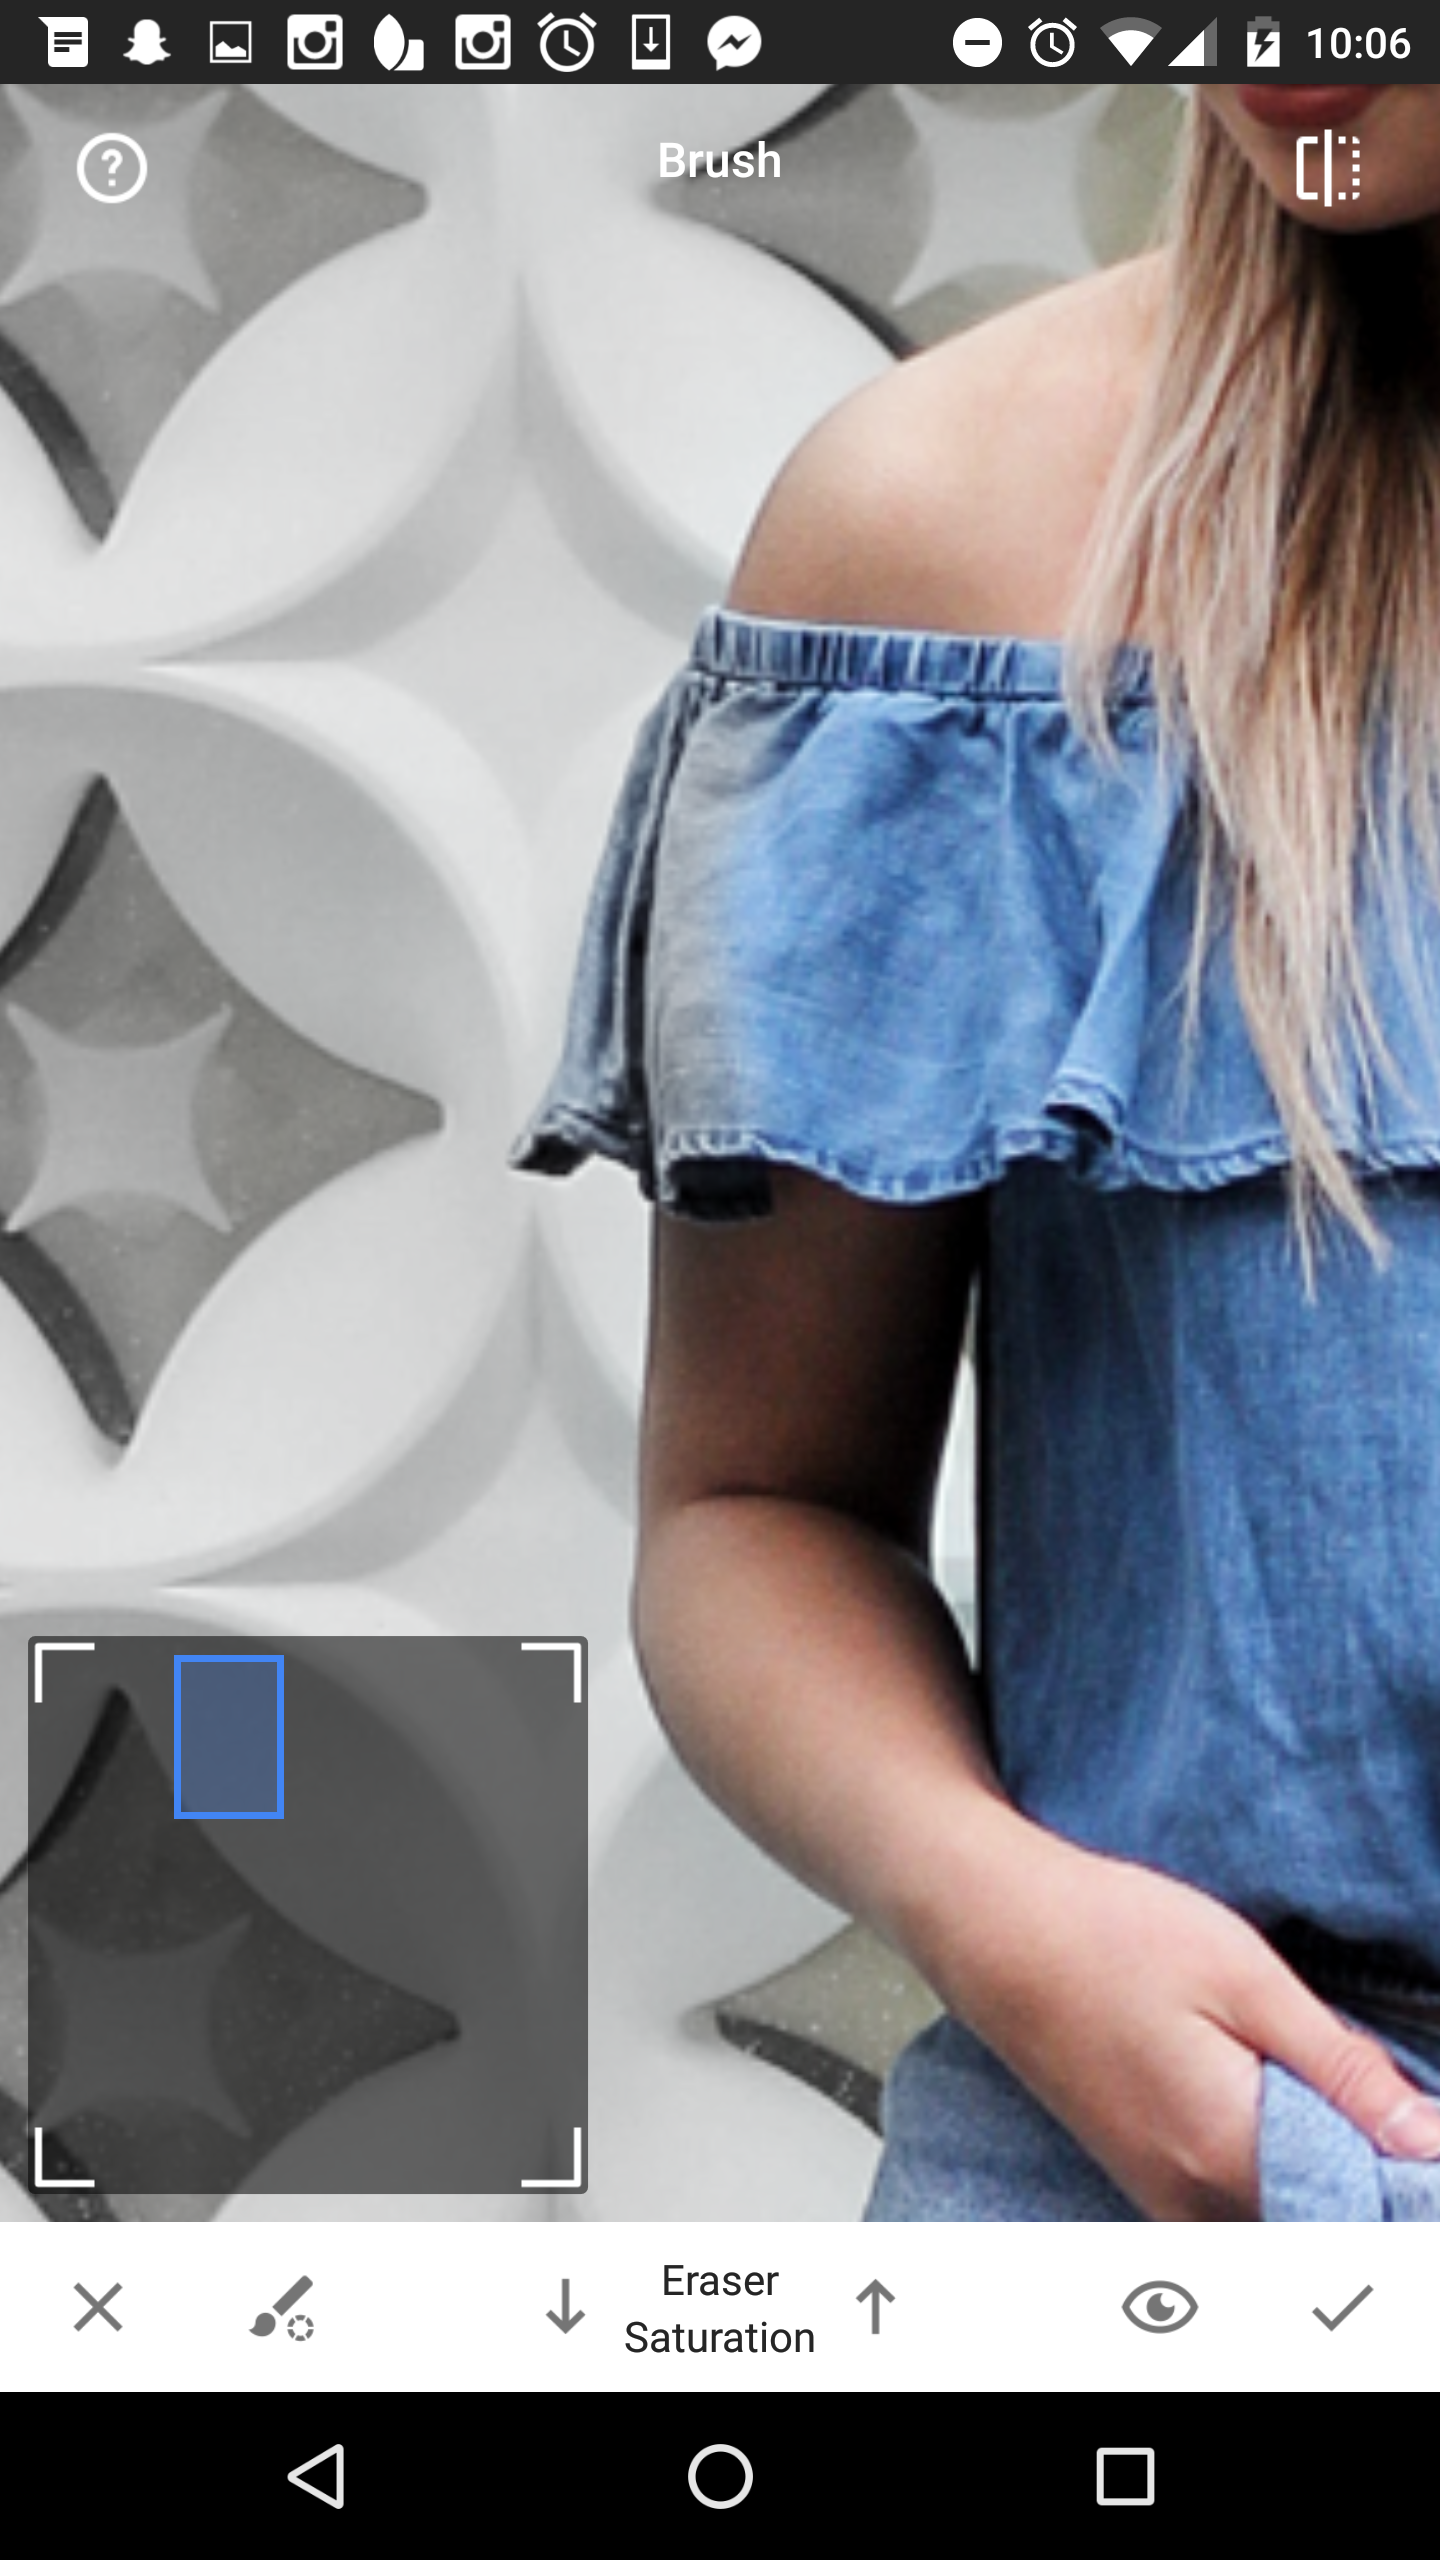
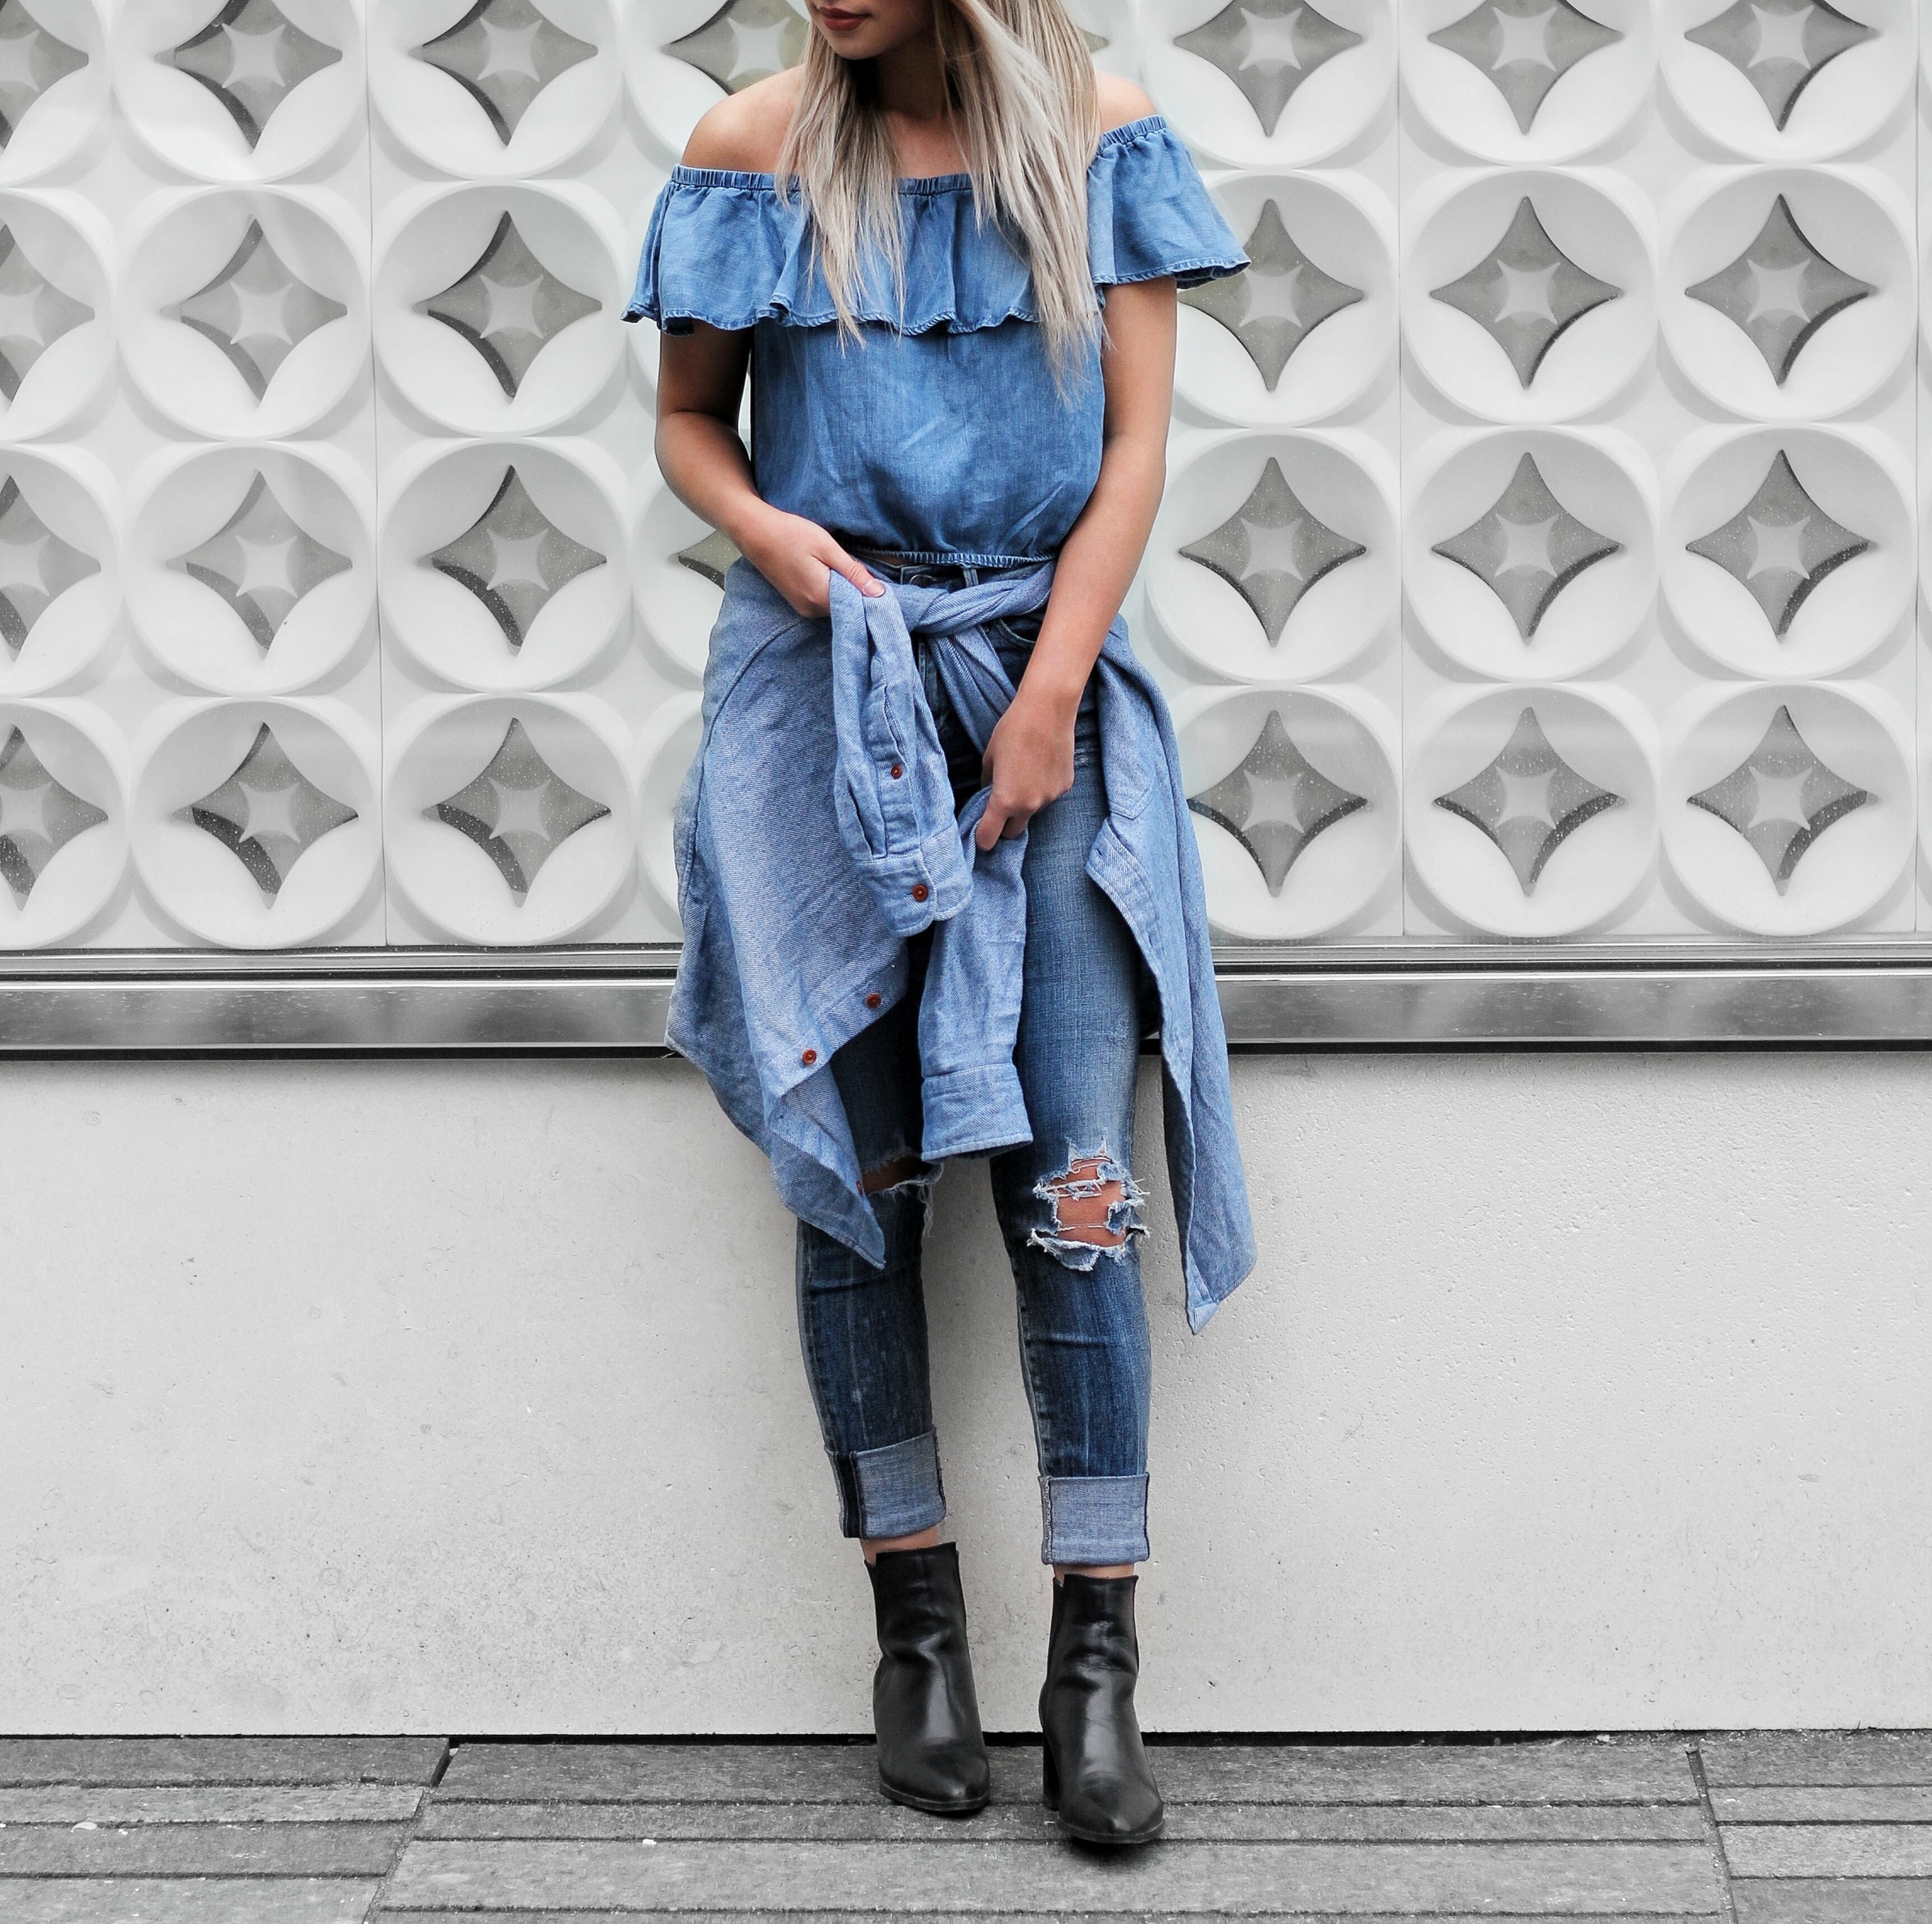
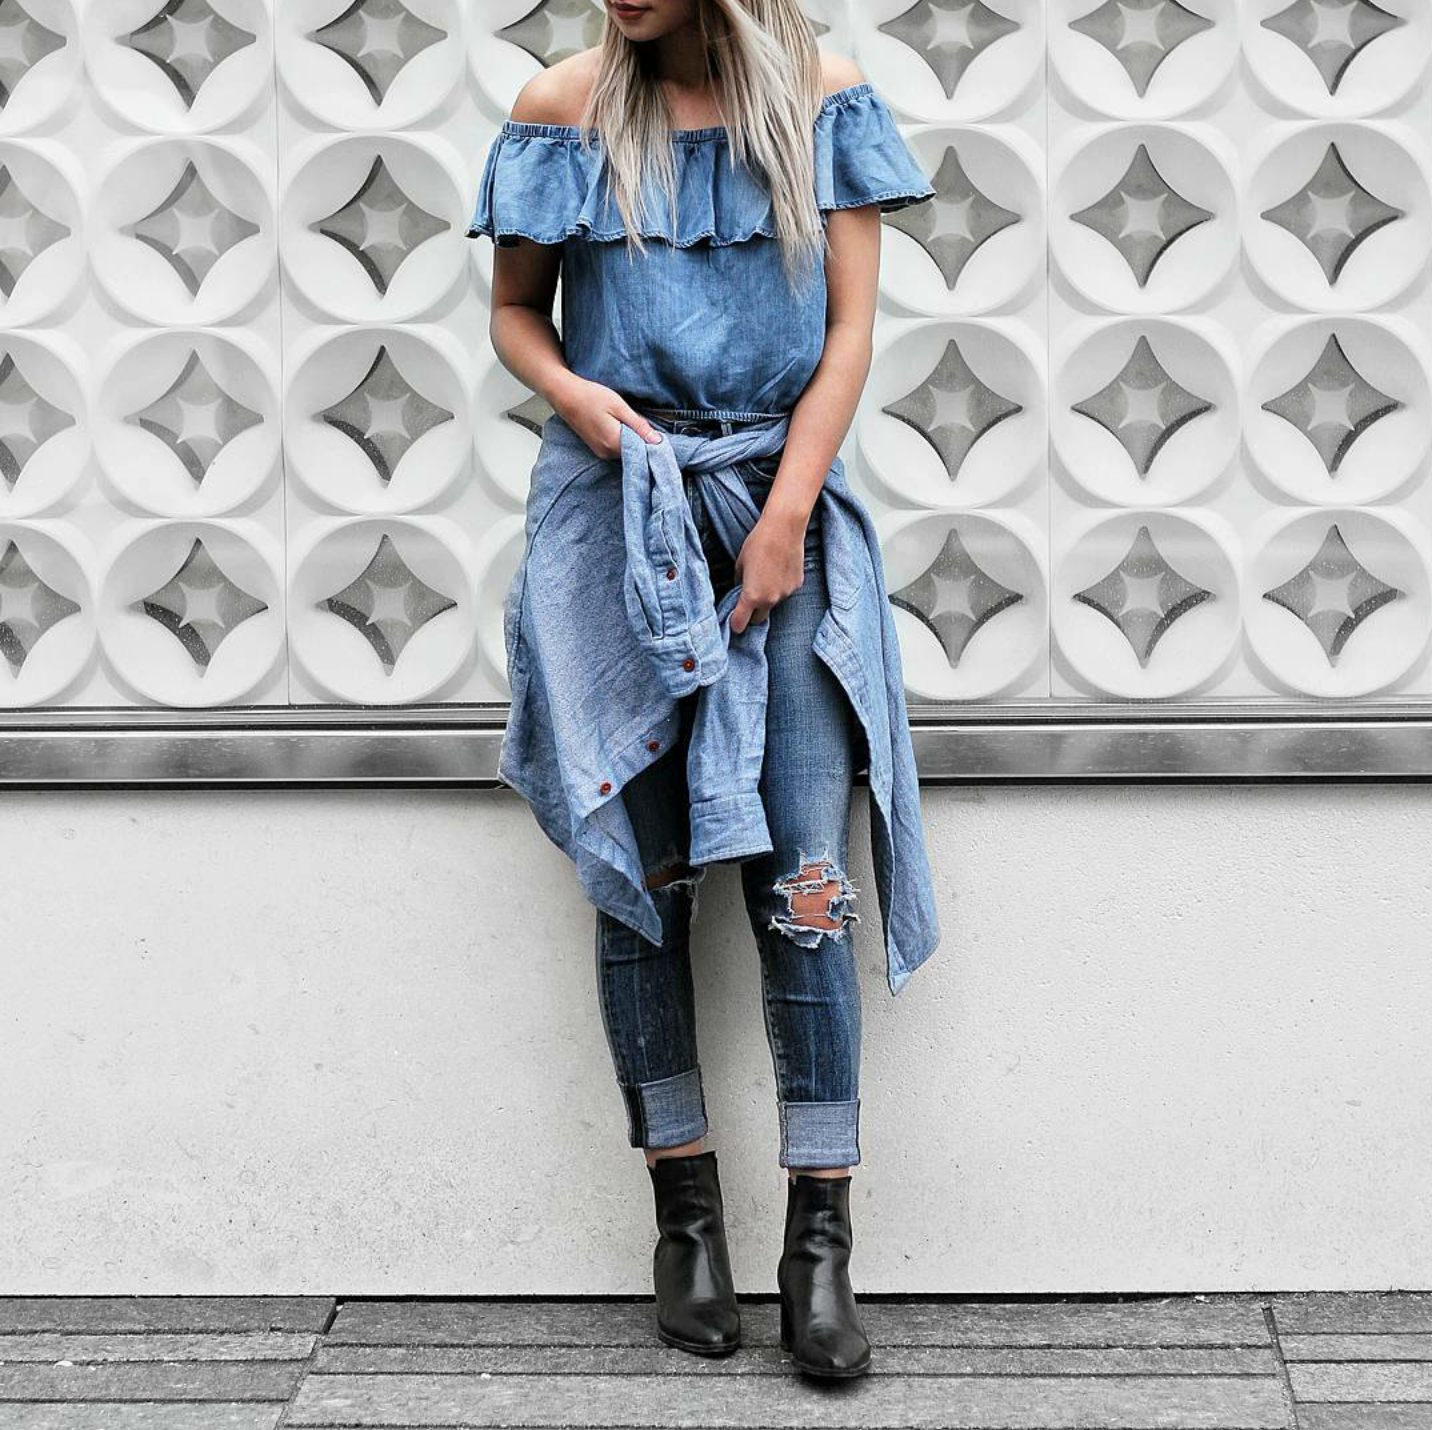
PART THREE OF HOW I EDIT MY PICTURES COMING AT YOU A YEAR LATER! My editing style has significantly changed since part 1 and part 2 of this series (and I also use a DSLR vs. my phone), but you'll notice I no longer give a poop about making everything white. Now I gravitate more towards warmer, 'vintage' tones. This isn't a drastic difference, but you'll find a before (2nd picture) and after (1st picture) of a picture I recently posted on Instagram below:

PEEP THE STEPS BELOW:

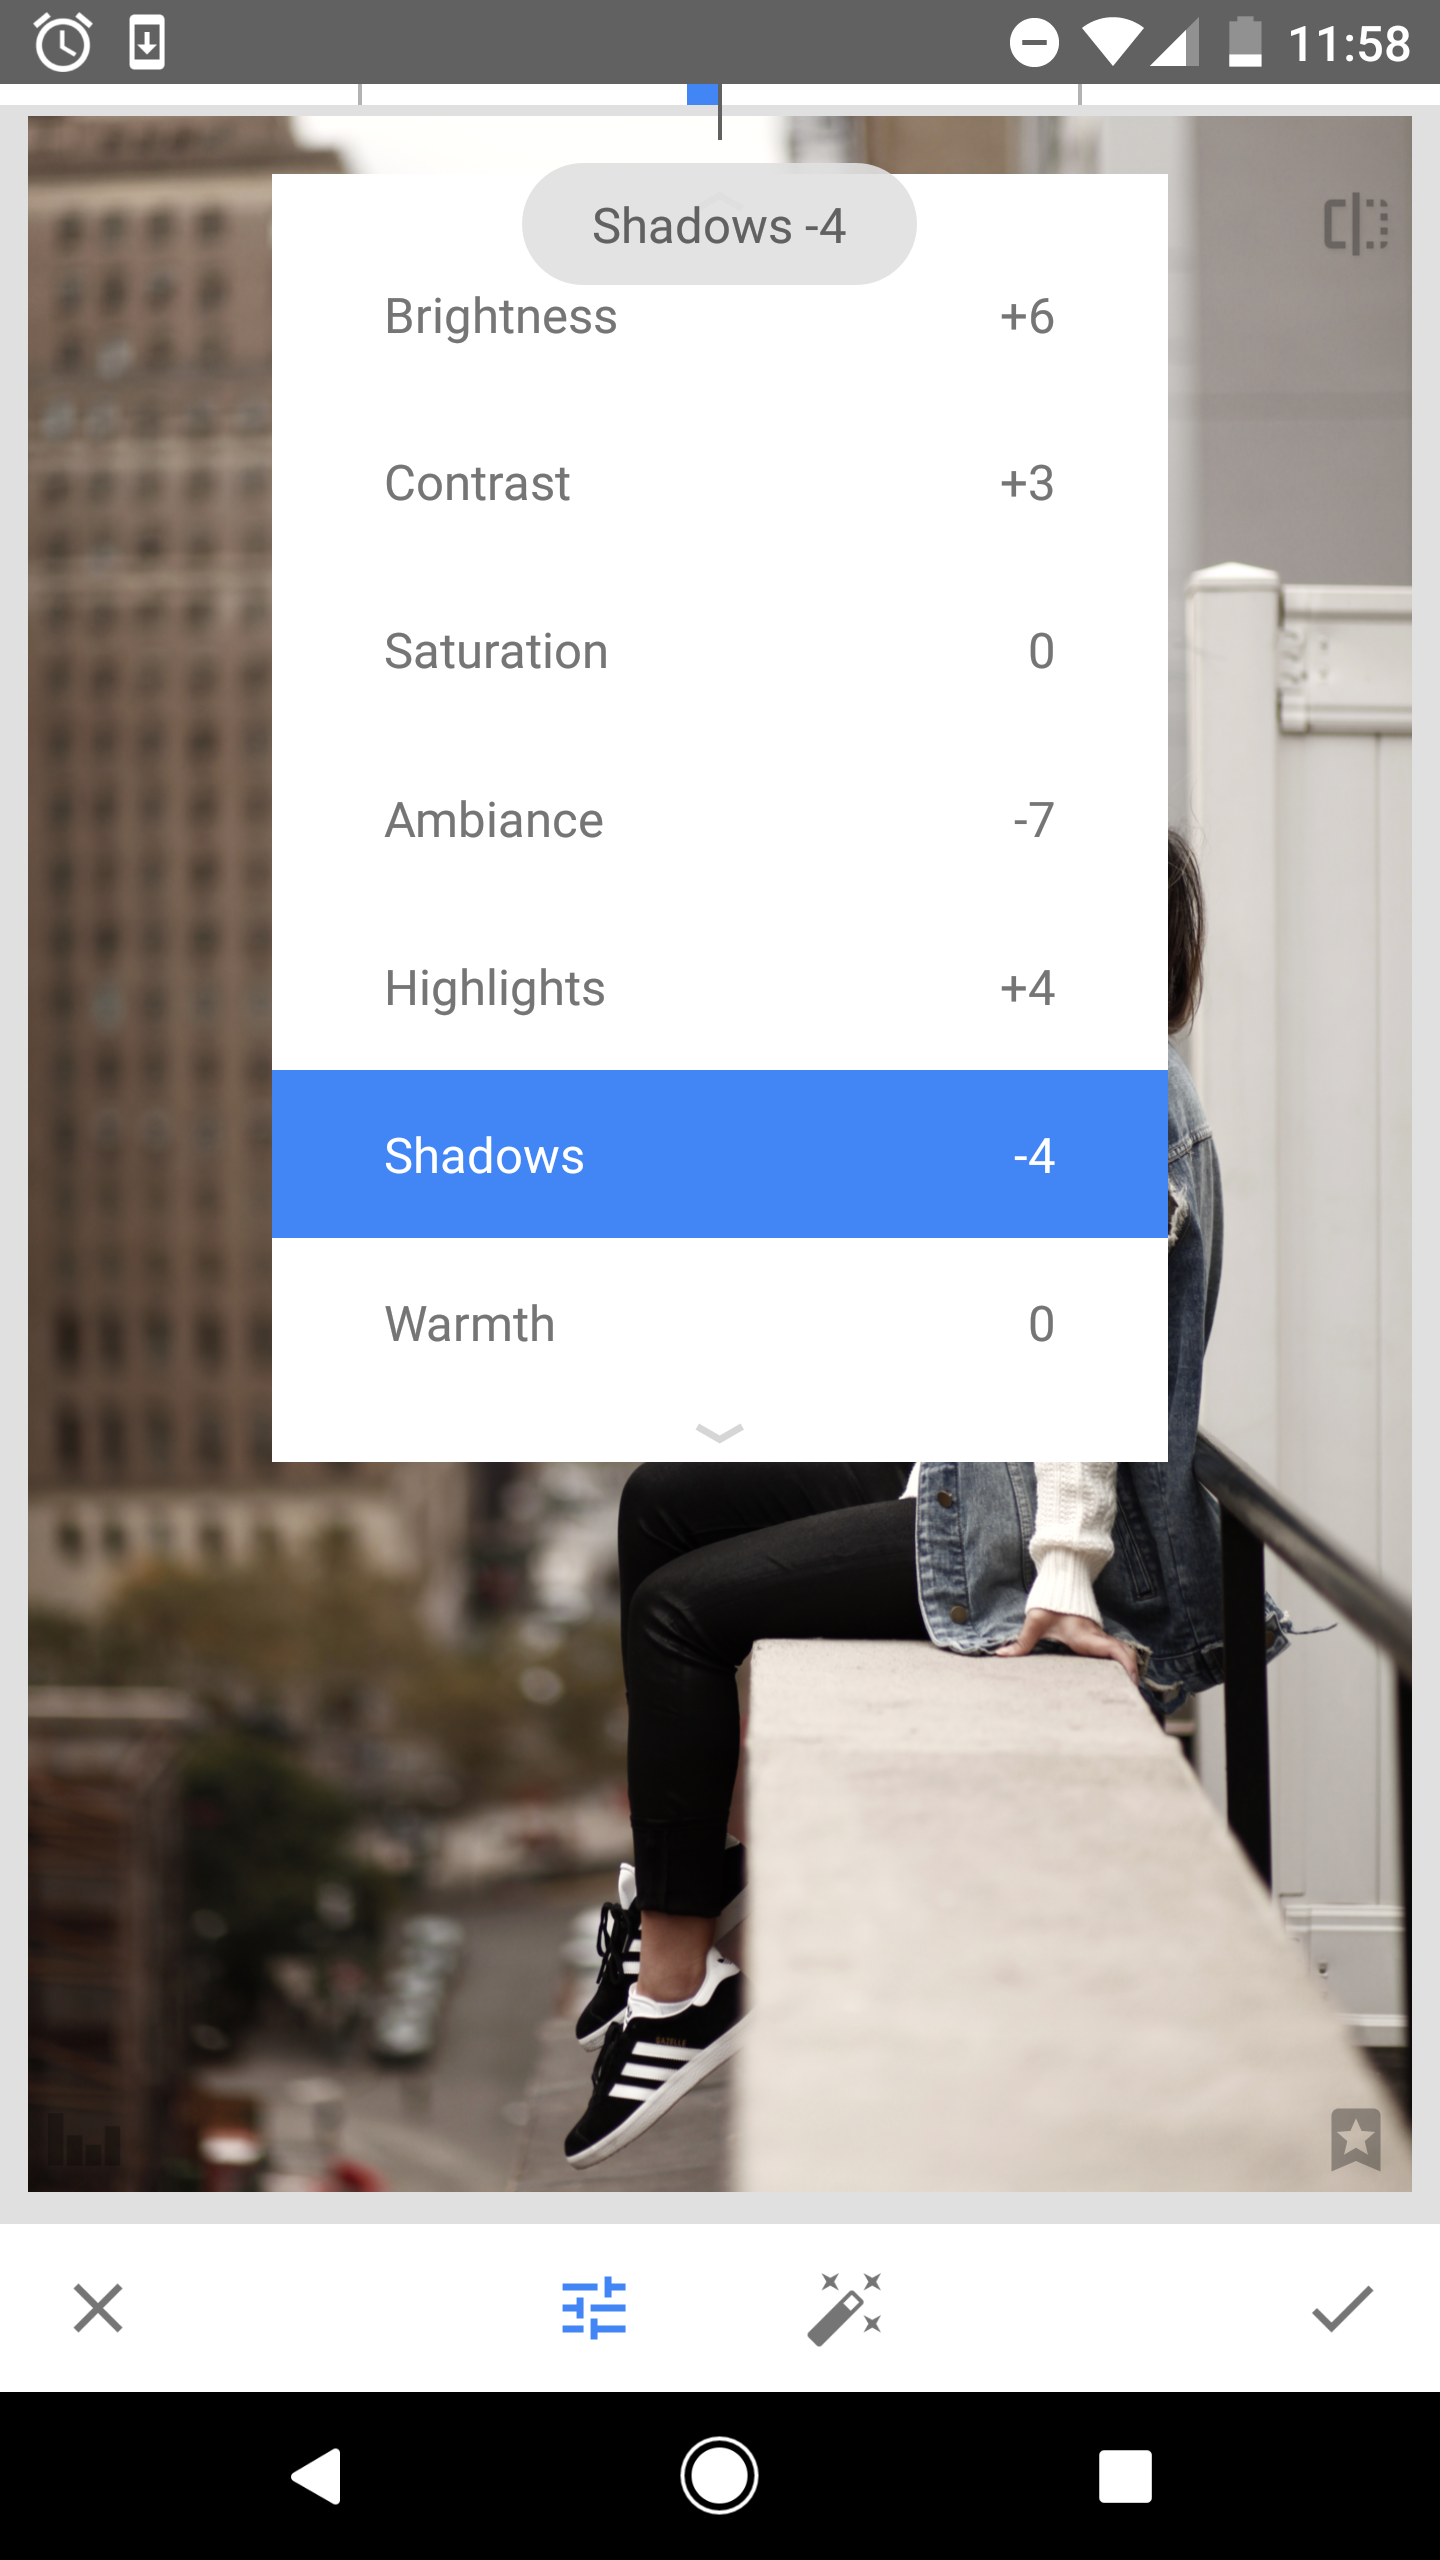
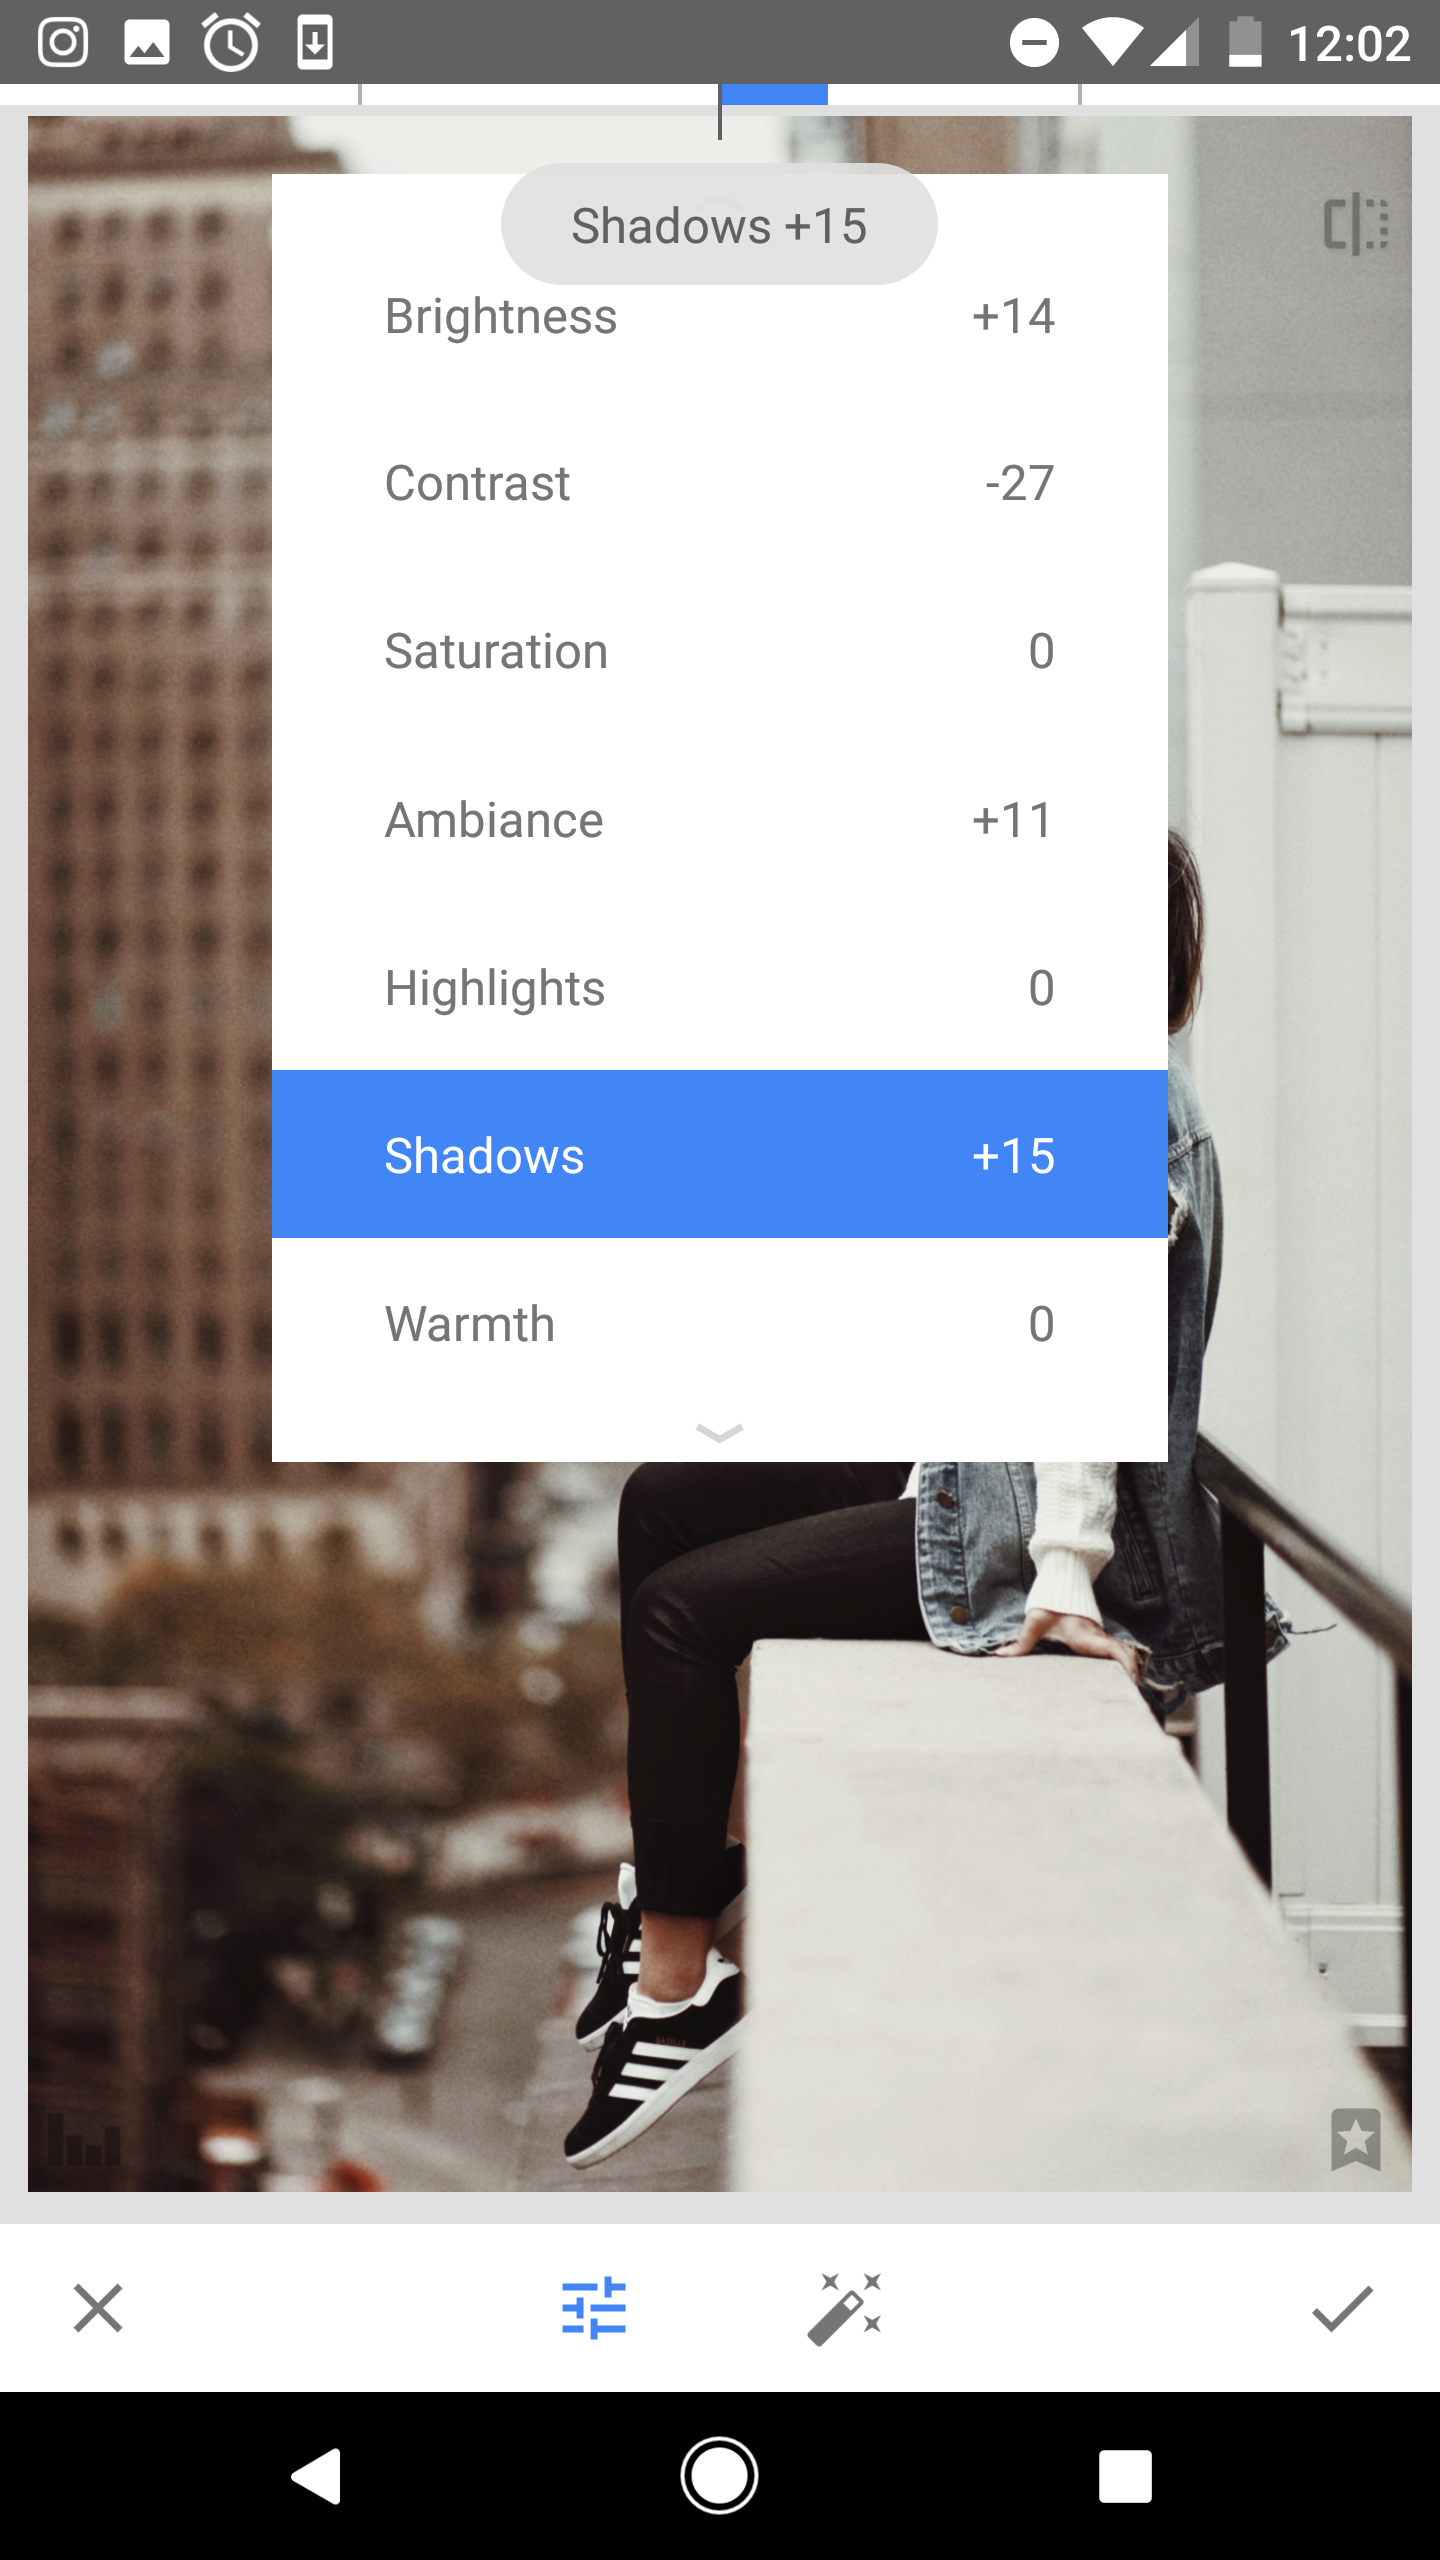
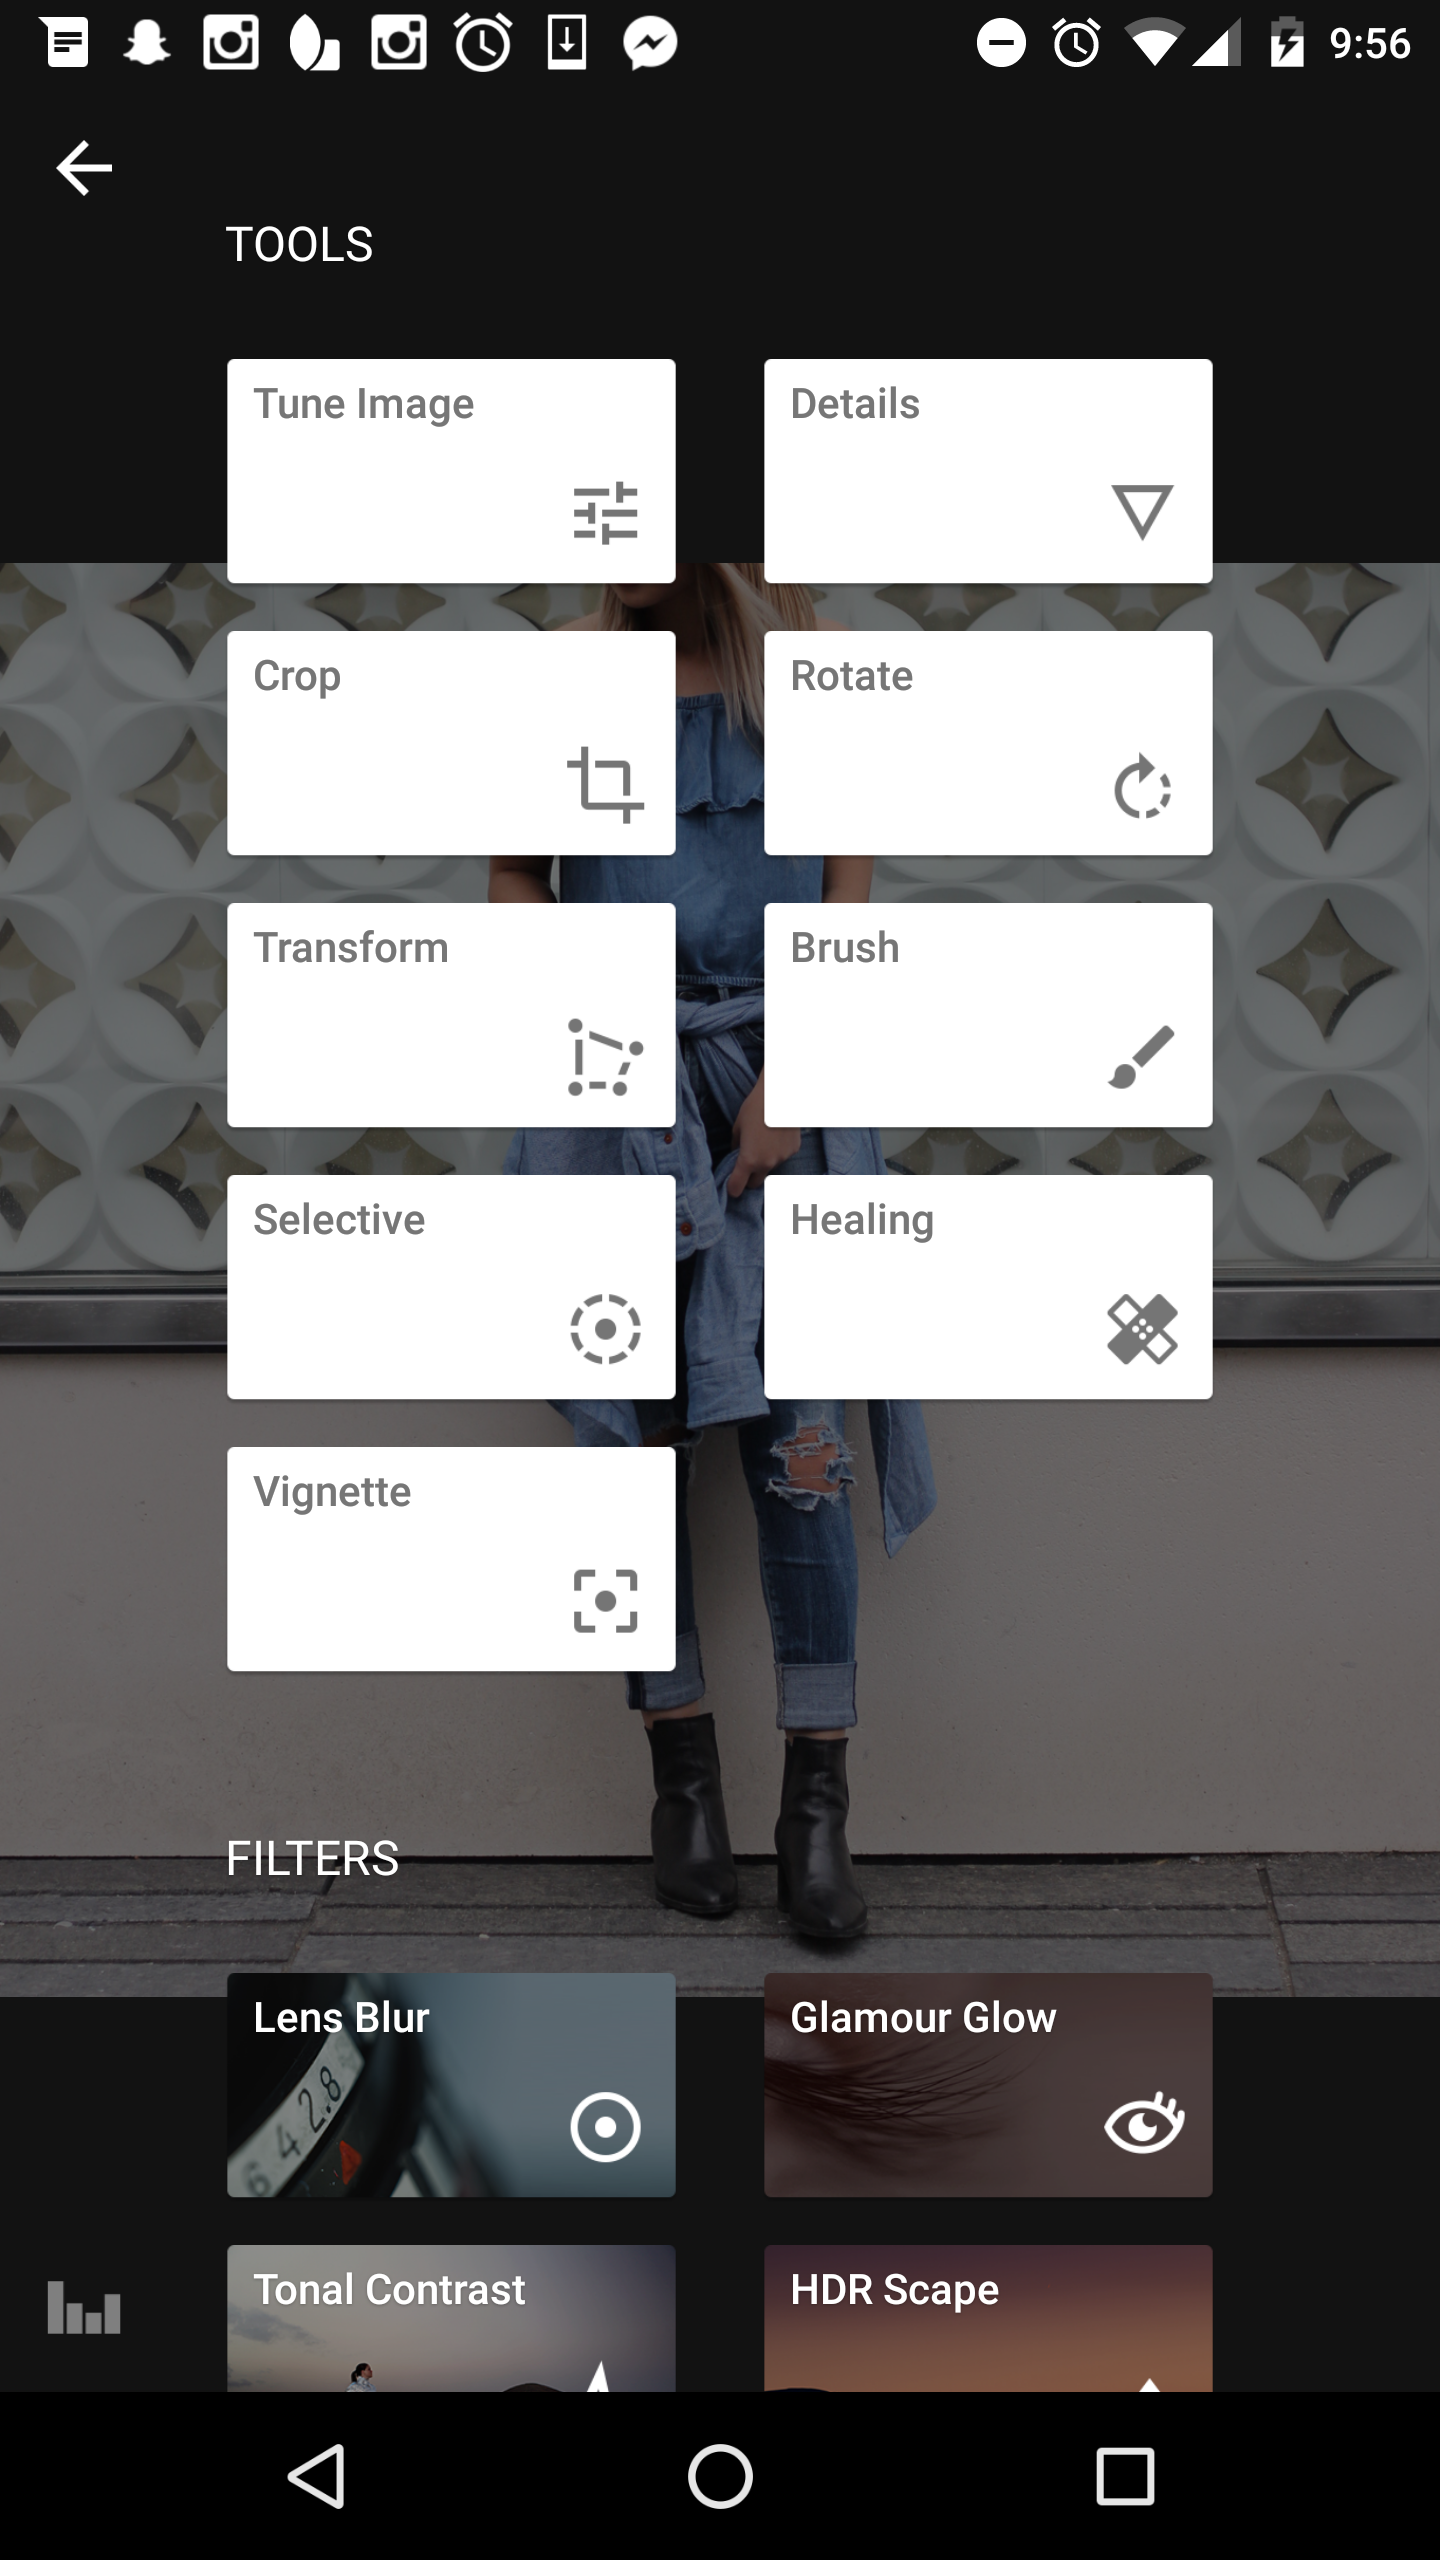
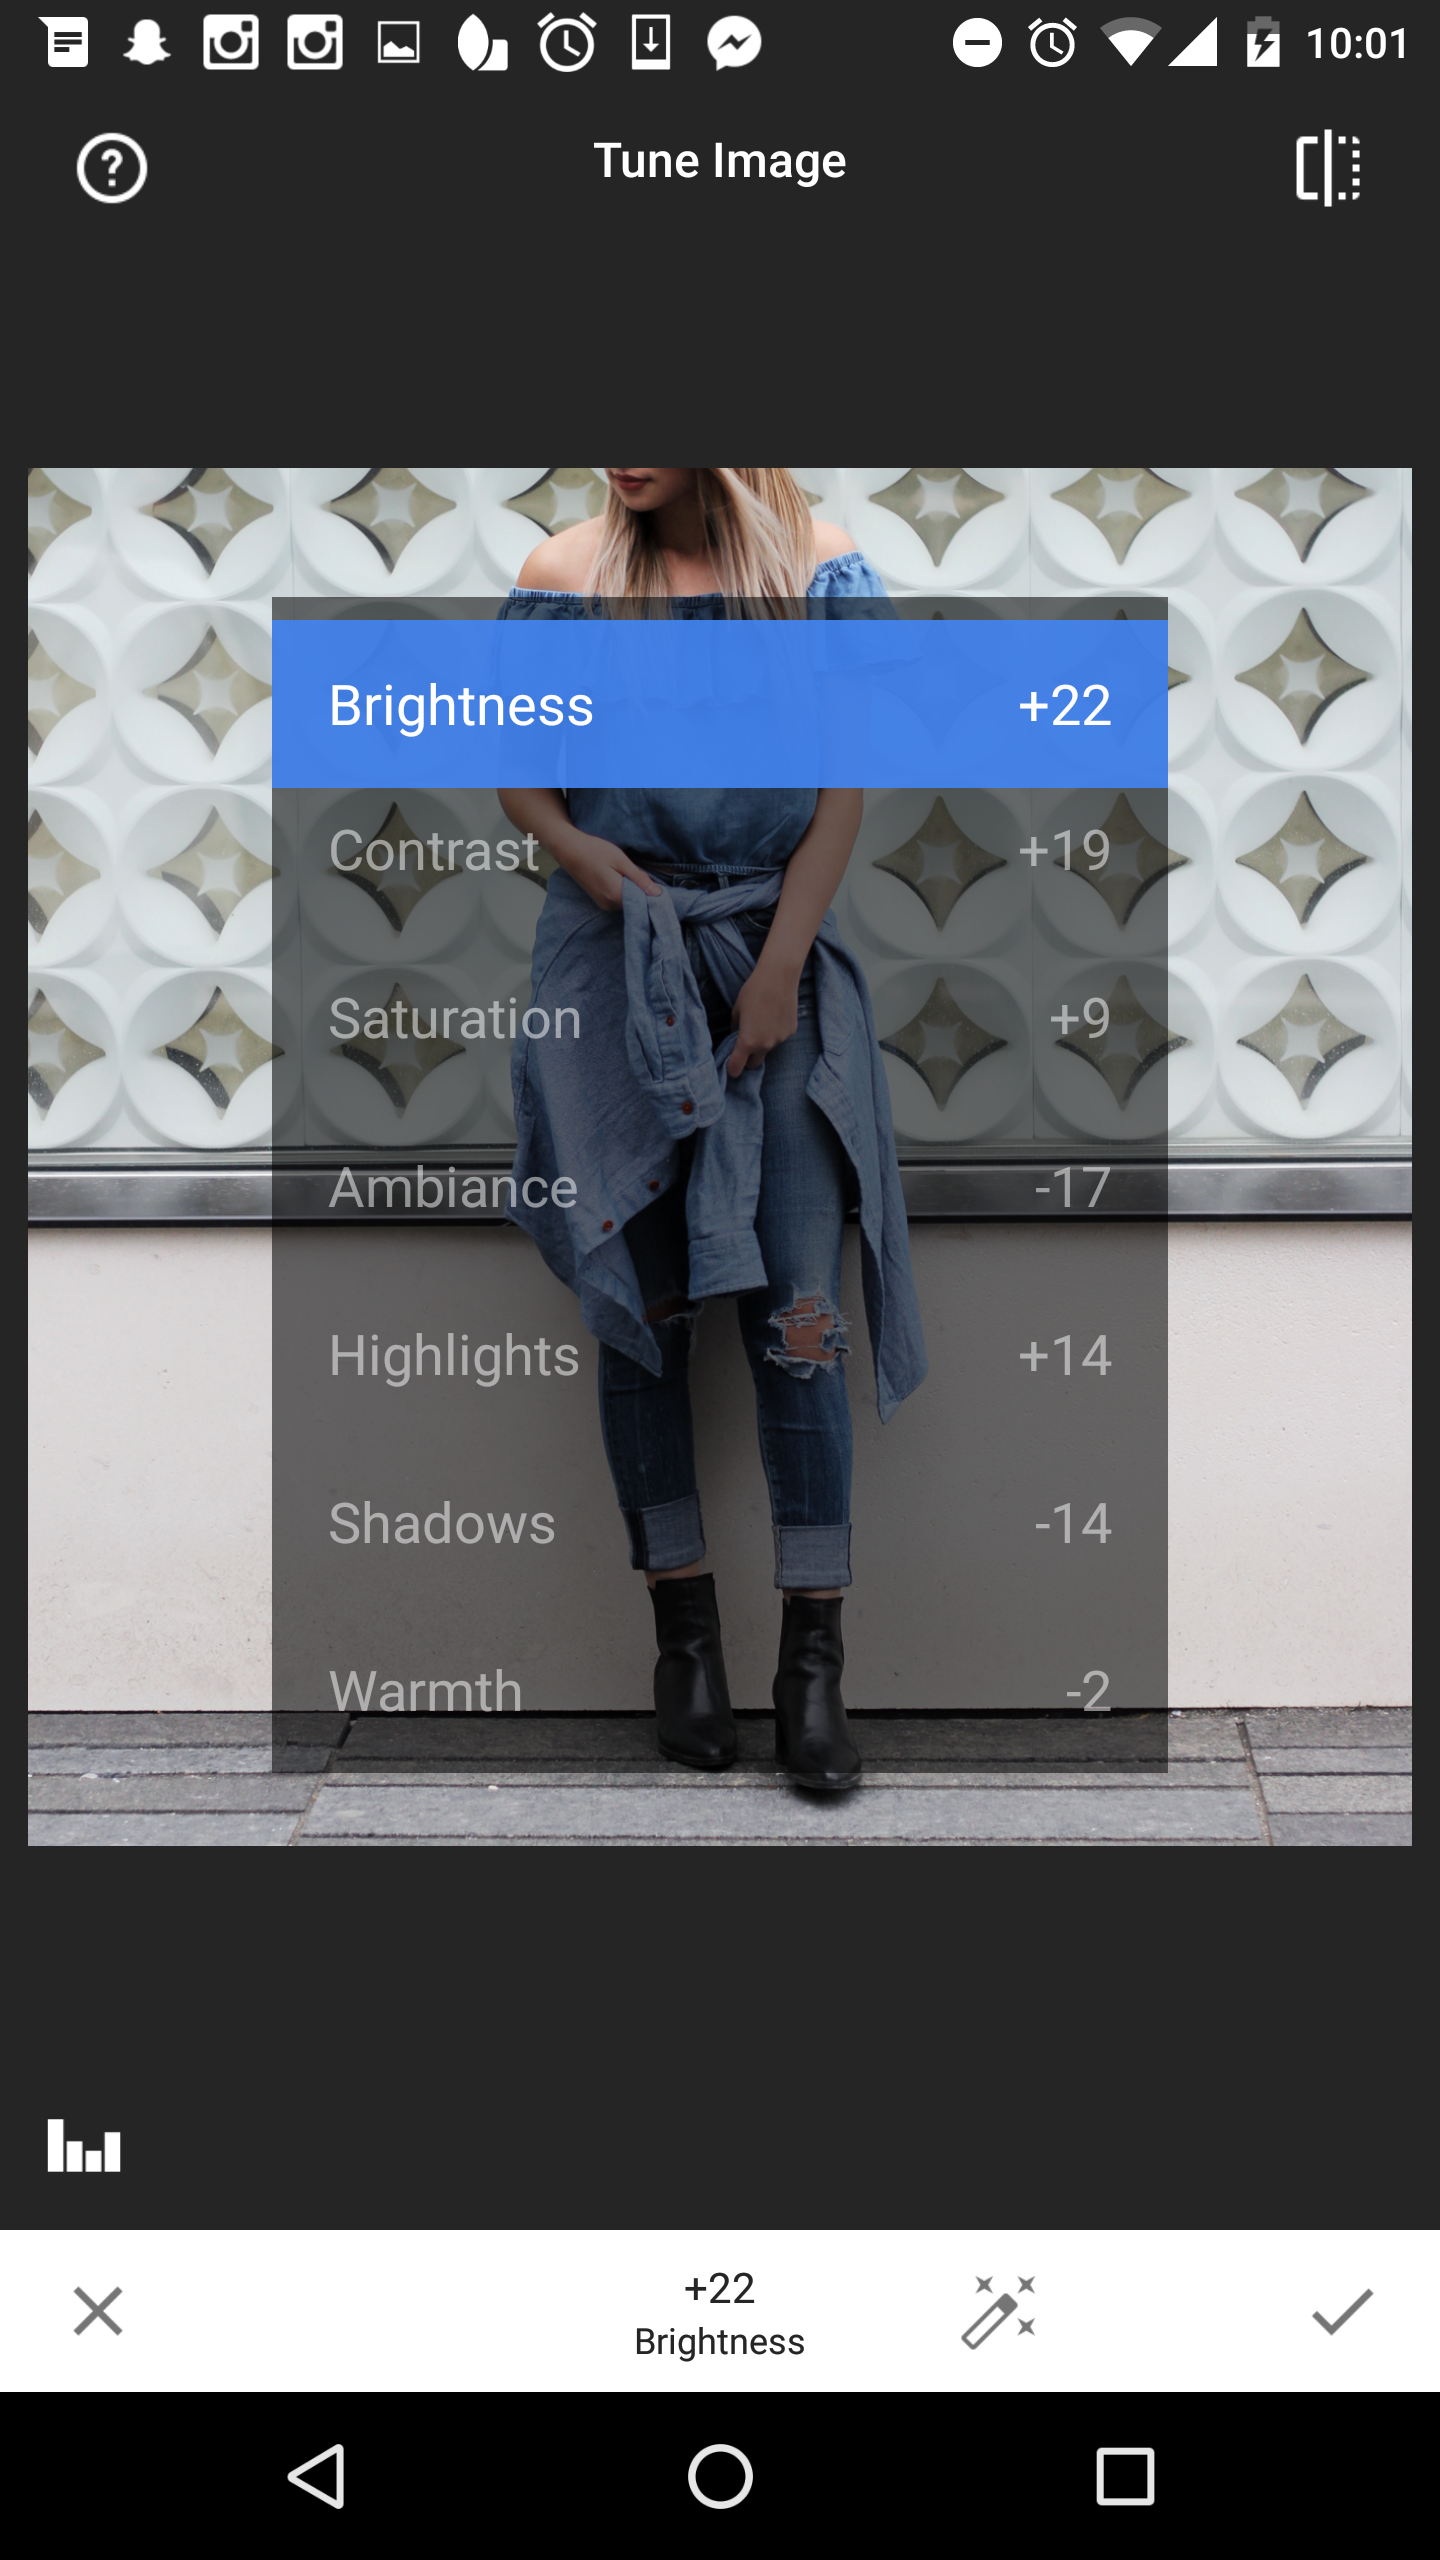
1.  Tune Image - I still start all my editing in Snapseed. I first adjust the brightness, contrast, ambiance, highlights and shadow by going to Tools > Tune image.

New York_Tune Image

2.  Details - Just to sharpen and add structure to the image a little, I adjust that under Details.

New York_Details

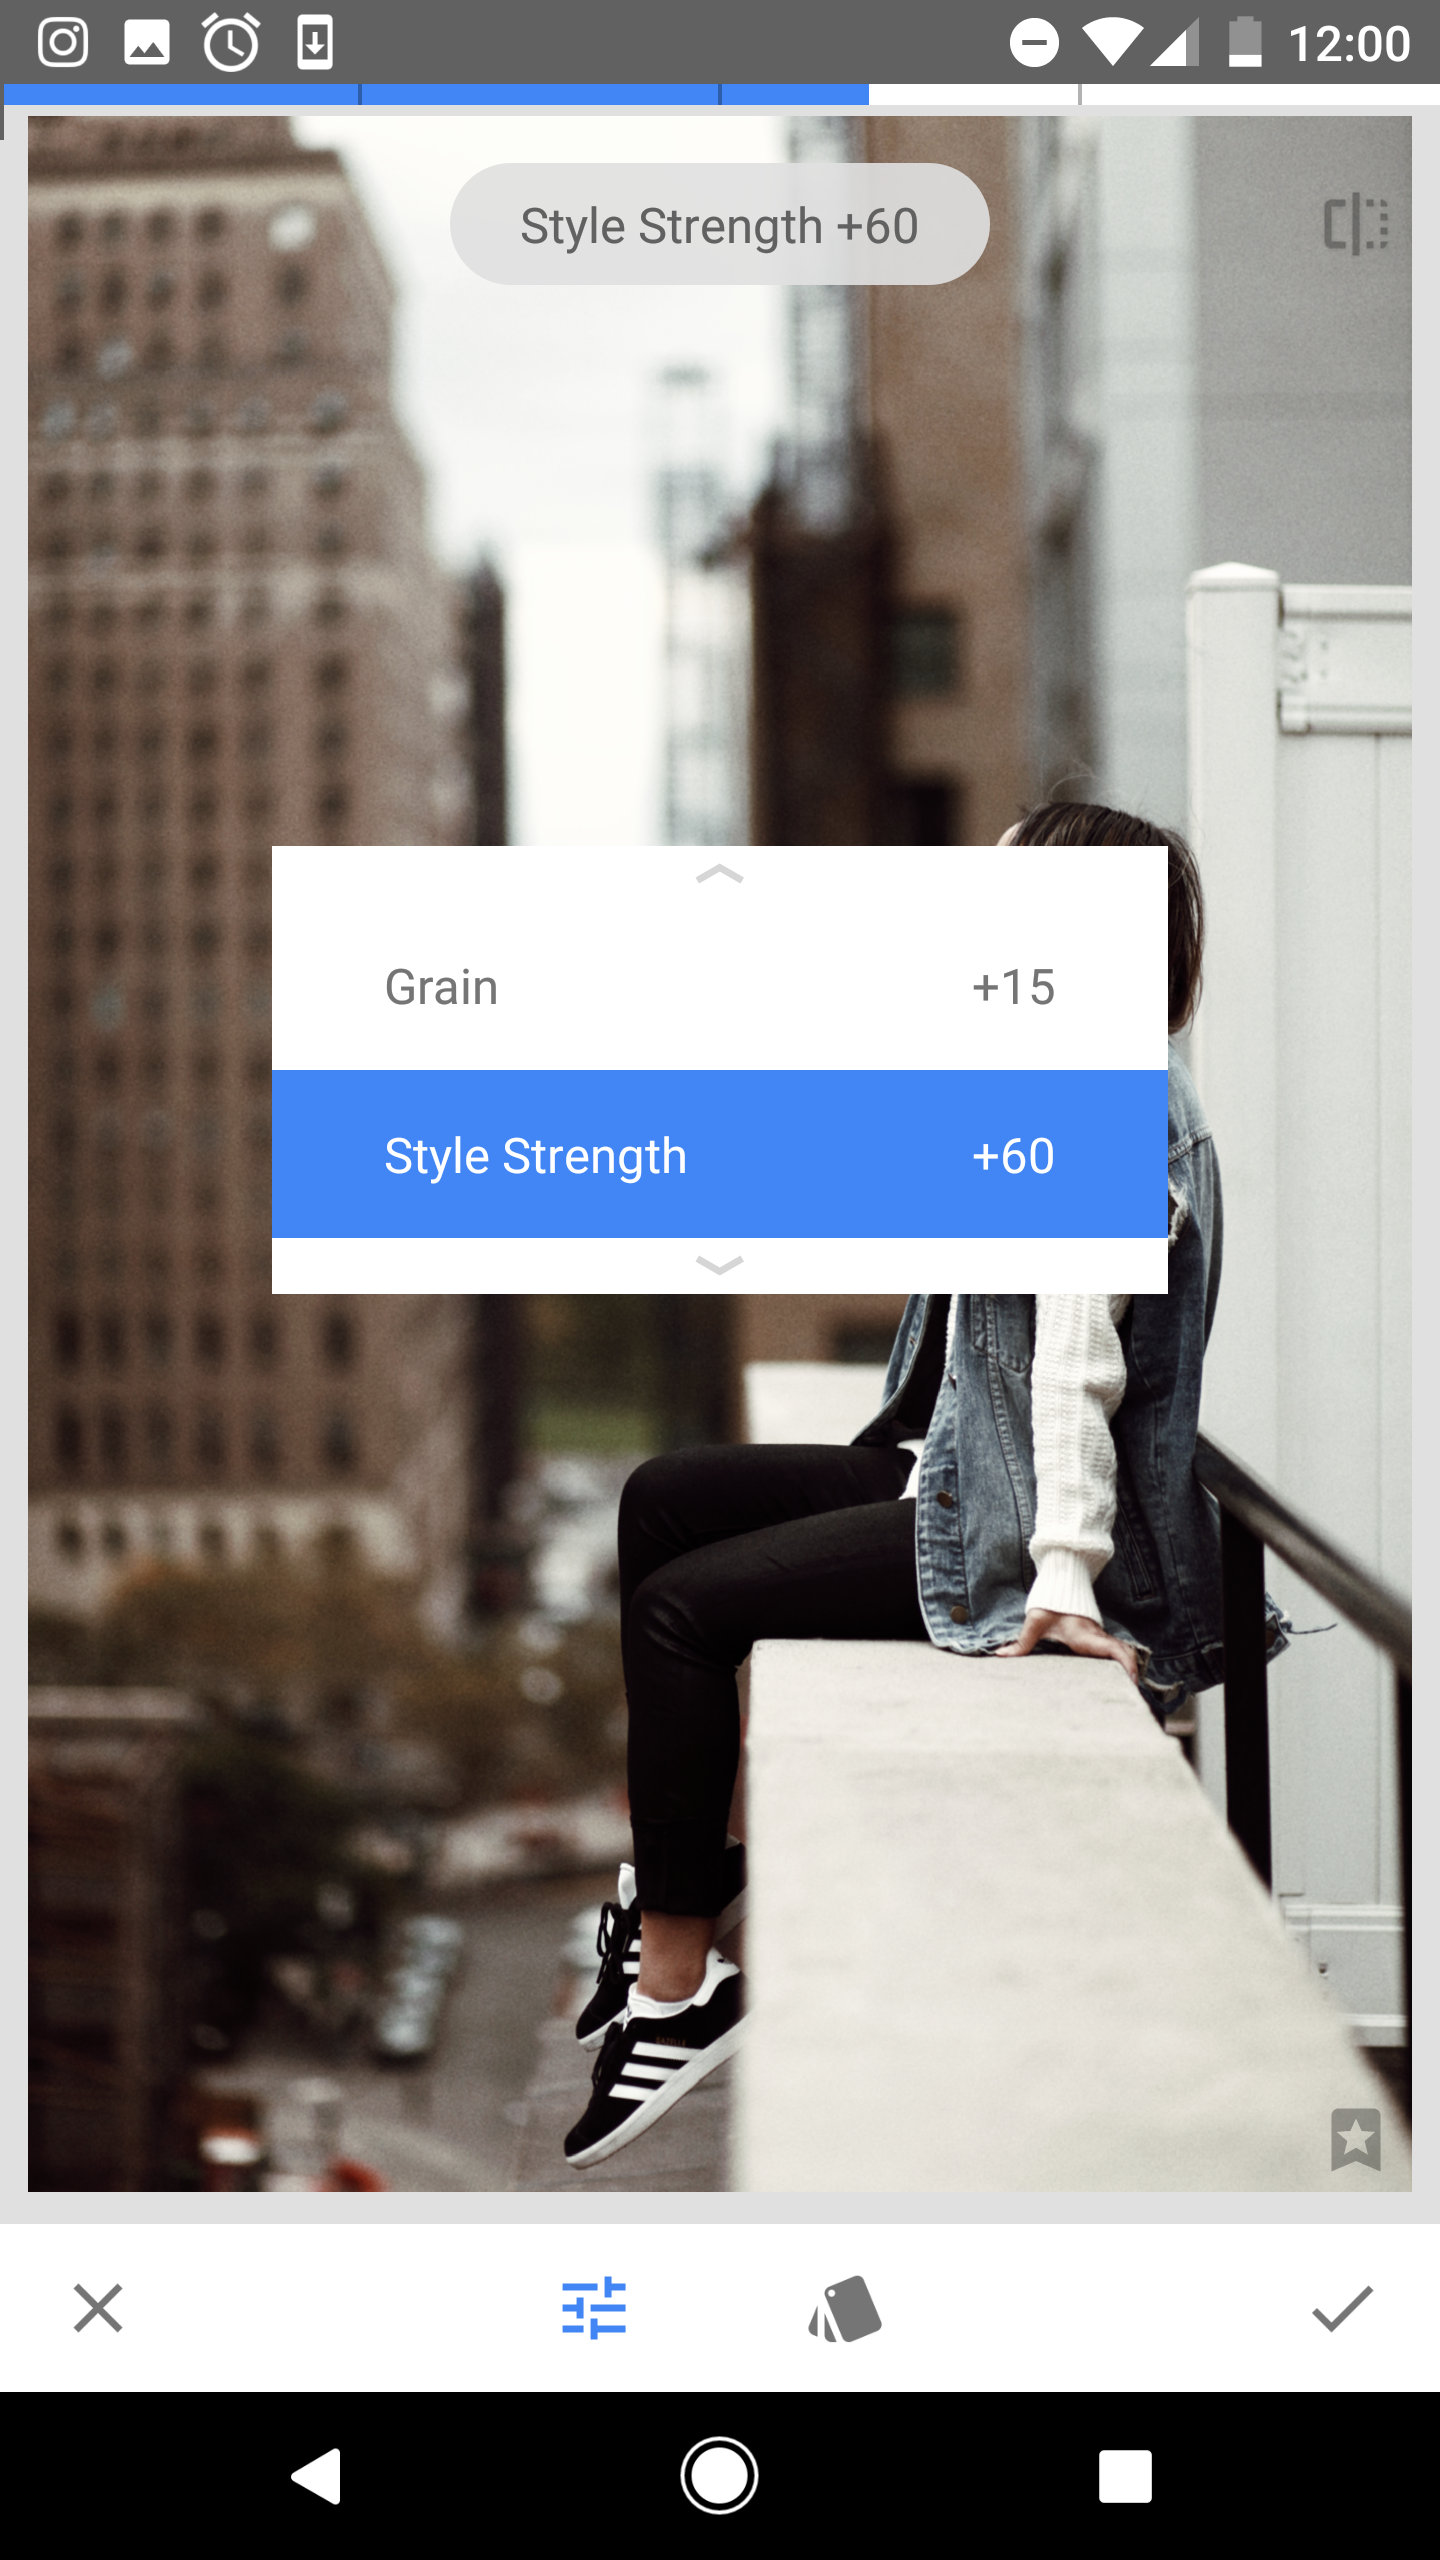
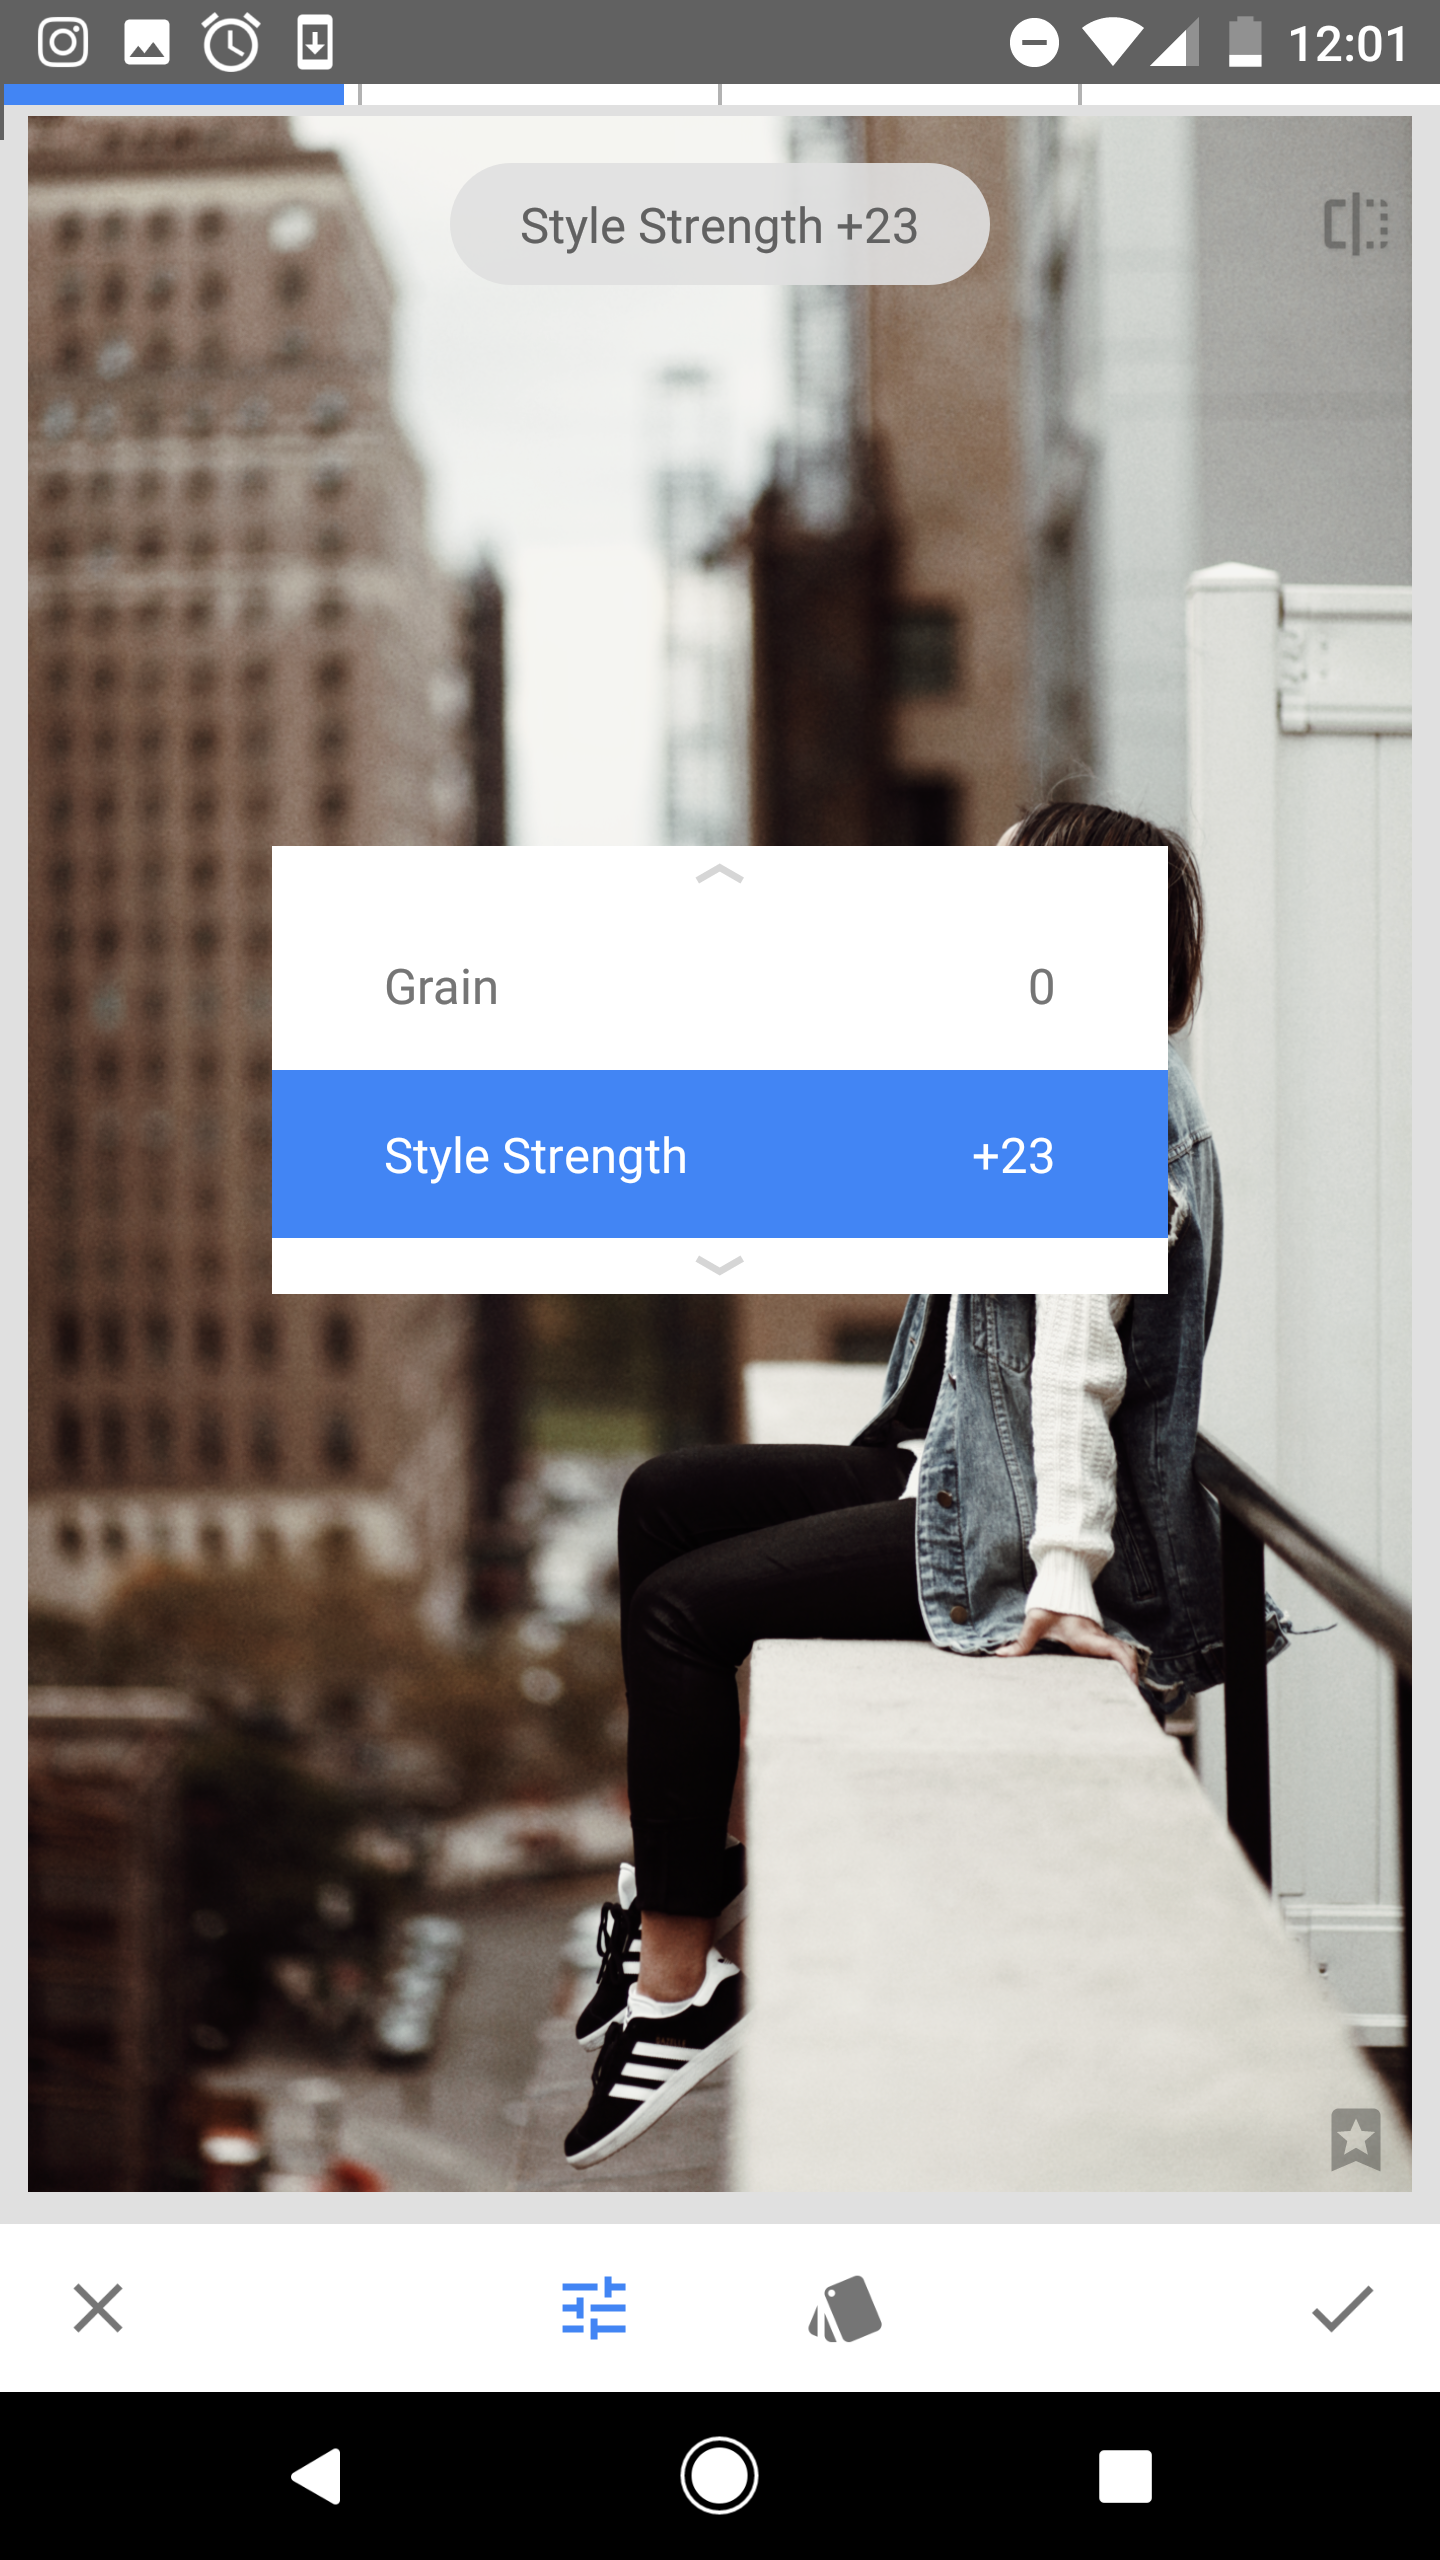
3.  Grainy Film - This is a feature I recently discovered a couple months ago, but has been my HG since. I toggle between X03 and X04 usually depending on what kind of tone I'm leaning towards (here I ended up going with X03). I adjusted the grain and style strength to my liking!

4.  Grainy Film again - I play with Grainy Film back and forth until I get the tone I want. Here, I added a bit of X04 to add some warmth back to the image. 

5.  Back to Tune Image - Grainy Film tends to over contrast or over shadow the image, so I go back to Tune Image and adjust the brightness, contrast, ambiance, highlights and shadows until I get the preferred look. You'll notice here that I reduced the contrast and shadows to enhance the details of my outfit.

6.  HDR Scape - Sometimes I like playing around with this feature on a low filter, just to enhance my surroundings.

7.  Tonal Contrast - If I feel the picture needs a good sharpen, I use Tonal Contrast (but in this case I'm not).
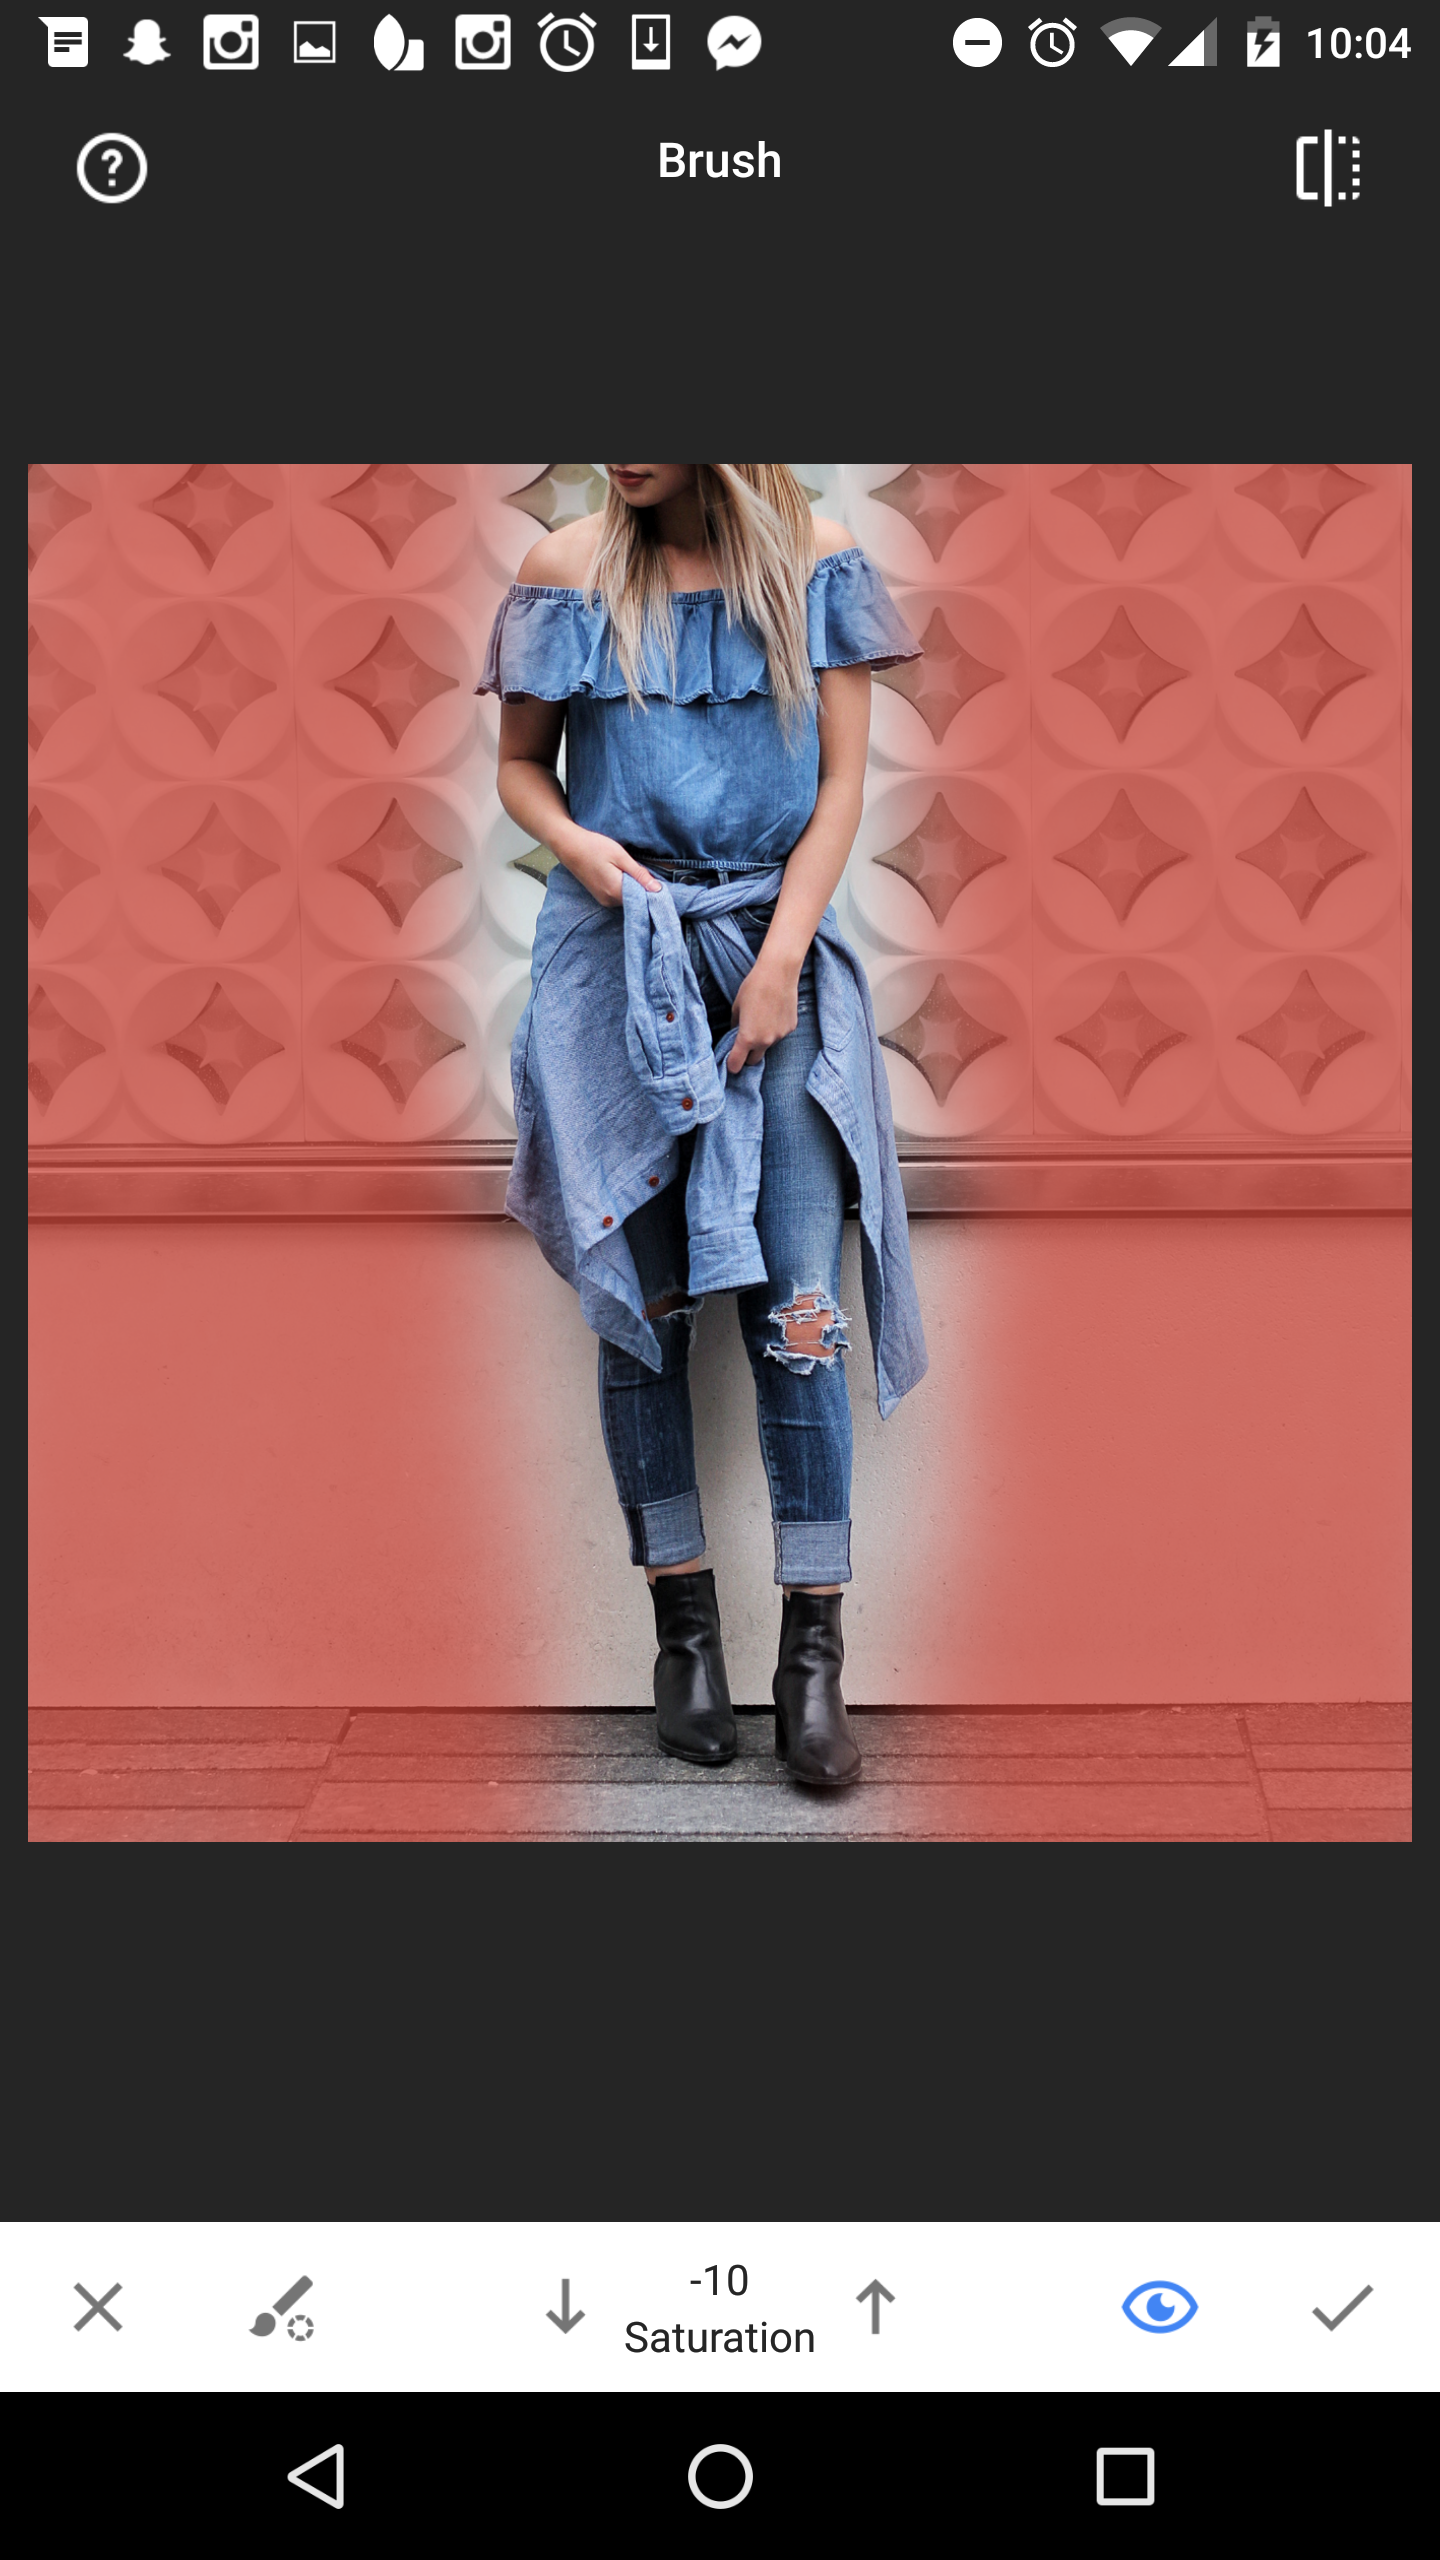
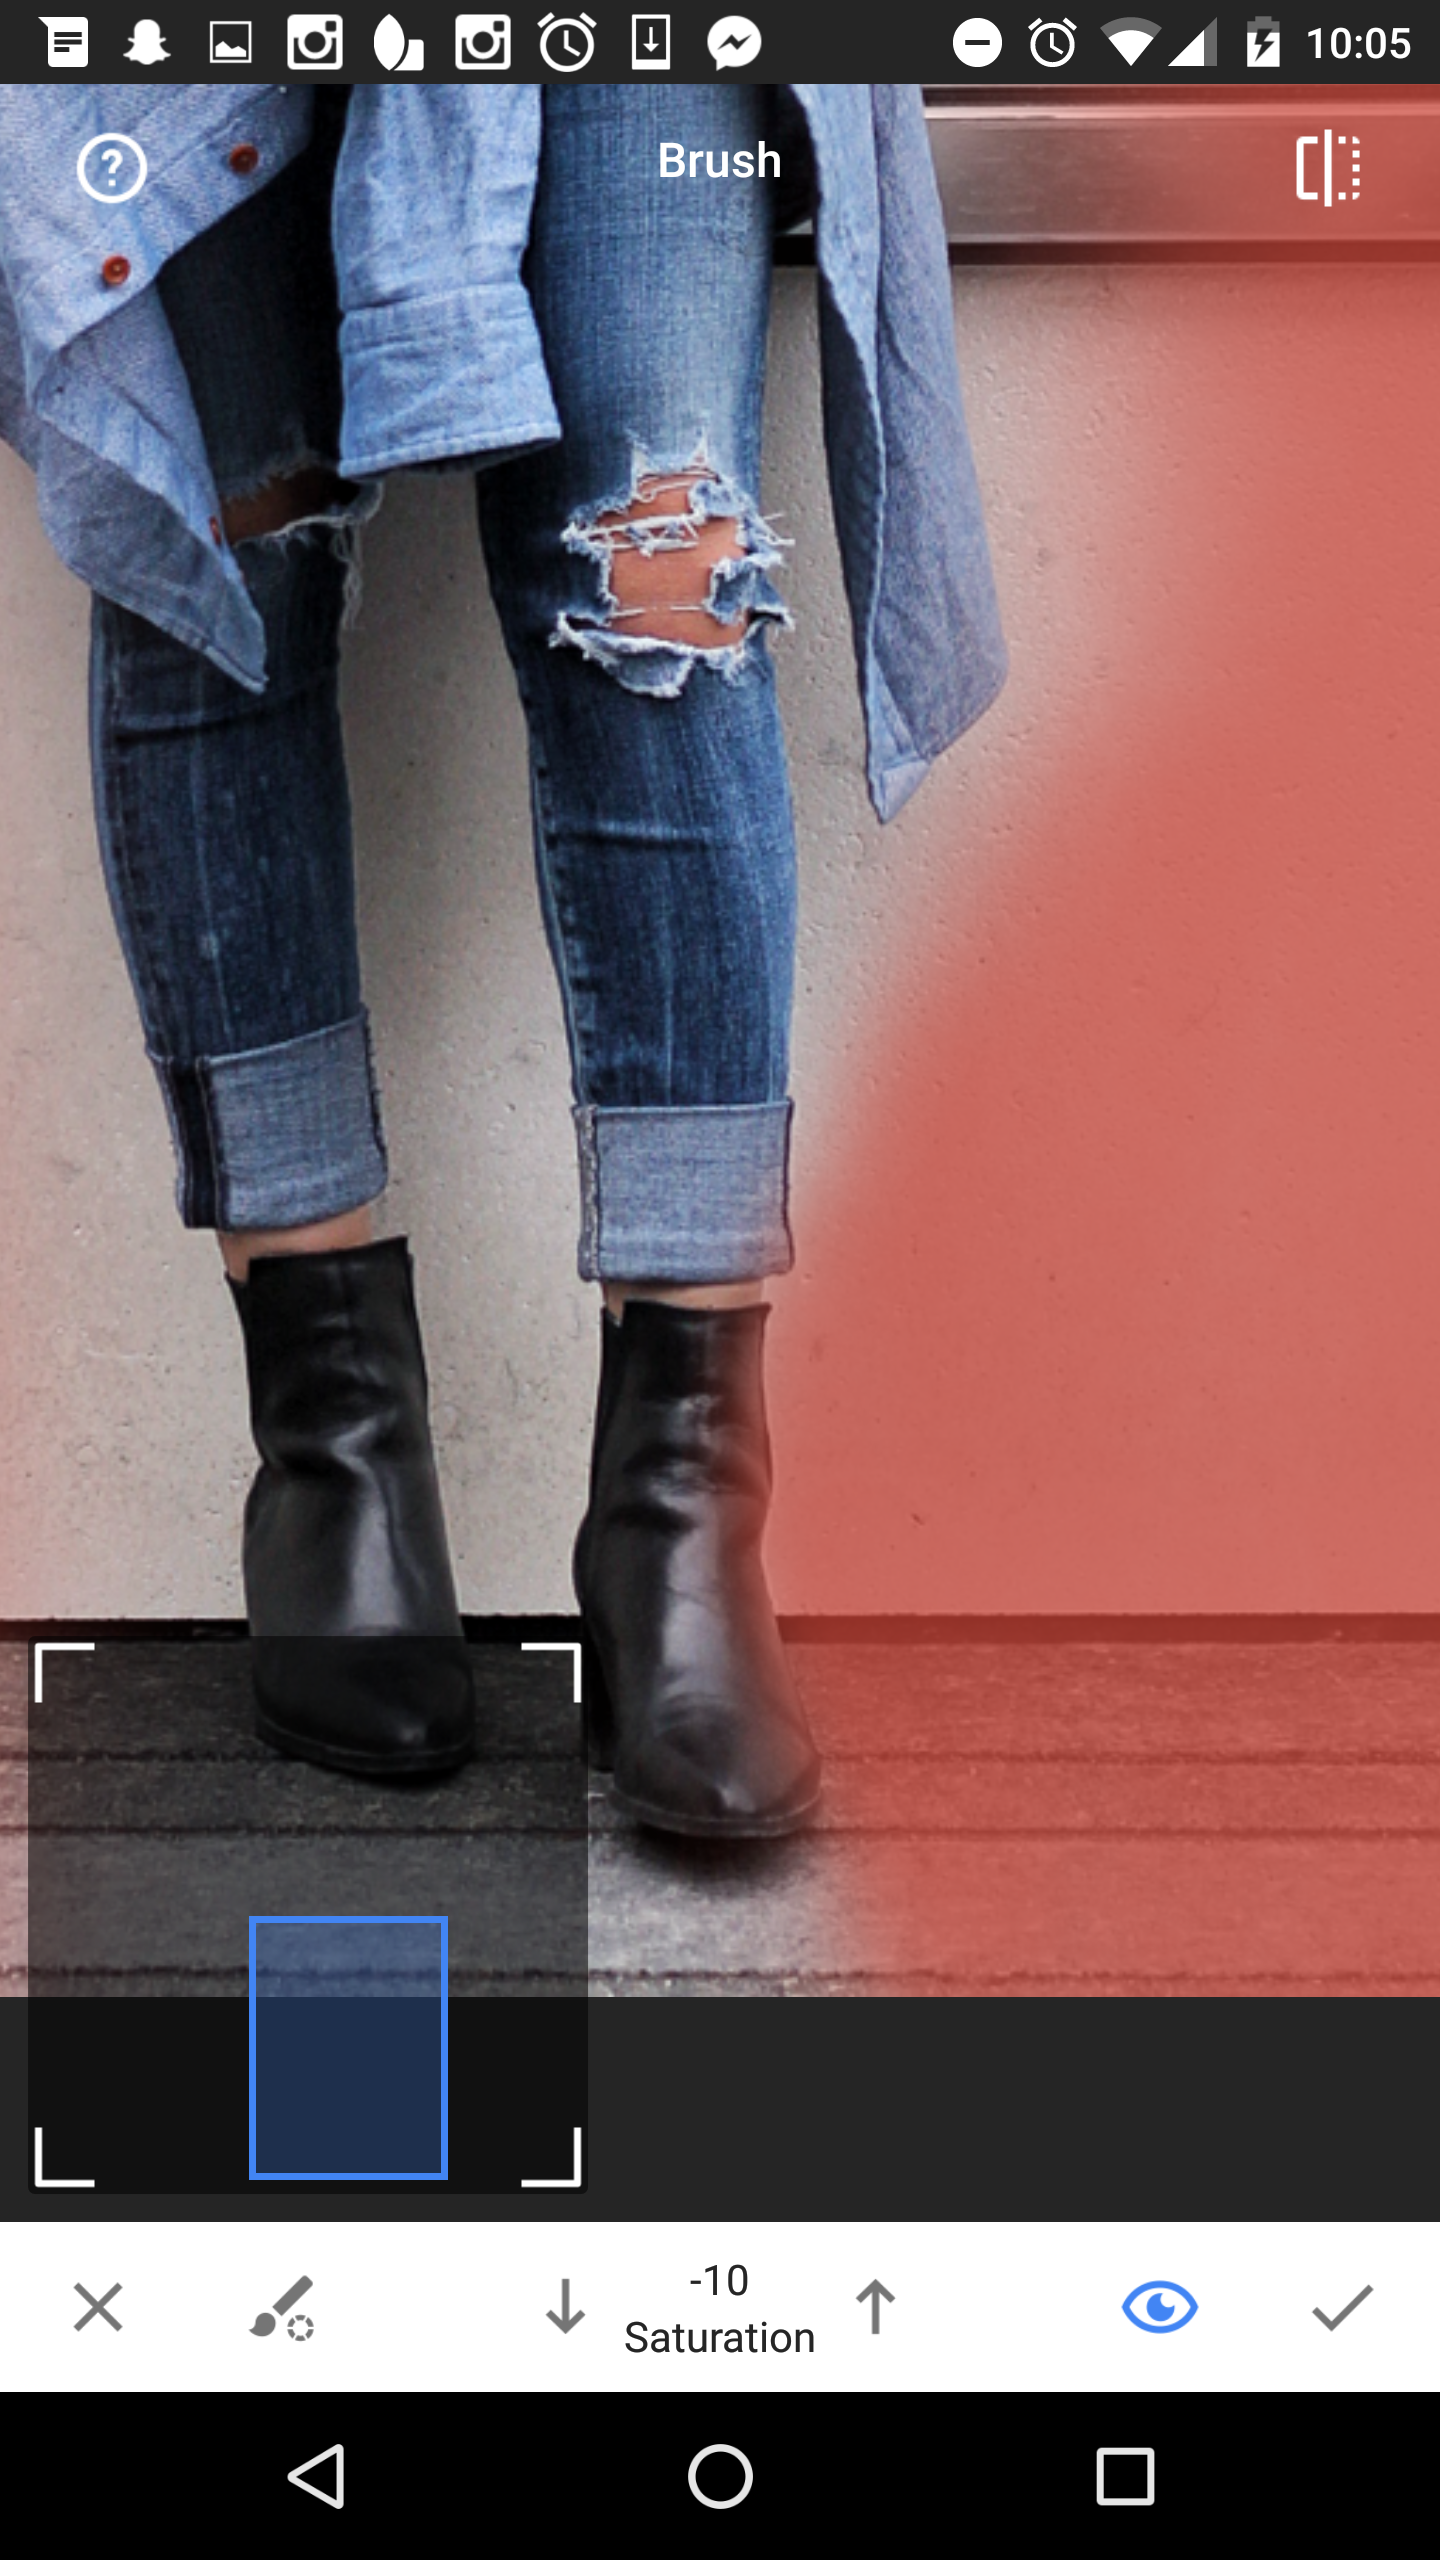
8.  Brush - I then adjust certain areas with the Brush tool (highlighting my hair, darkening my skin, etc.).

New York_Brush

9.  Facetune - Now I'm done with Snapseed and am onto Facetune! Facetune is great for sharpening certain areas I want to put into focus, or if I have a stubborn blemish I want to remove (luckily in this case, minimal edits in Facetune were required). 
10.  Instagram - All final edits are made in Instagram before I post - I usually add the Aden filter (on 20%), adjust brightness if needed, lower the warmth to bring back the blue's, and play with color, fade, highlights, shadow and sharpen until IT'S JUST RIGHT. 

And voila the final result:

New York_2

Now holla at me with YOUR editing tips!

DIY: Become Pablo Escobar In Under 15 Minutes (Halloween Costume)

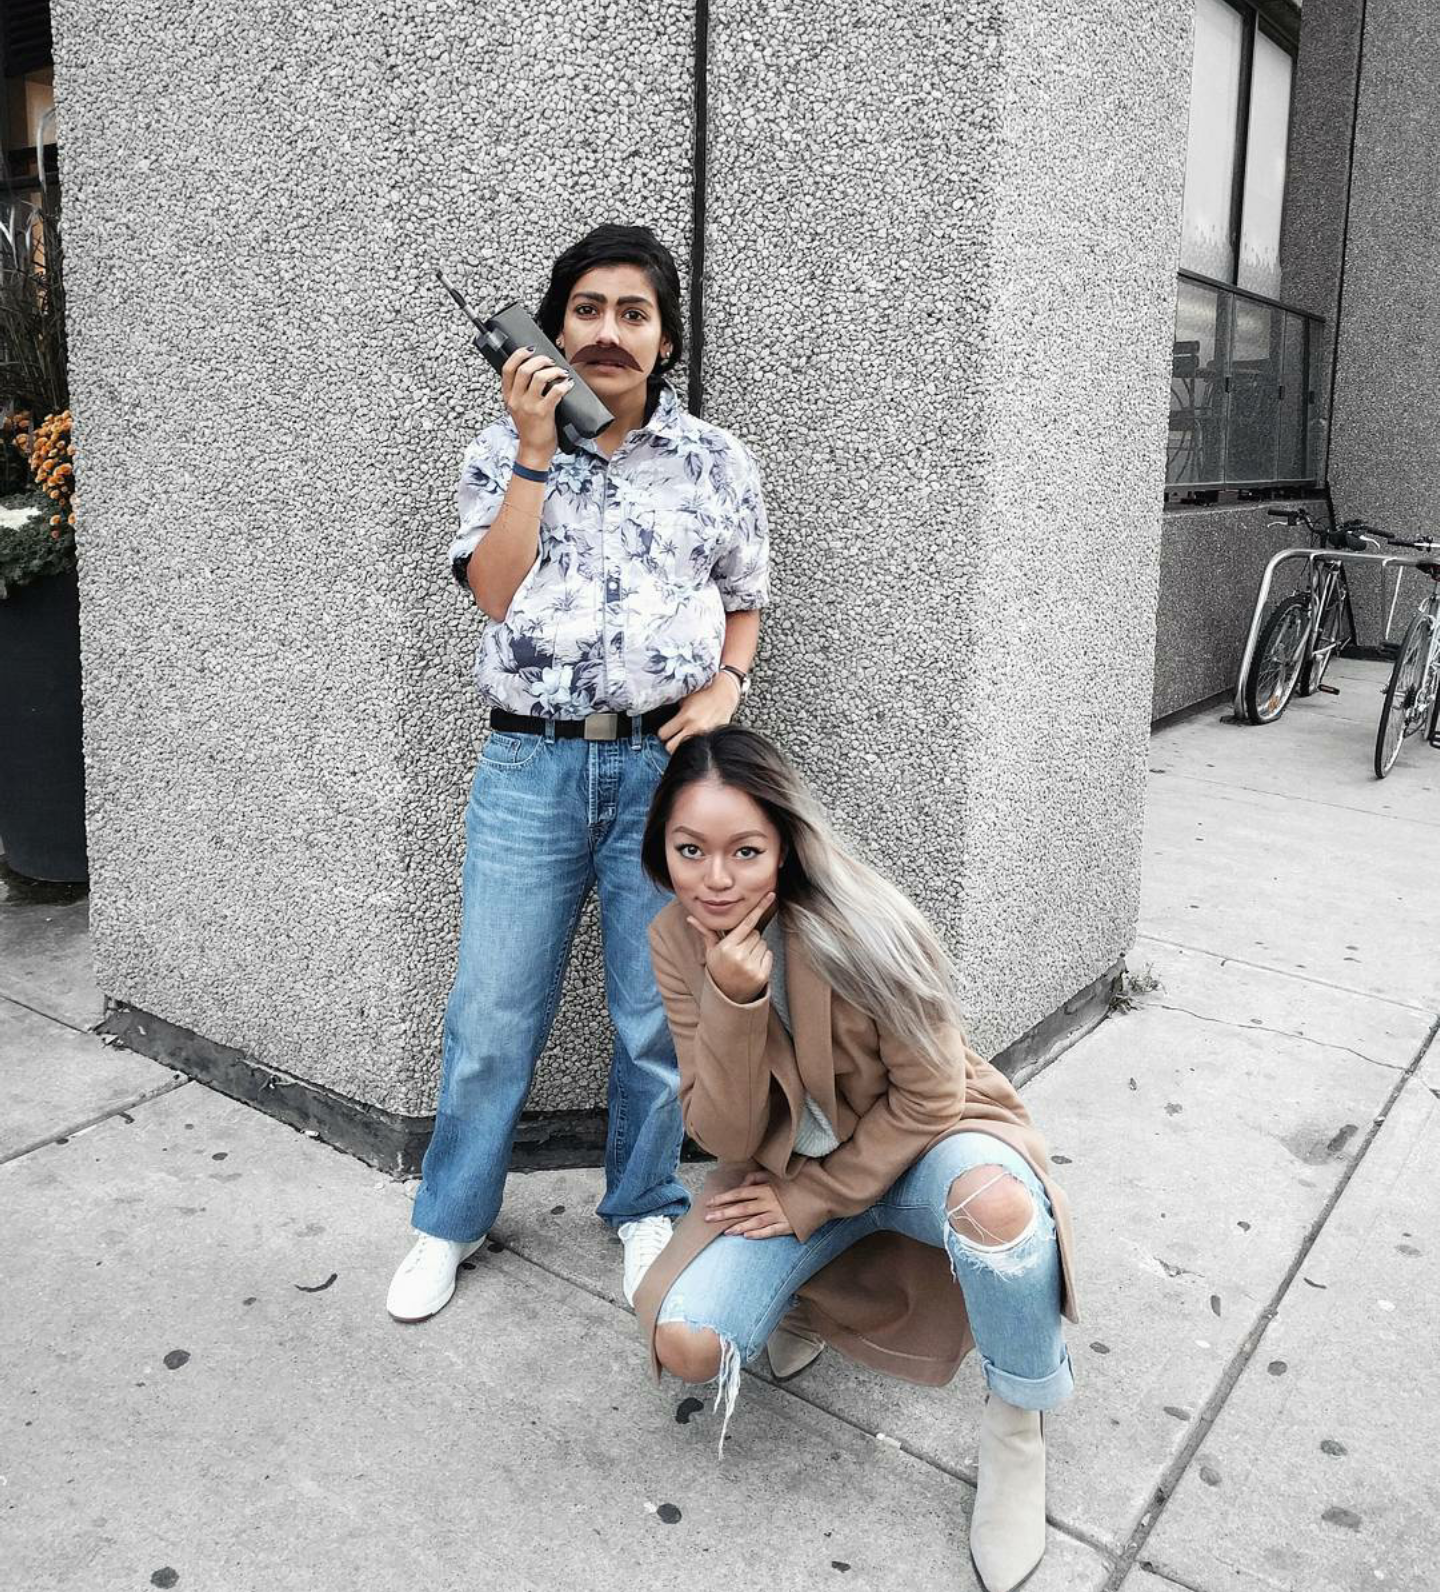
Looking for a last minute costume this Halloween? Or simply looking to turn your colleague into Pablo Escobar for the day? Sharing a really quick DIY you can do in under 15 minutes!

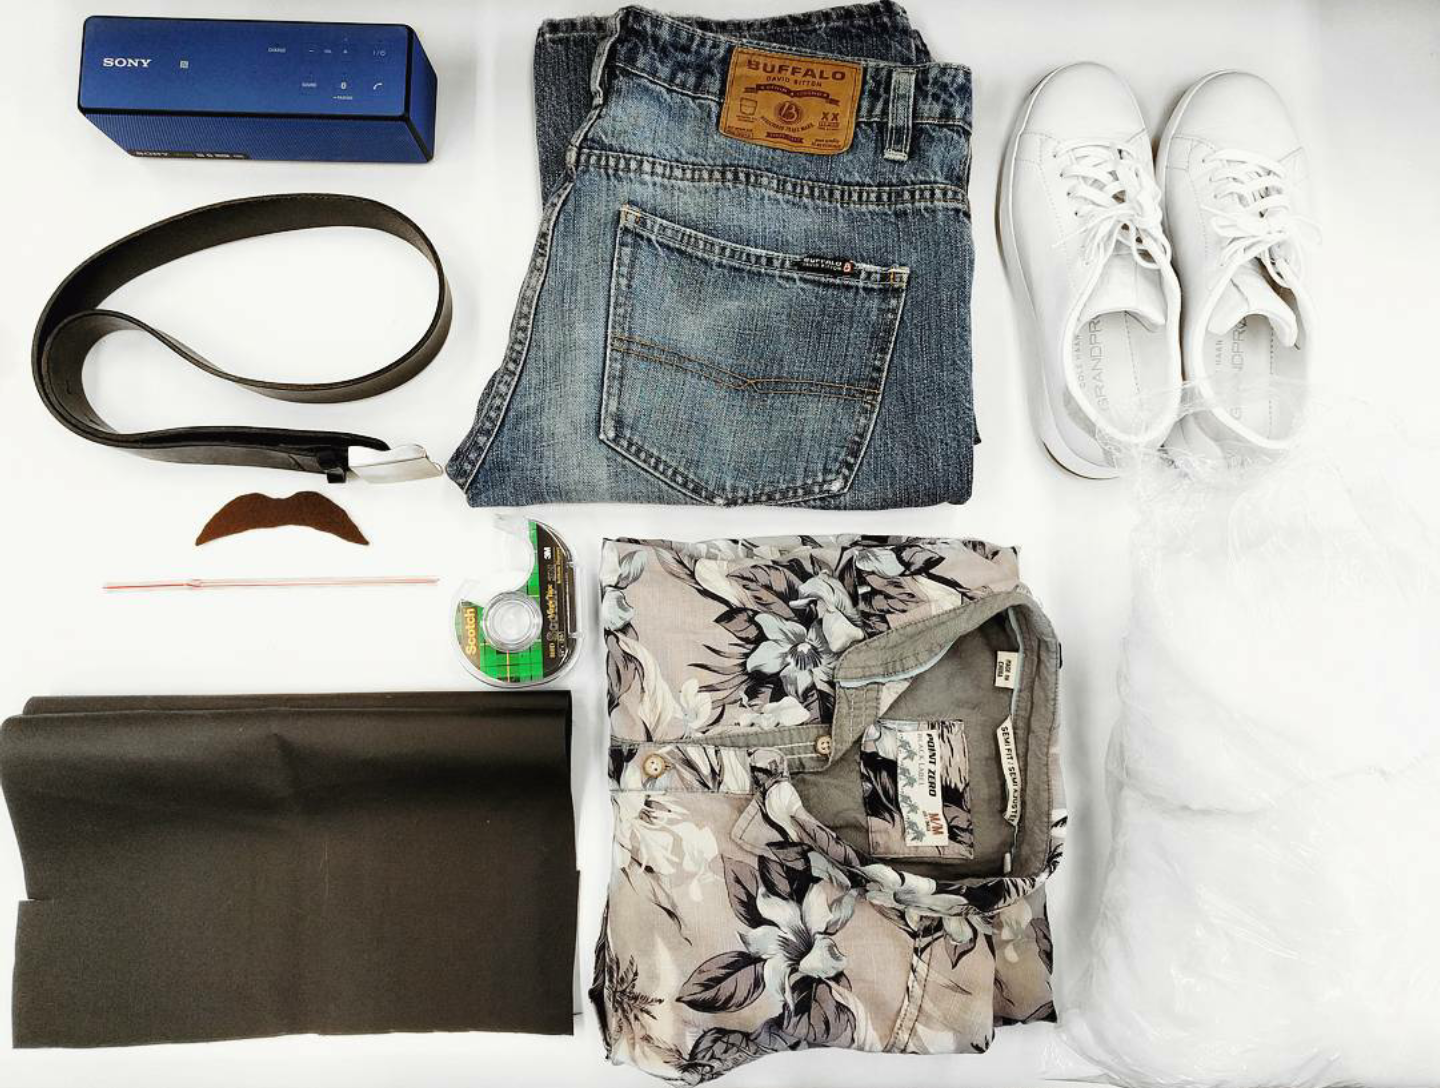
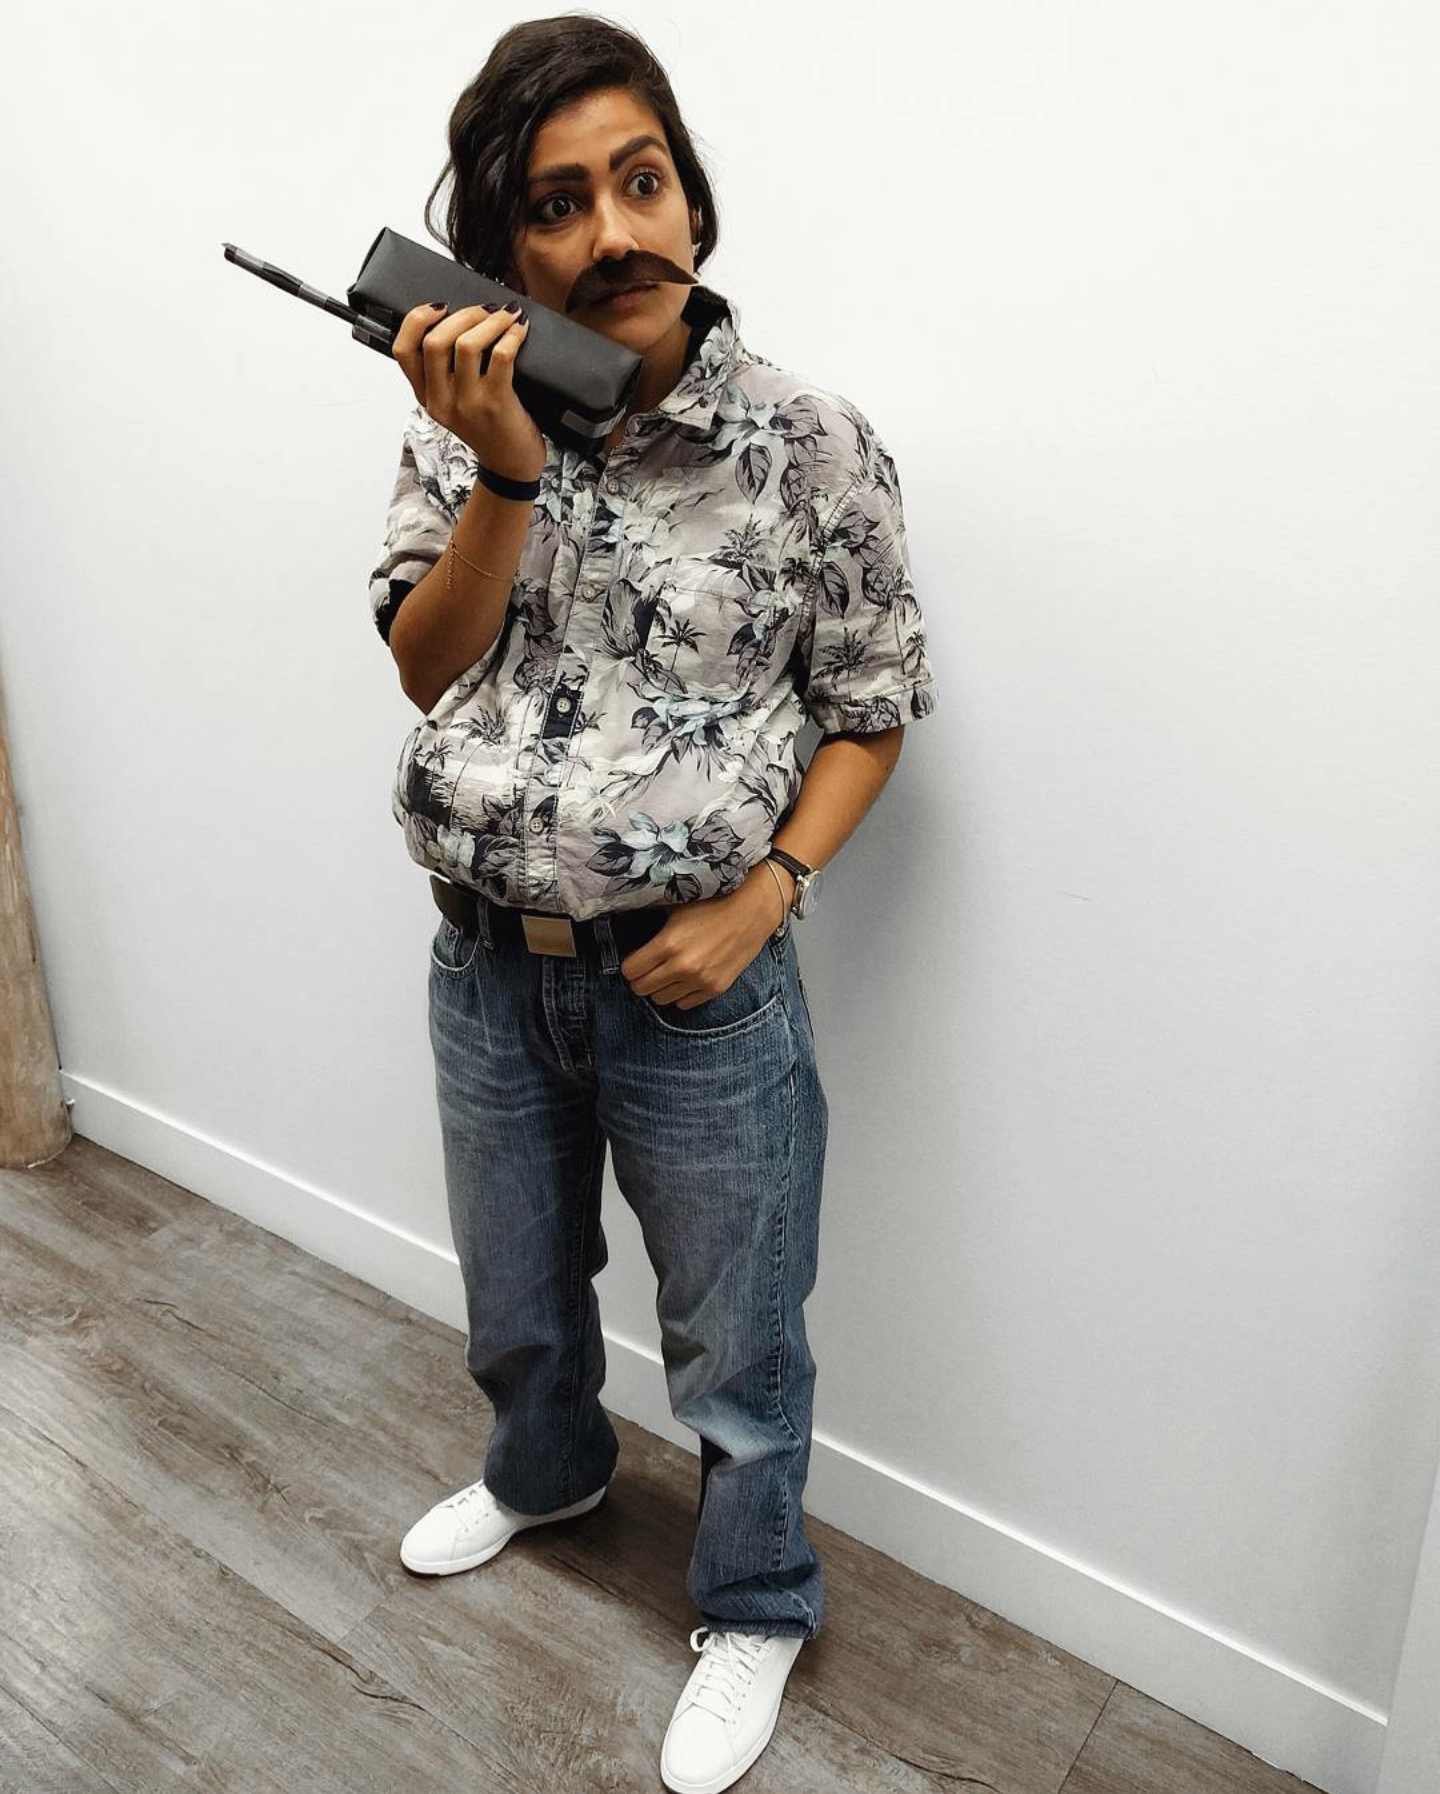
What you'll need (shown below):

  1. A walkie-talkie (or in this case, a Bluetooth speaker that we will turn into a walkie talkie-ish)
  2. A belt
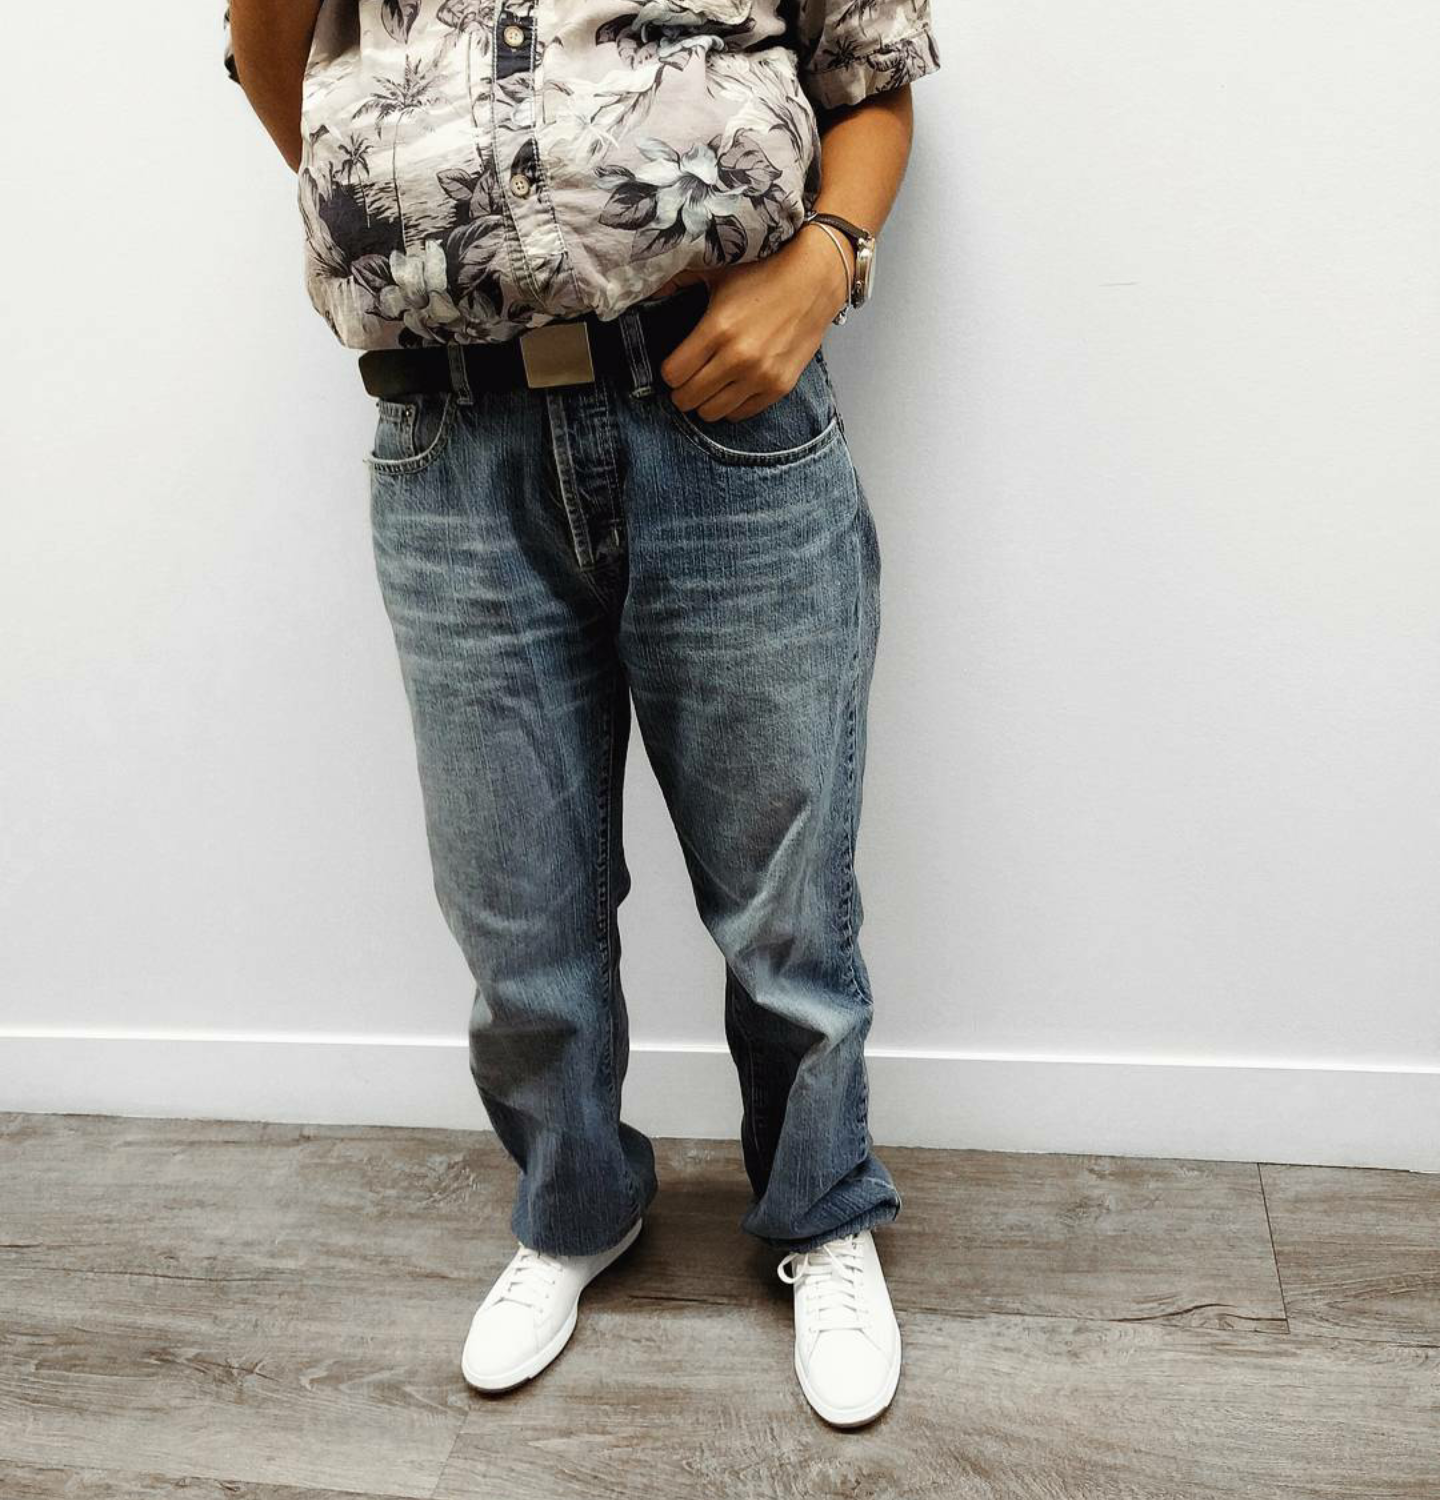
  3. Blue jeans
  4. A patterned polo/button-down 
  5. White runners

Optional:

  1. Stuffing (for the belly, unless you already have one then disregard) - Here we used cobweb
  2. Cutout of a stash (again, if you already have one then awesome)
  3. A straw to make the antenna of the walkie-talkie
  4. Black construction paper (to wrap the Bluetooth speaker with)
  5. Tape to adhere the black construction paper and straw to the Bluetooth speaker

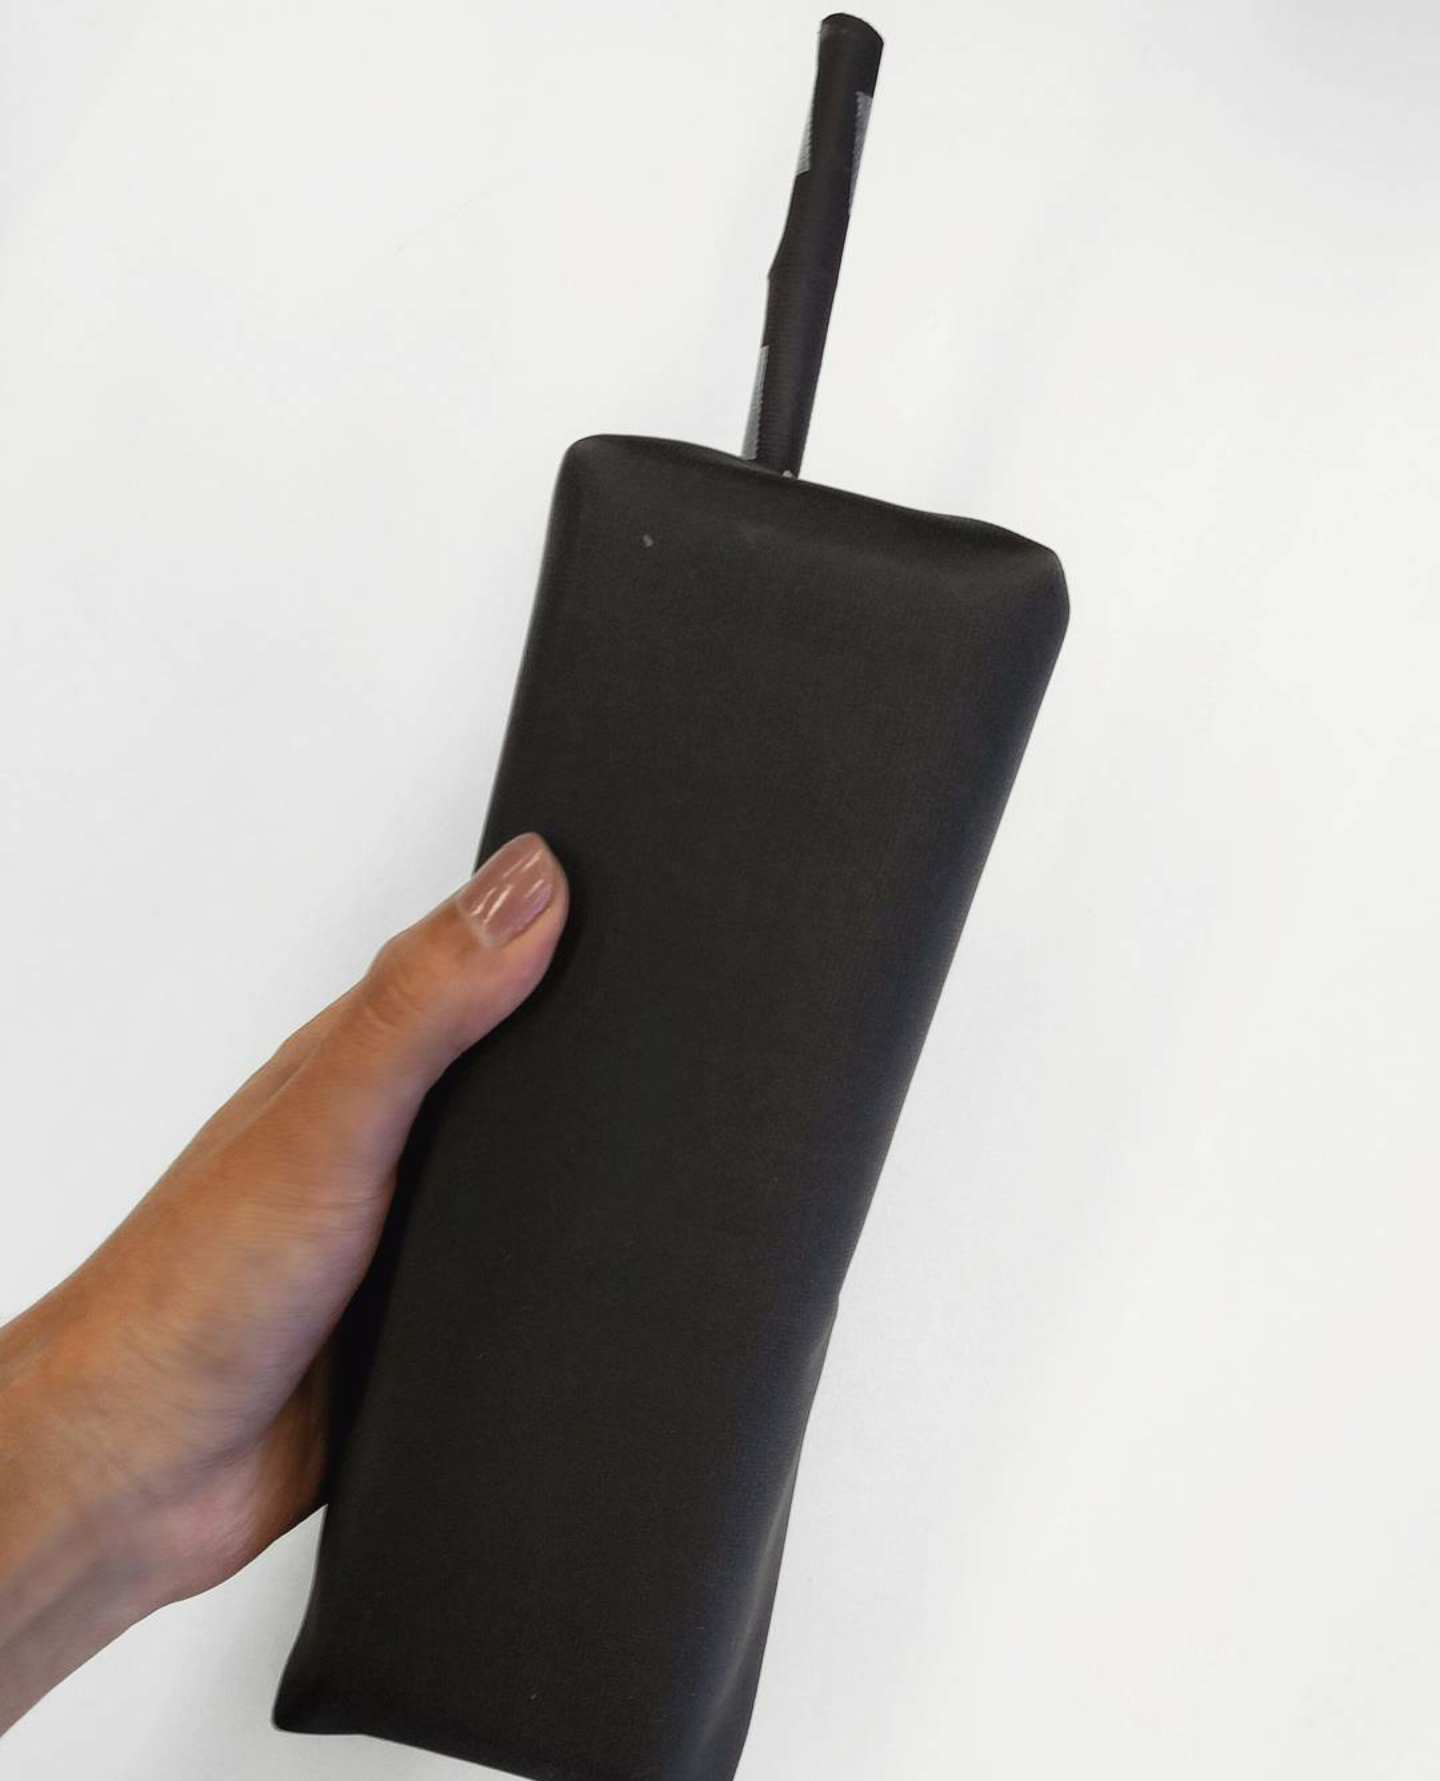
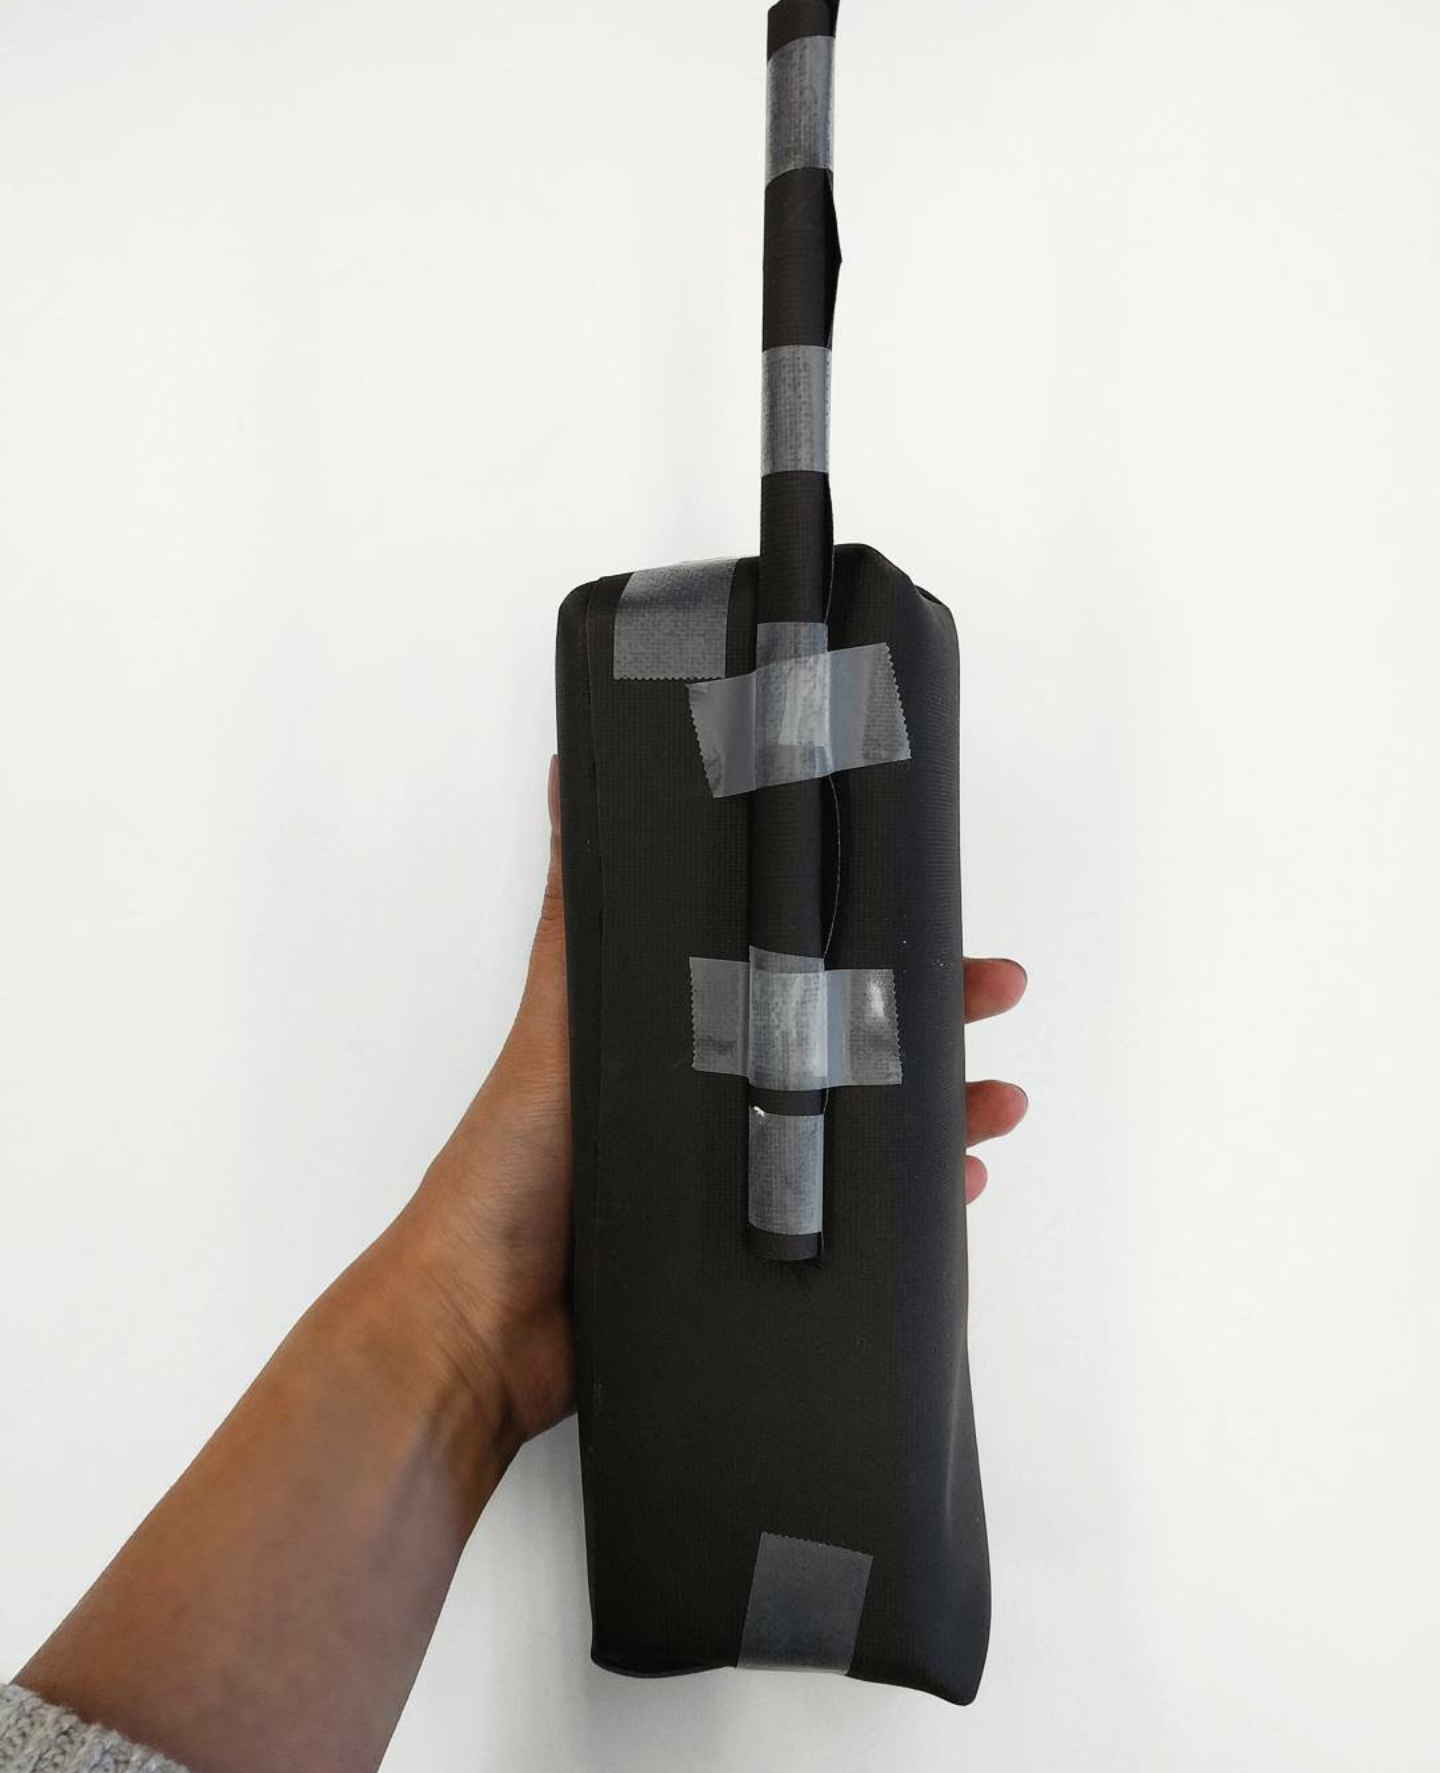
Step 1: Make the walkie-talkie

Take black construction paper and wrap the Bluetooth speaker and straw with it. Then, adhere the straw to the back of the speaker. Voila, you have yourself a DIY'd walkie-talkie! We really tried to hide the tape.
Step 2: Look the part

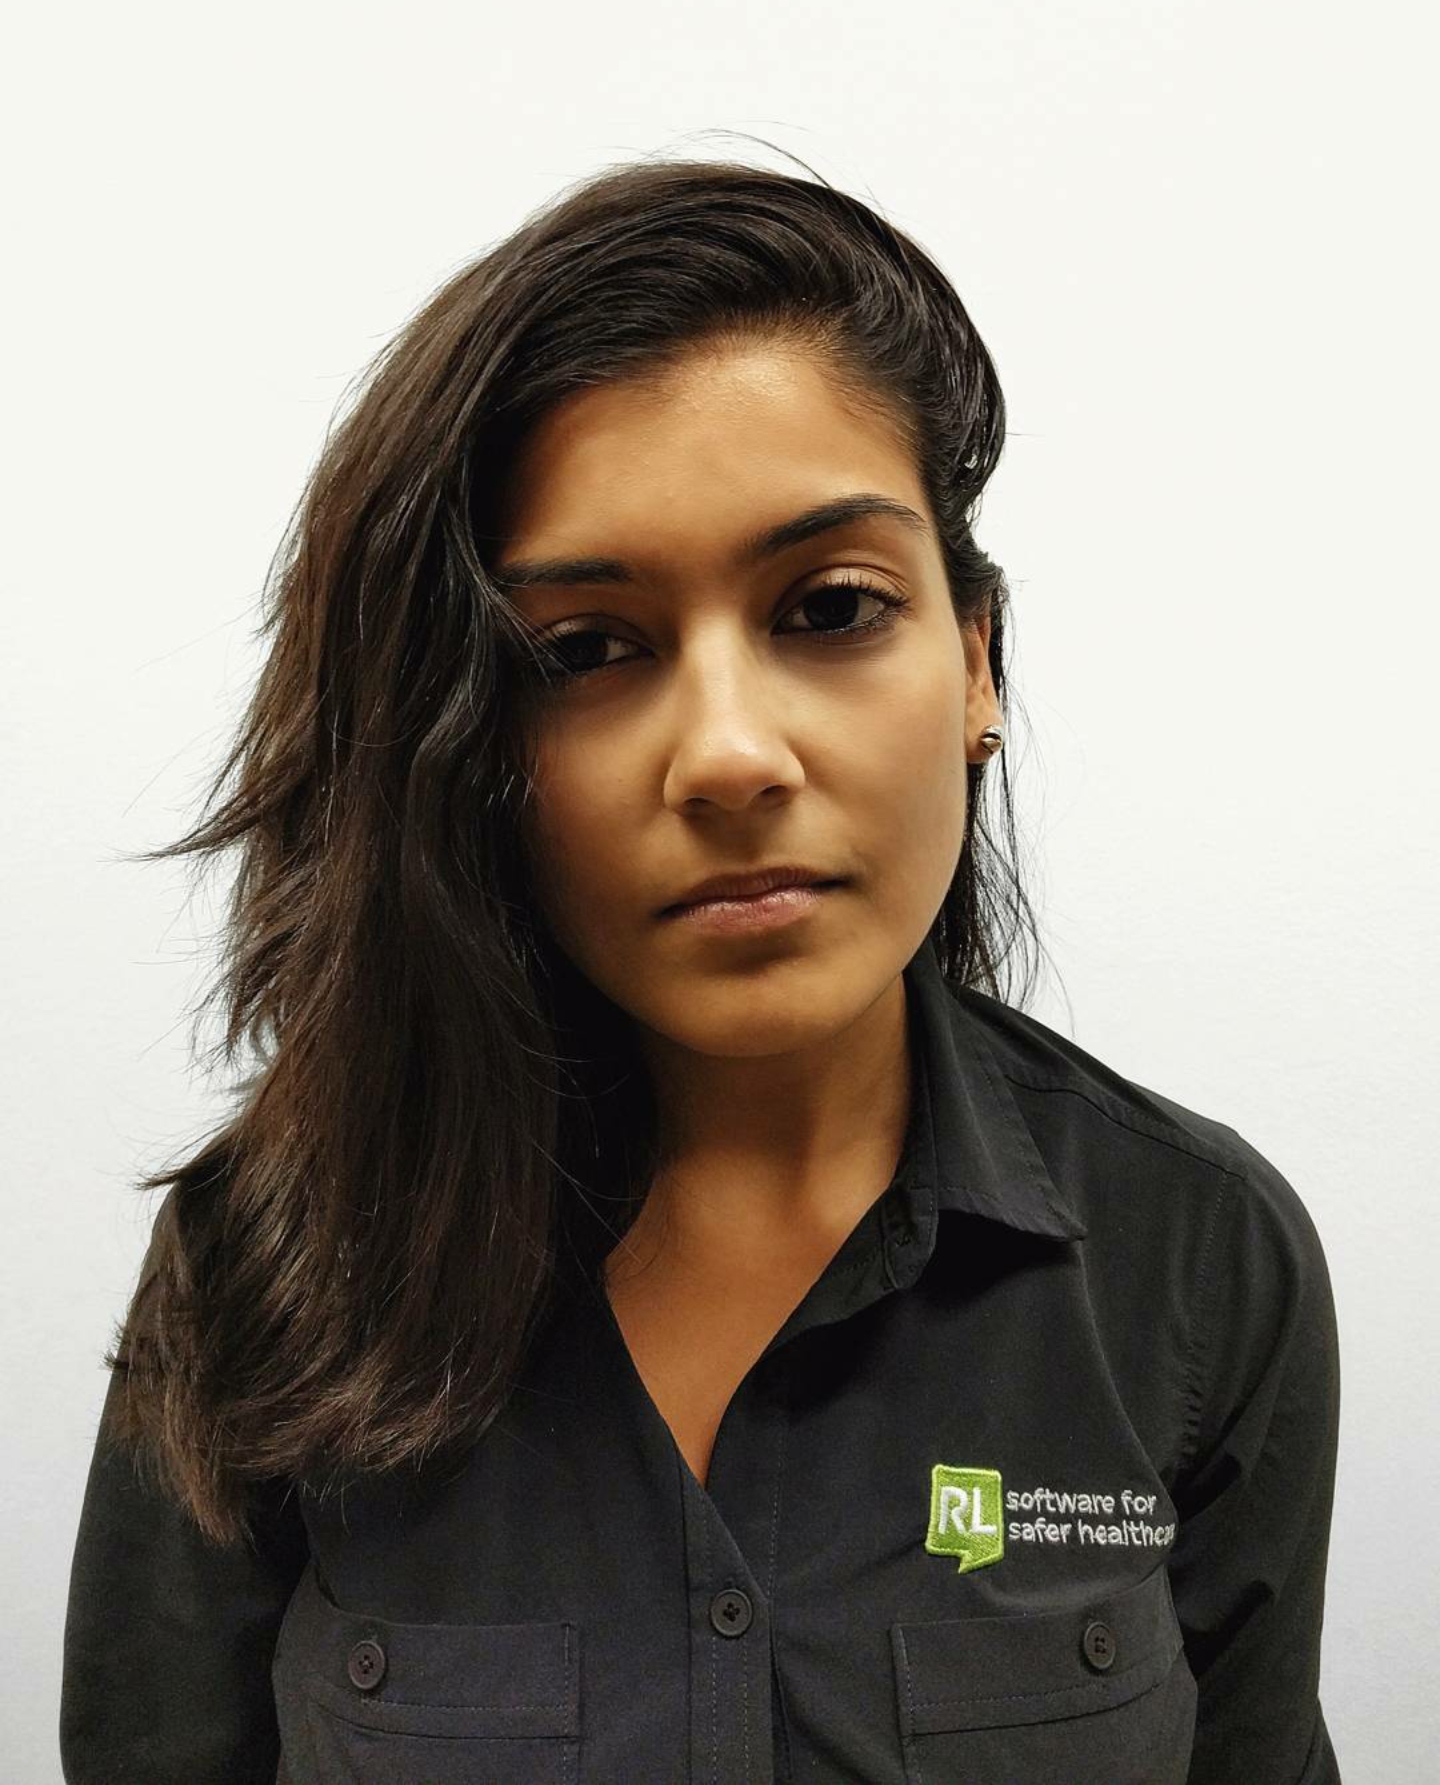
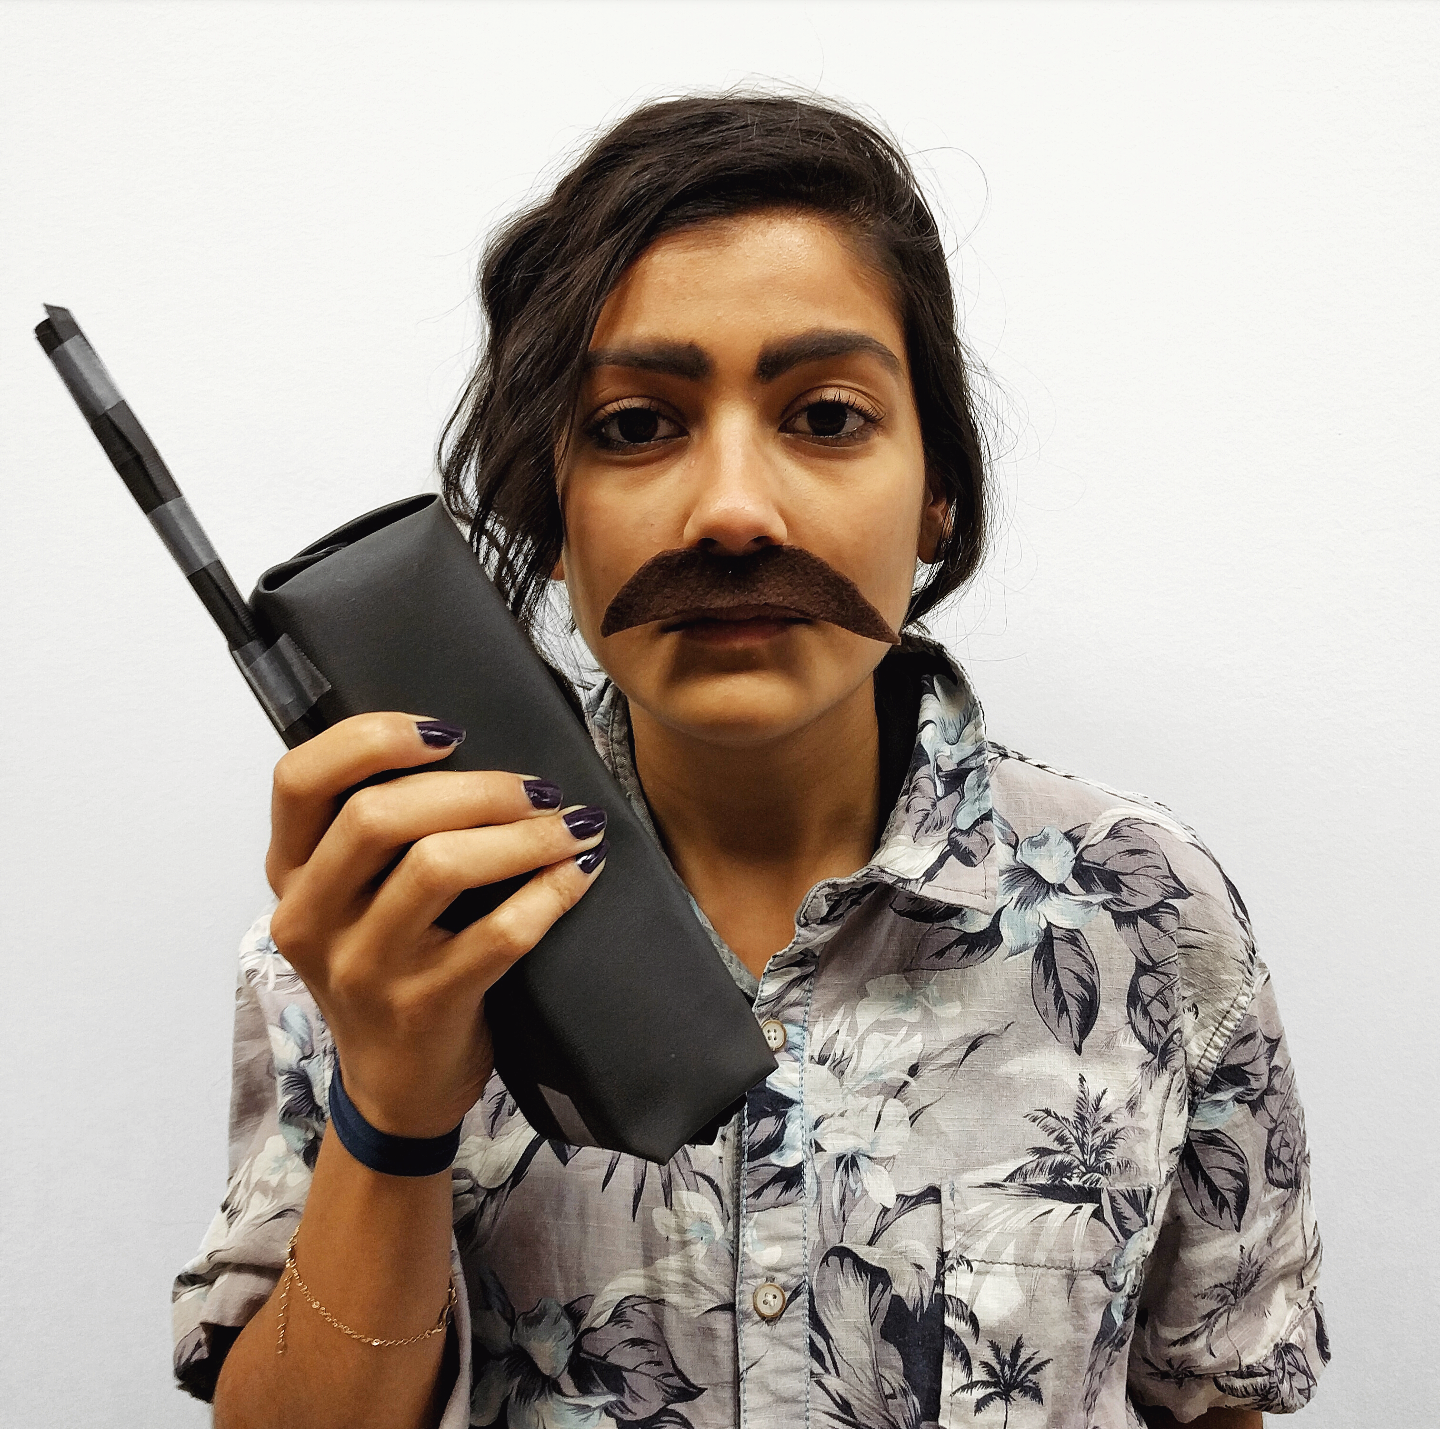
Here are before and afters of my colleague Anjali who happily volunteered as tribute. 

  • Hair: Used a straightener to slightly crimp her hair to resemble Pablo's waves
  • Brows: Emphasized her brows with black eye shadow 
  • Face: Took the residual black eye shadow on the brush to age her face (accentuated laugh lines, forehead wrinkles and eye bags)
  • Stash: Cut one out on felt paper

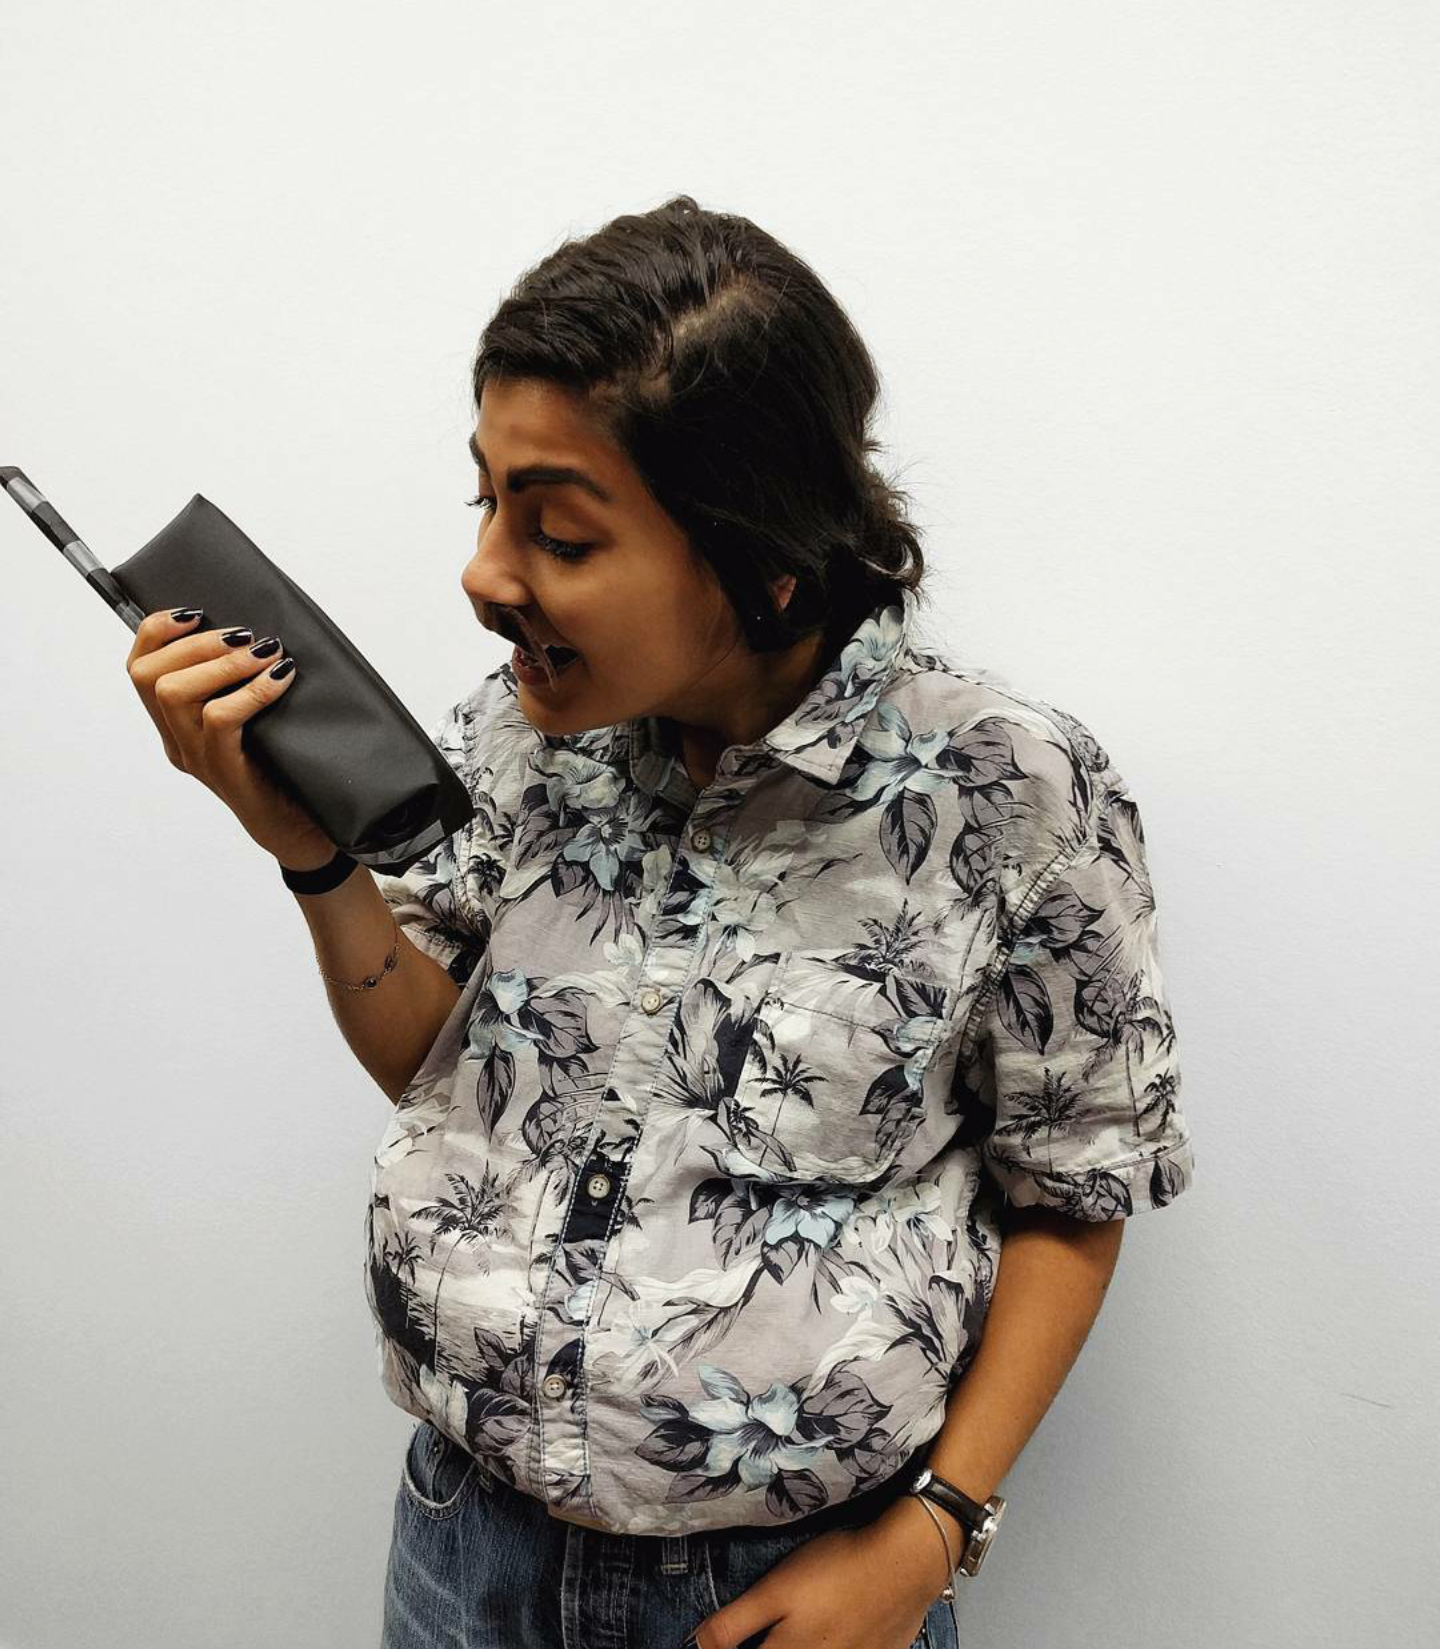
Step 3: Act the part

And that's it! You have now become Pablo Emilio Escobar Gaviria. Guaranteed a double take on the streets.

How-To: Editing Pictures for Dummies Part 2

When I started blogging, the one question I wondered the most was: "How do other bloggers maintain a white feed, and how do they ensure the white is the same white across all their pictures?". Sometimes 'white' can look blue, grey, and other times just downright yellow. I've only recently started adopting this technique that allows me to keep my white consistent across my Instagram feed.

Here's the original of the above picture:

Some more before and afters:

Another one:

Also, perspective is everything:

Clearly there's a common theme here (I'm hungry):

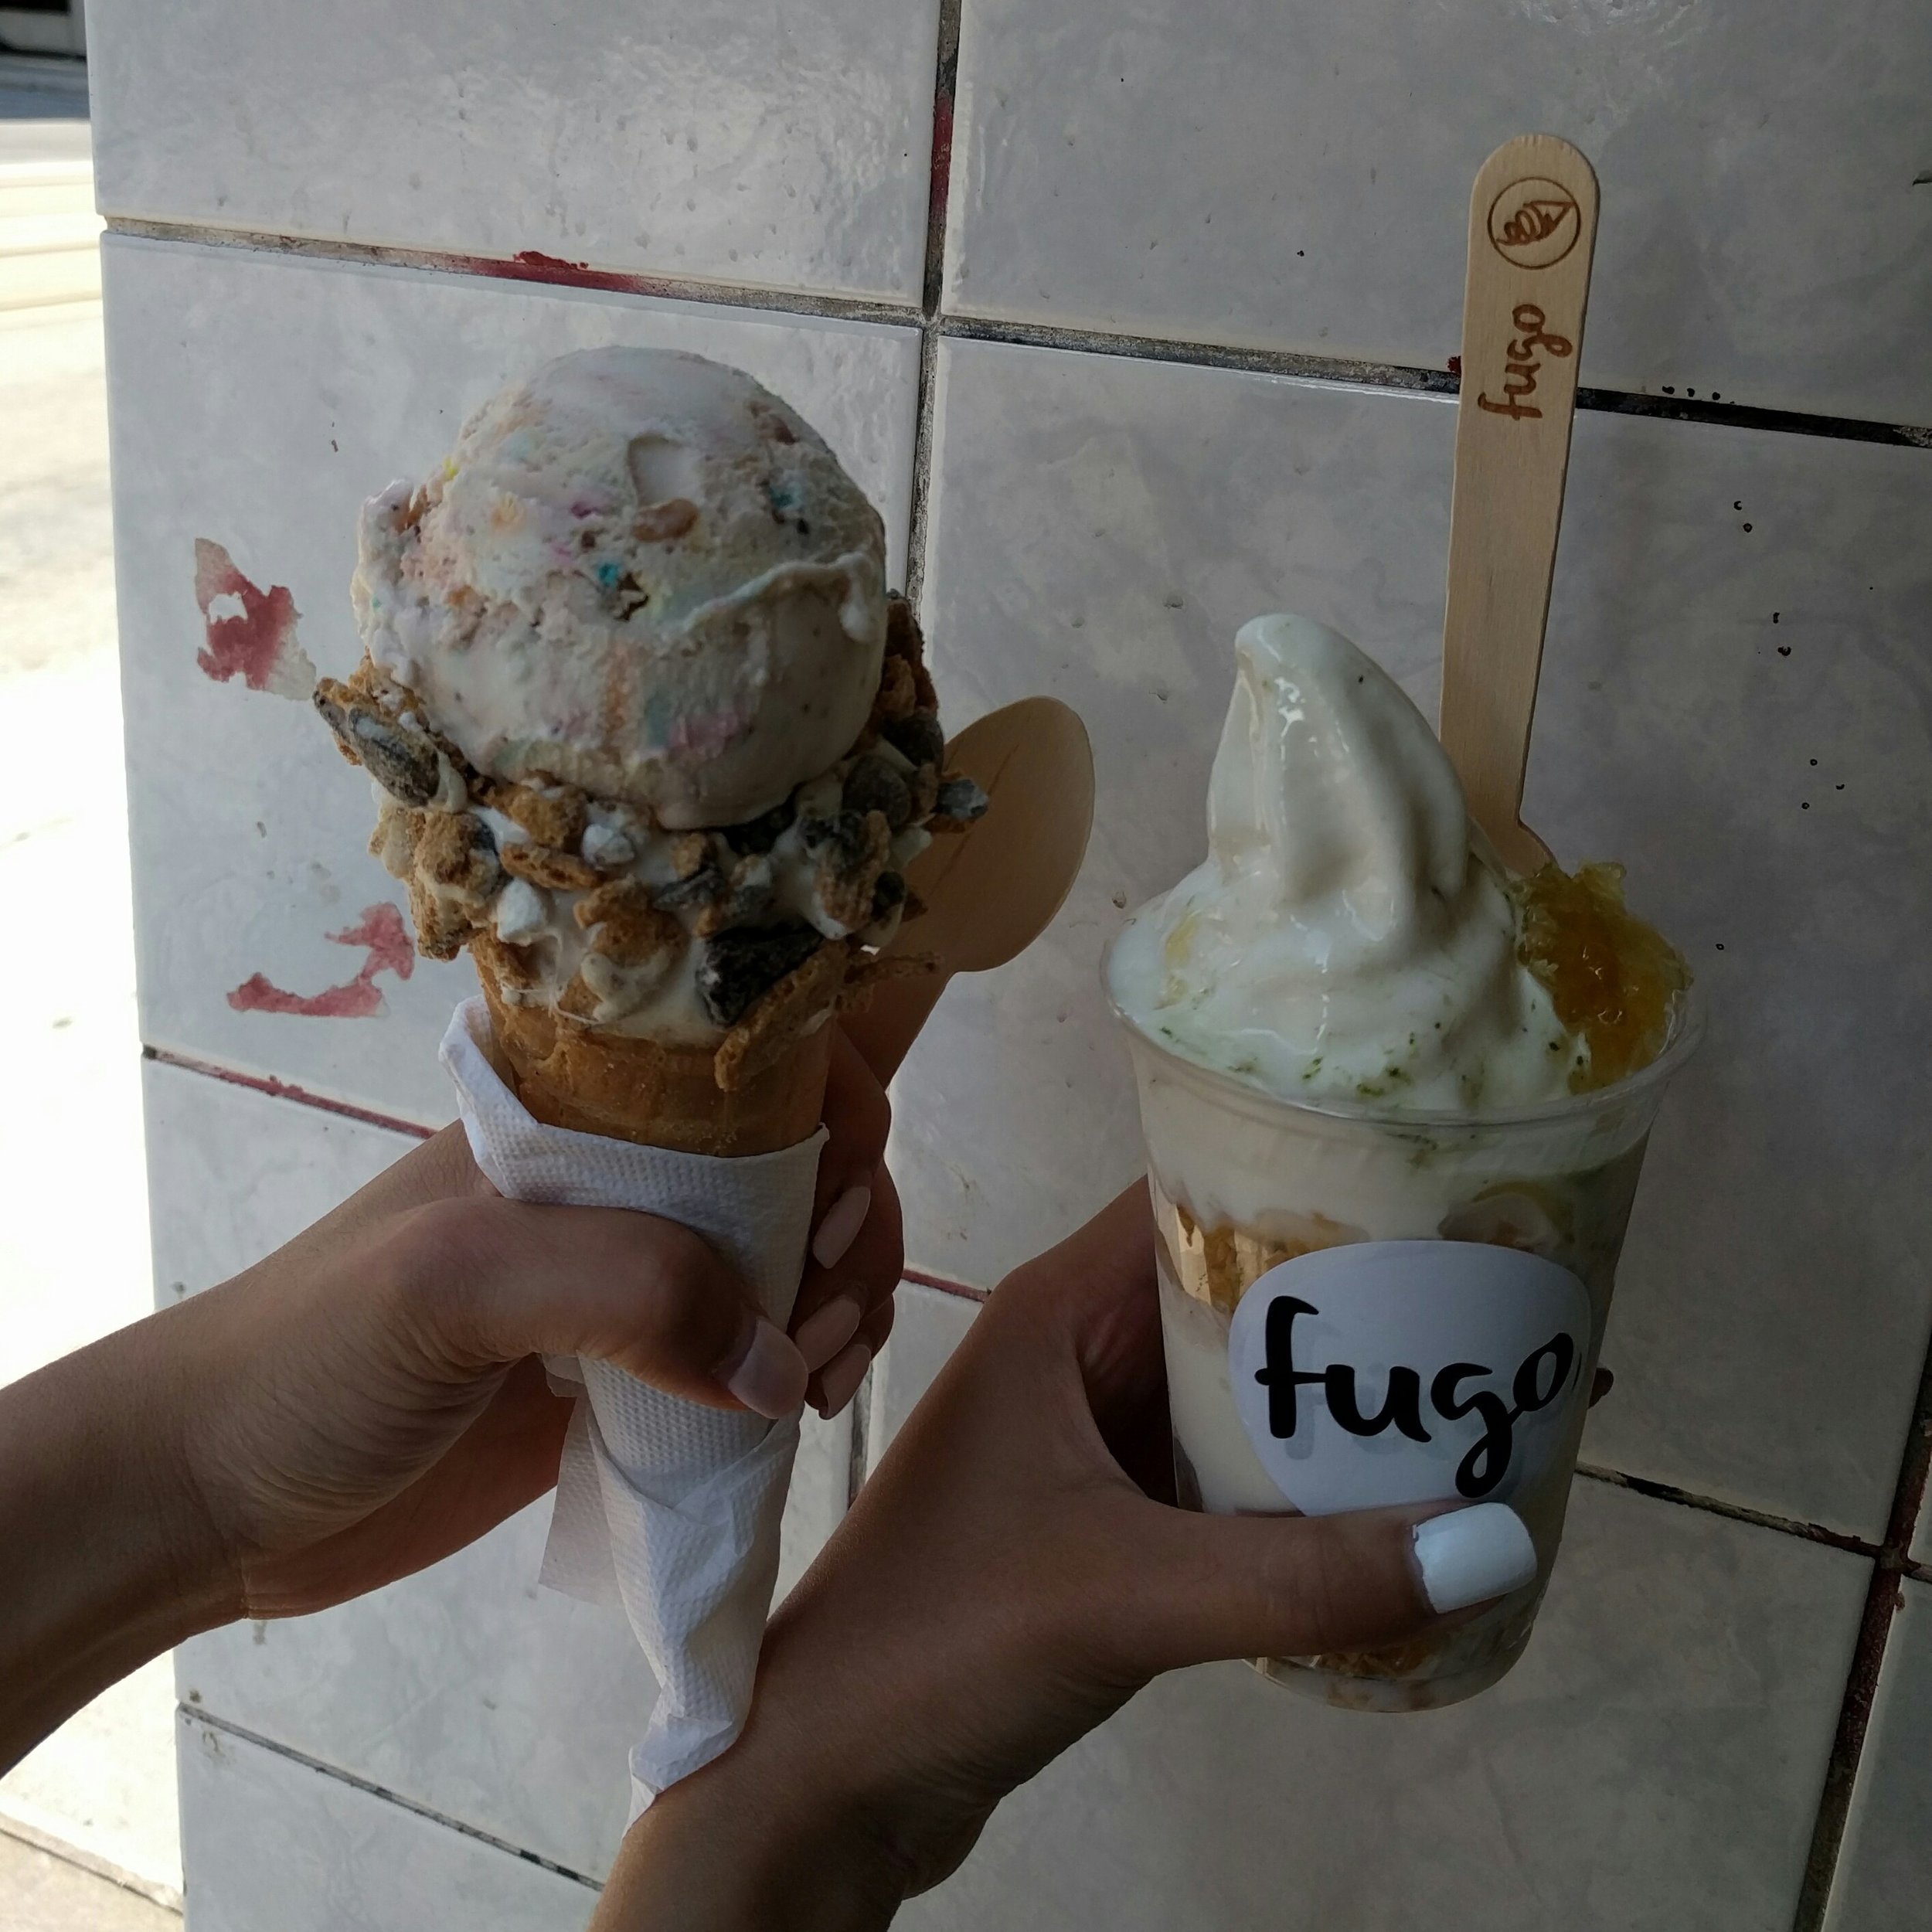
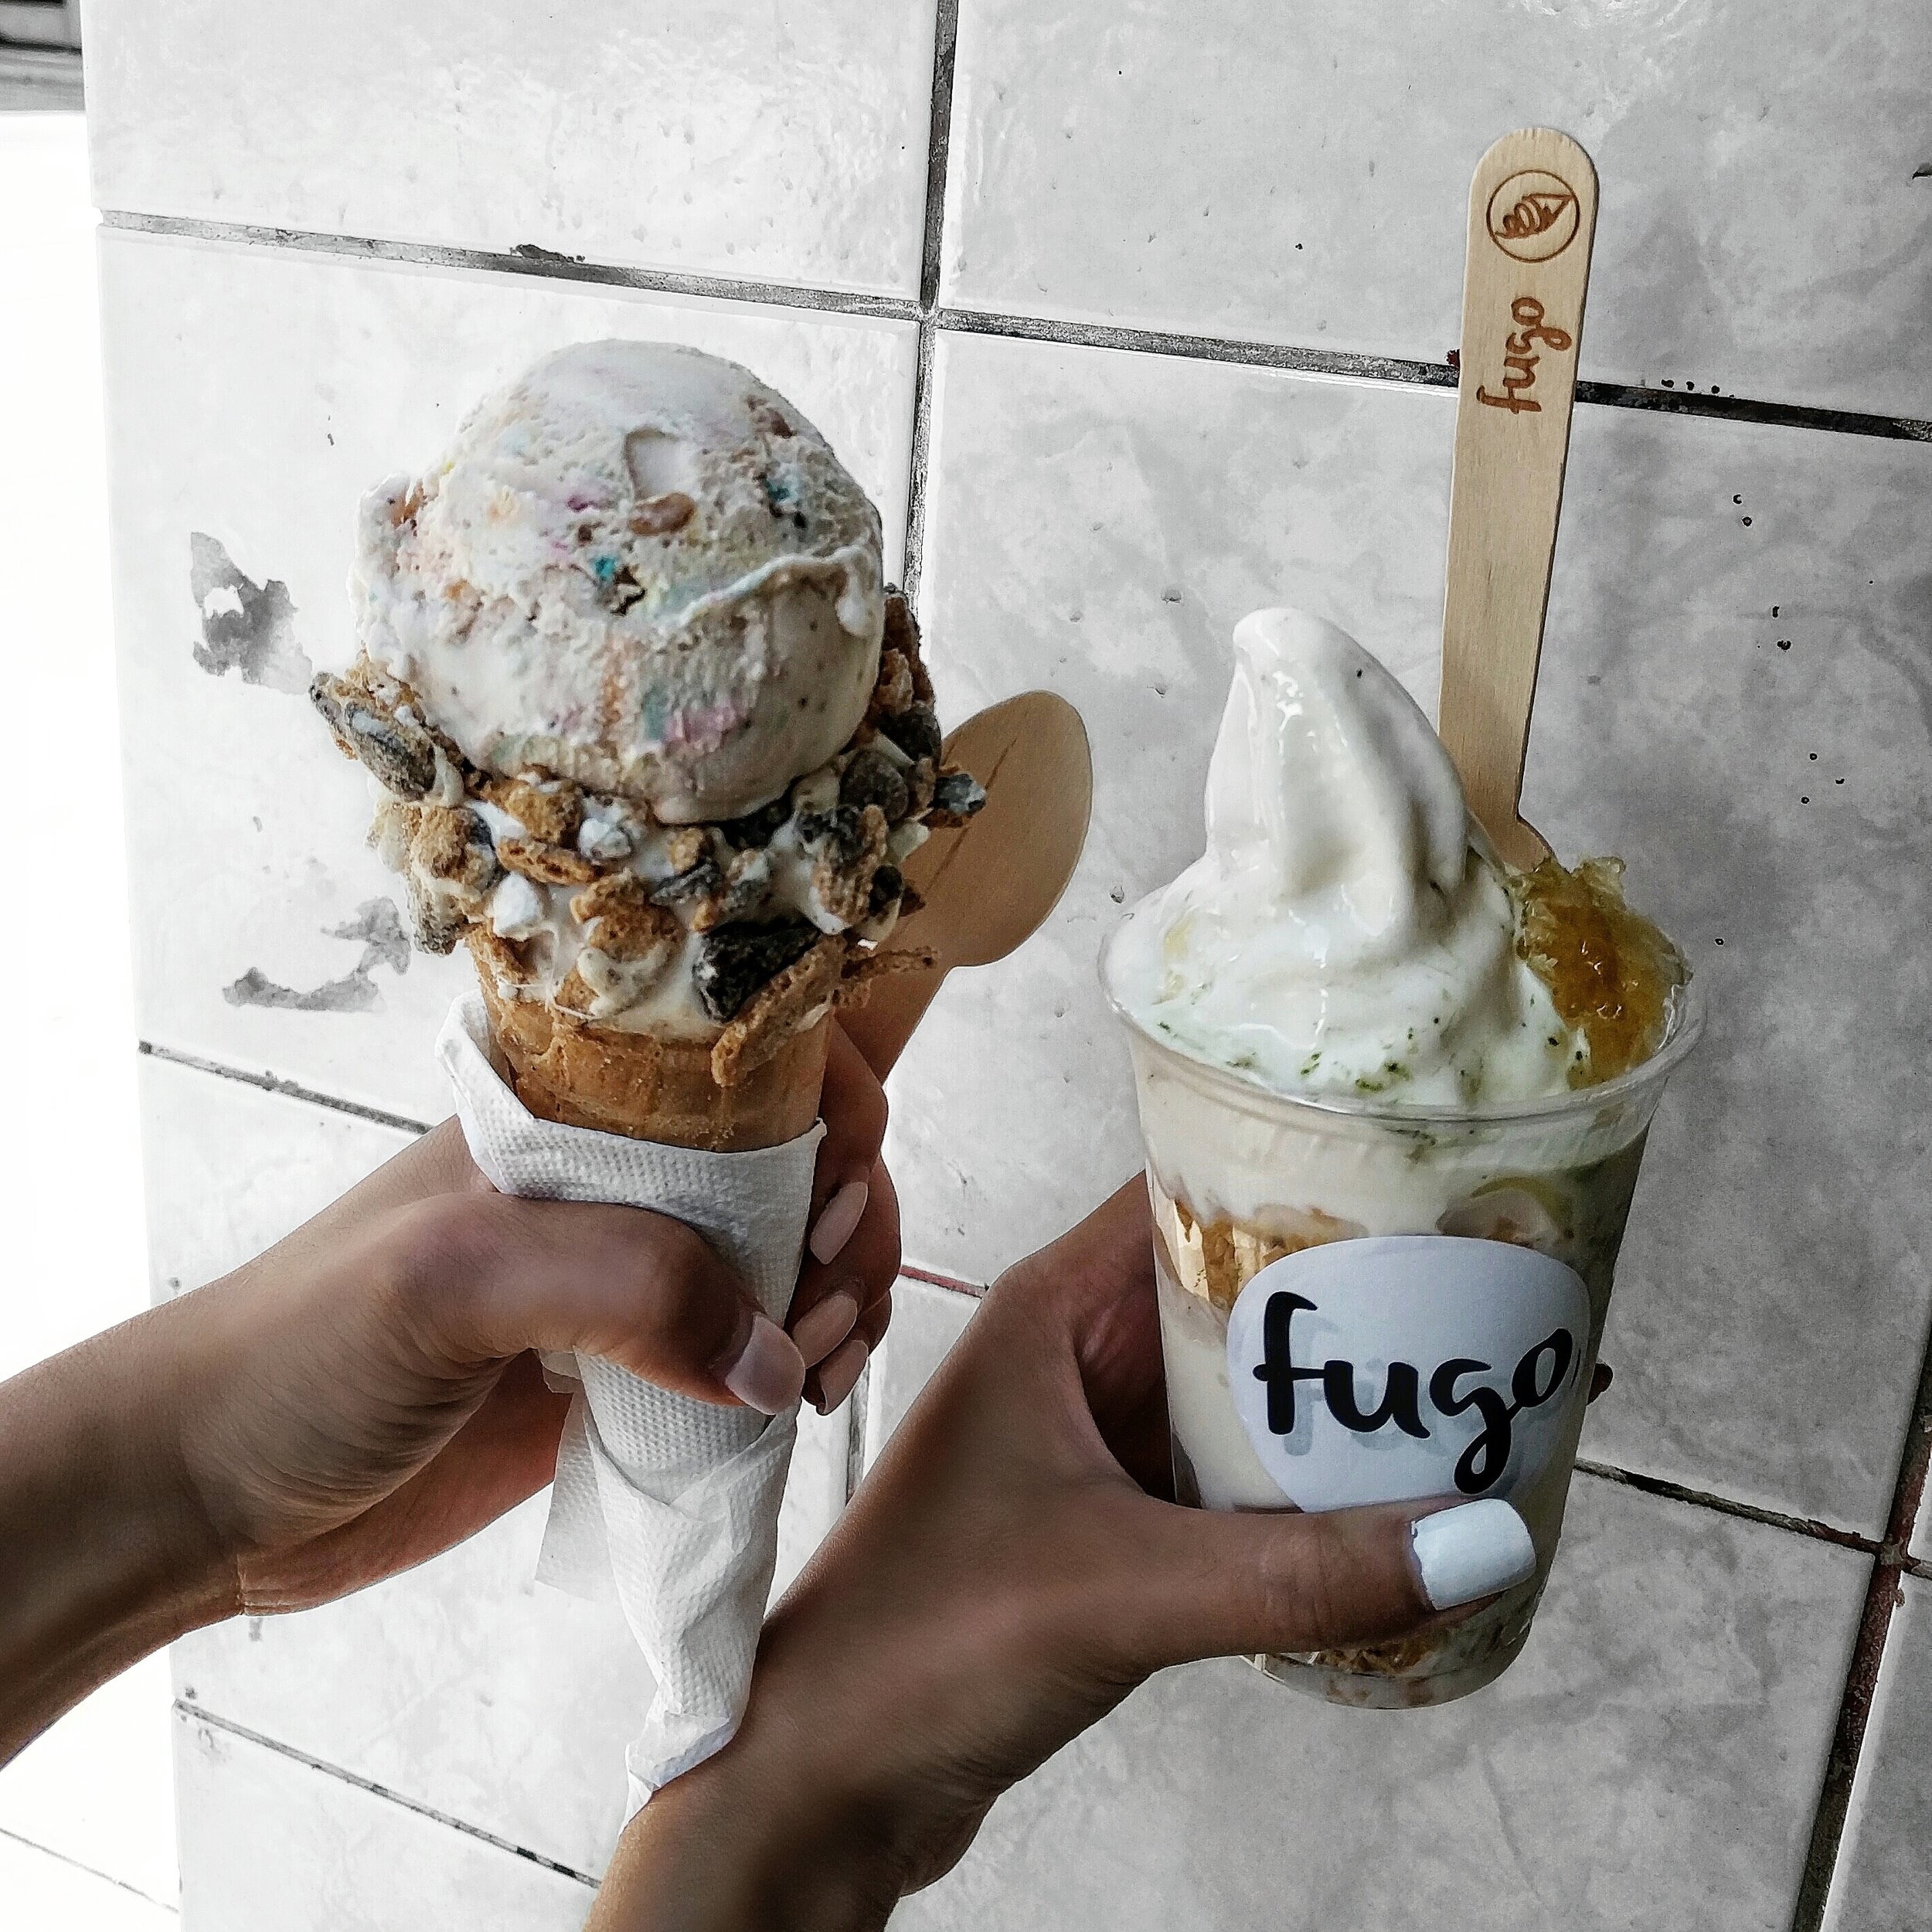
Before I get into the details, below is the ice cream photo after basic Snapseed edits. For a step-by-step tutorial on how I edit in Snapseed, check out my previous post. I didn't desaturate the background here, which I normally would have done to get rid of the unwanted yellow tones.

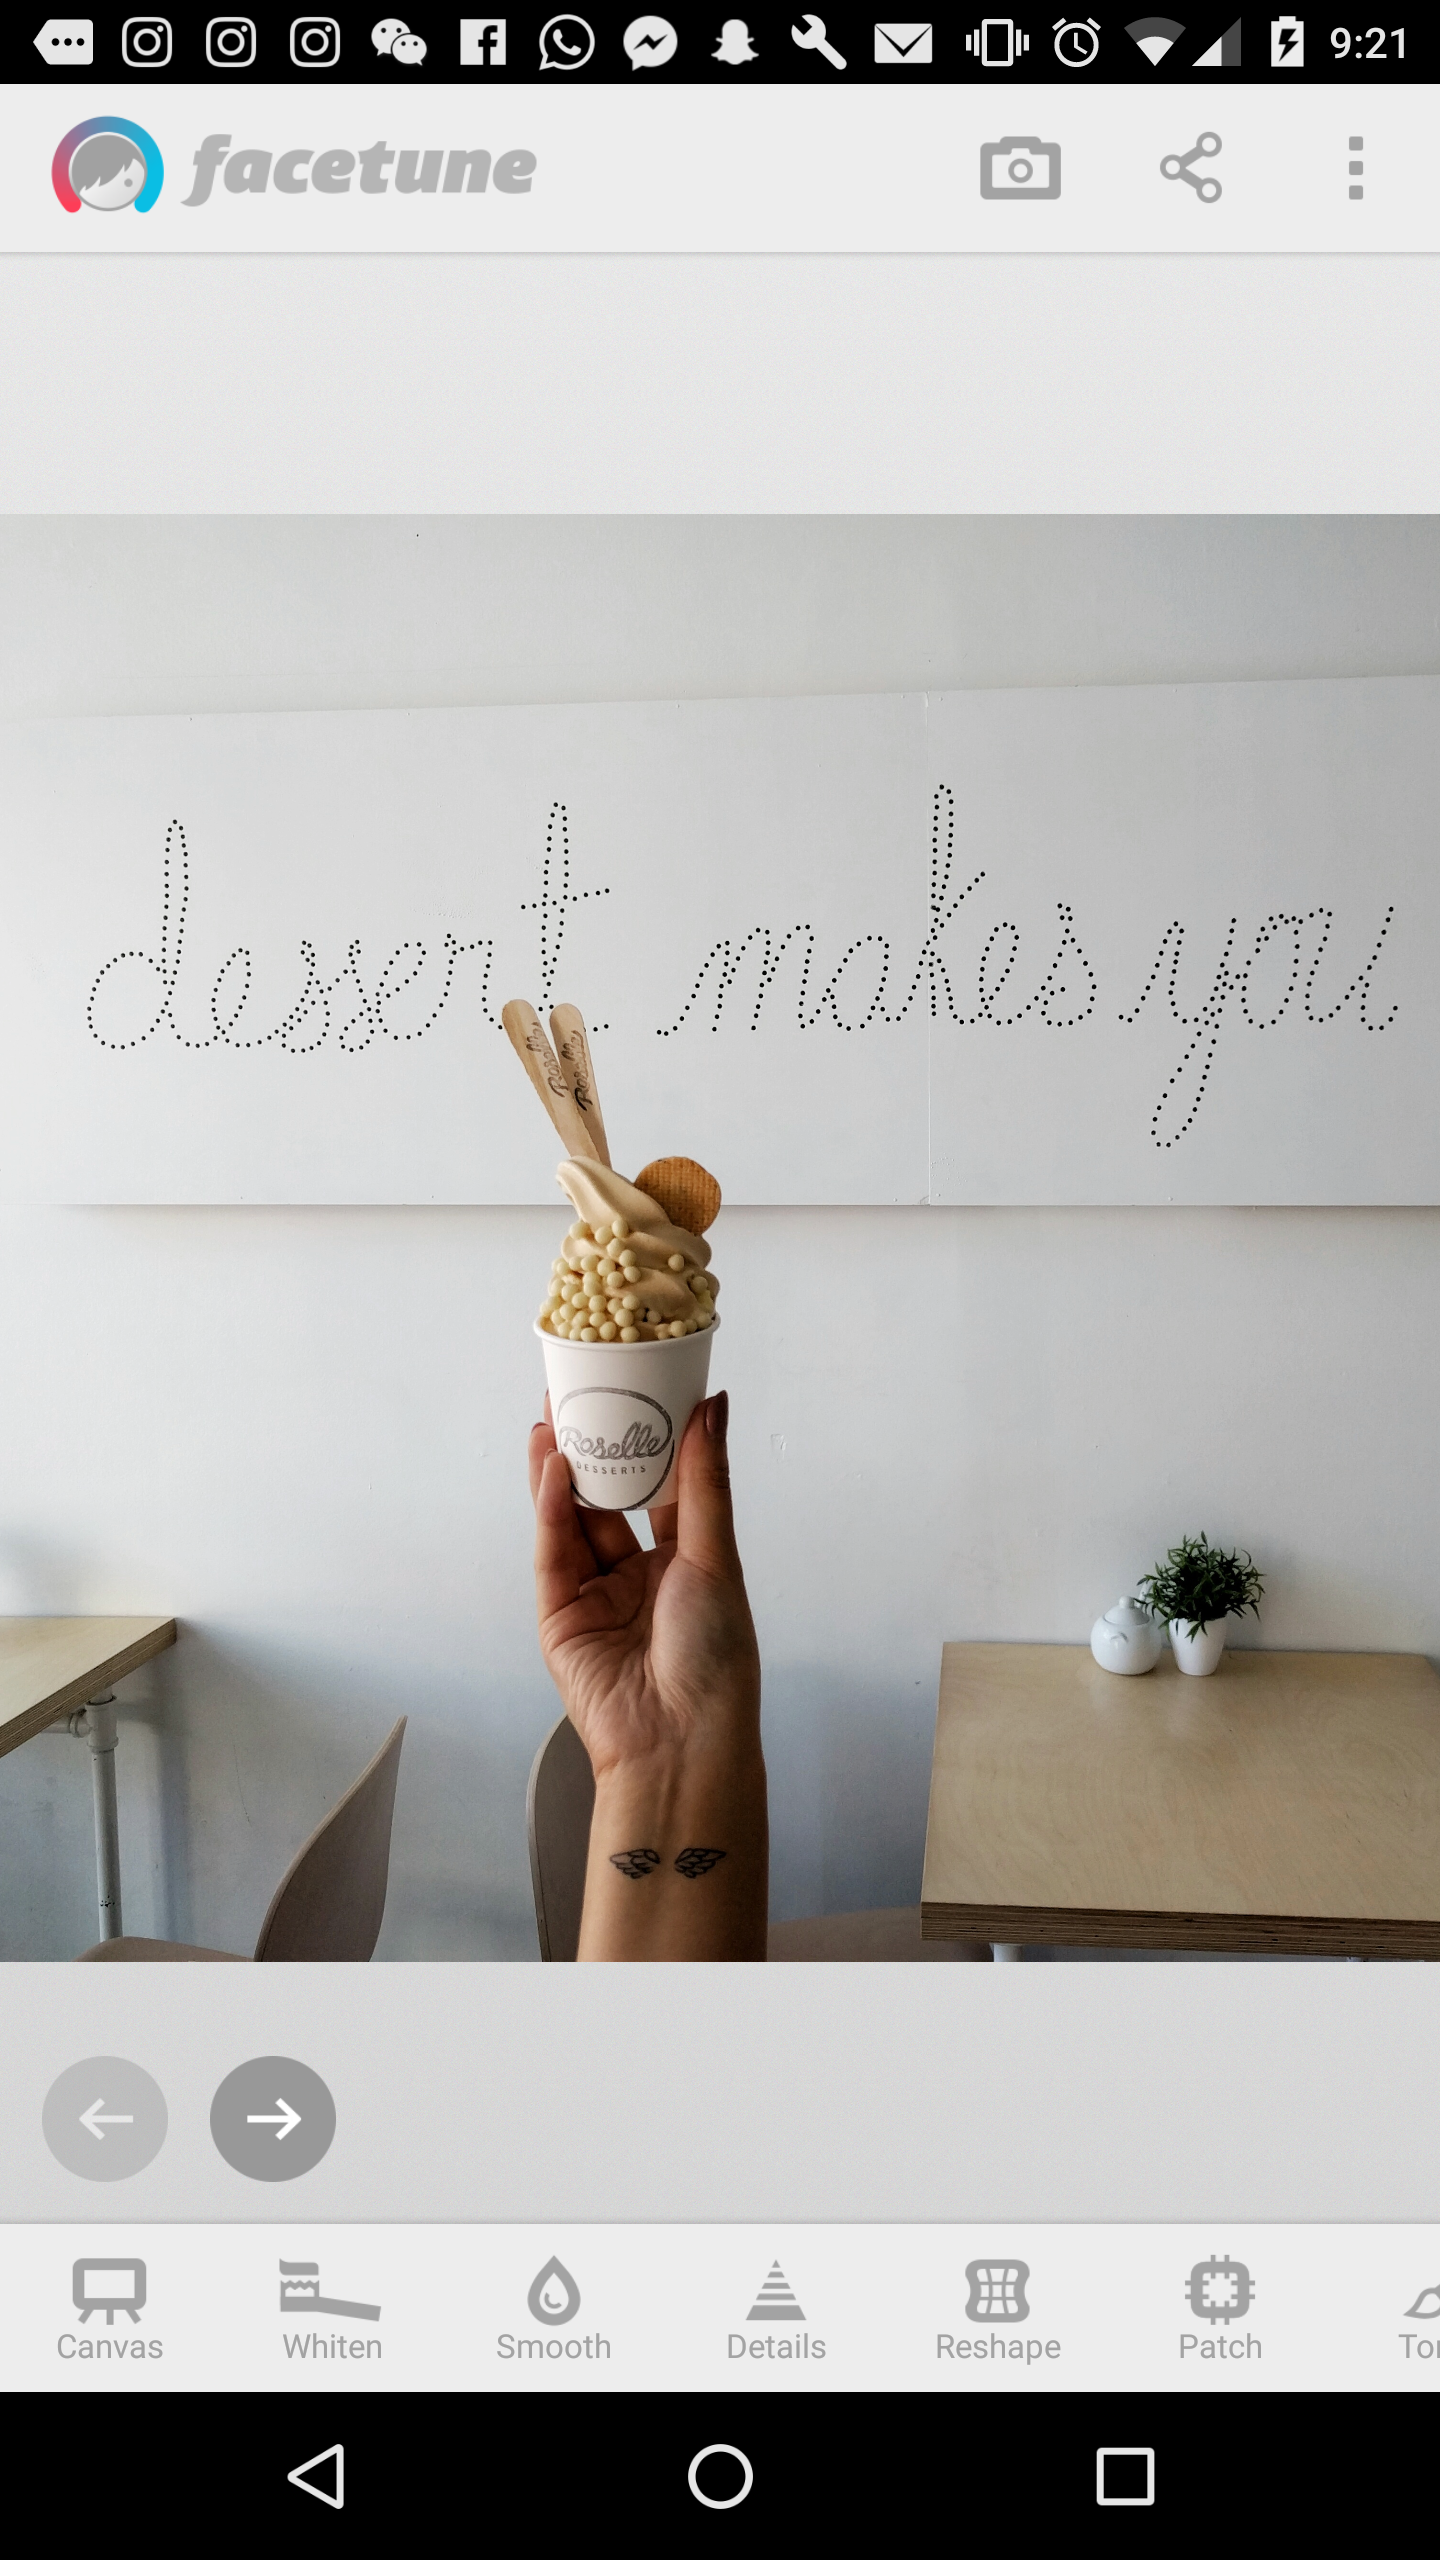
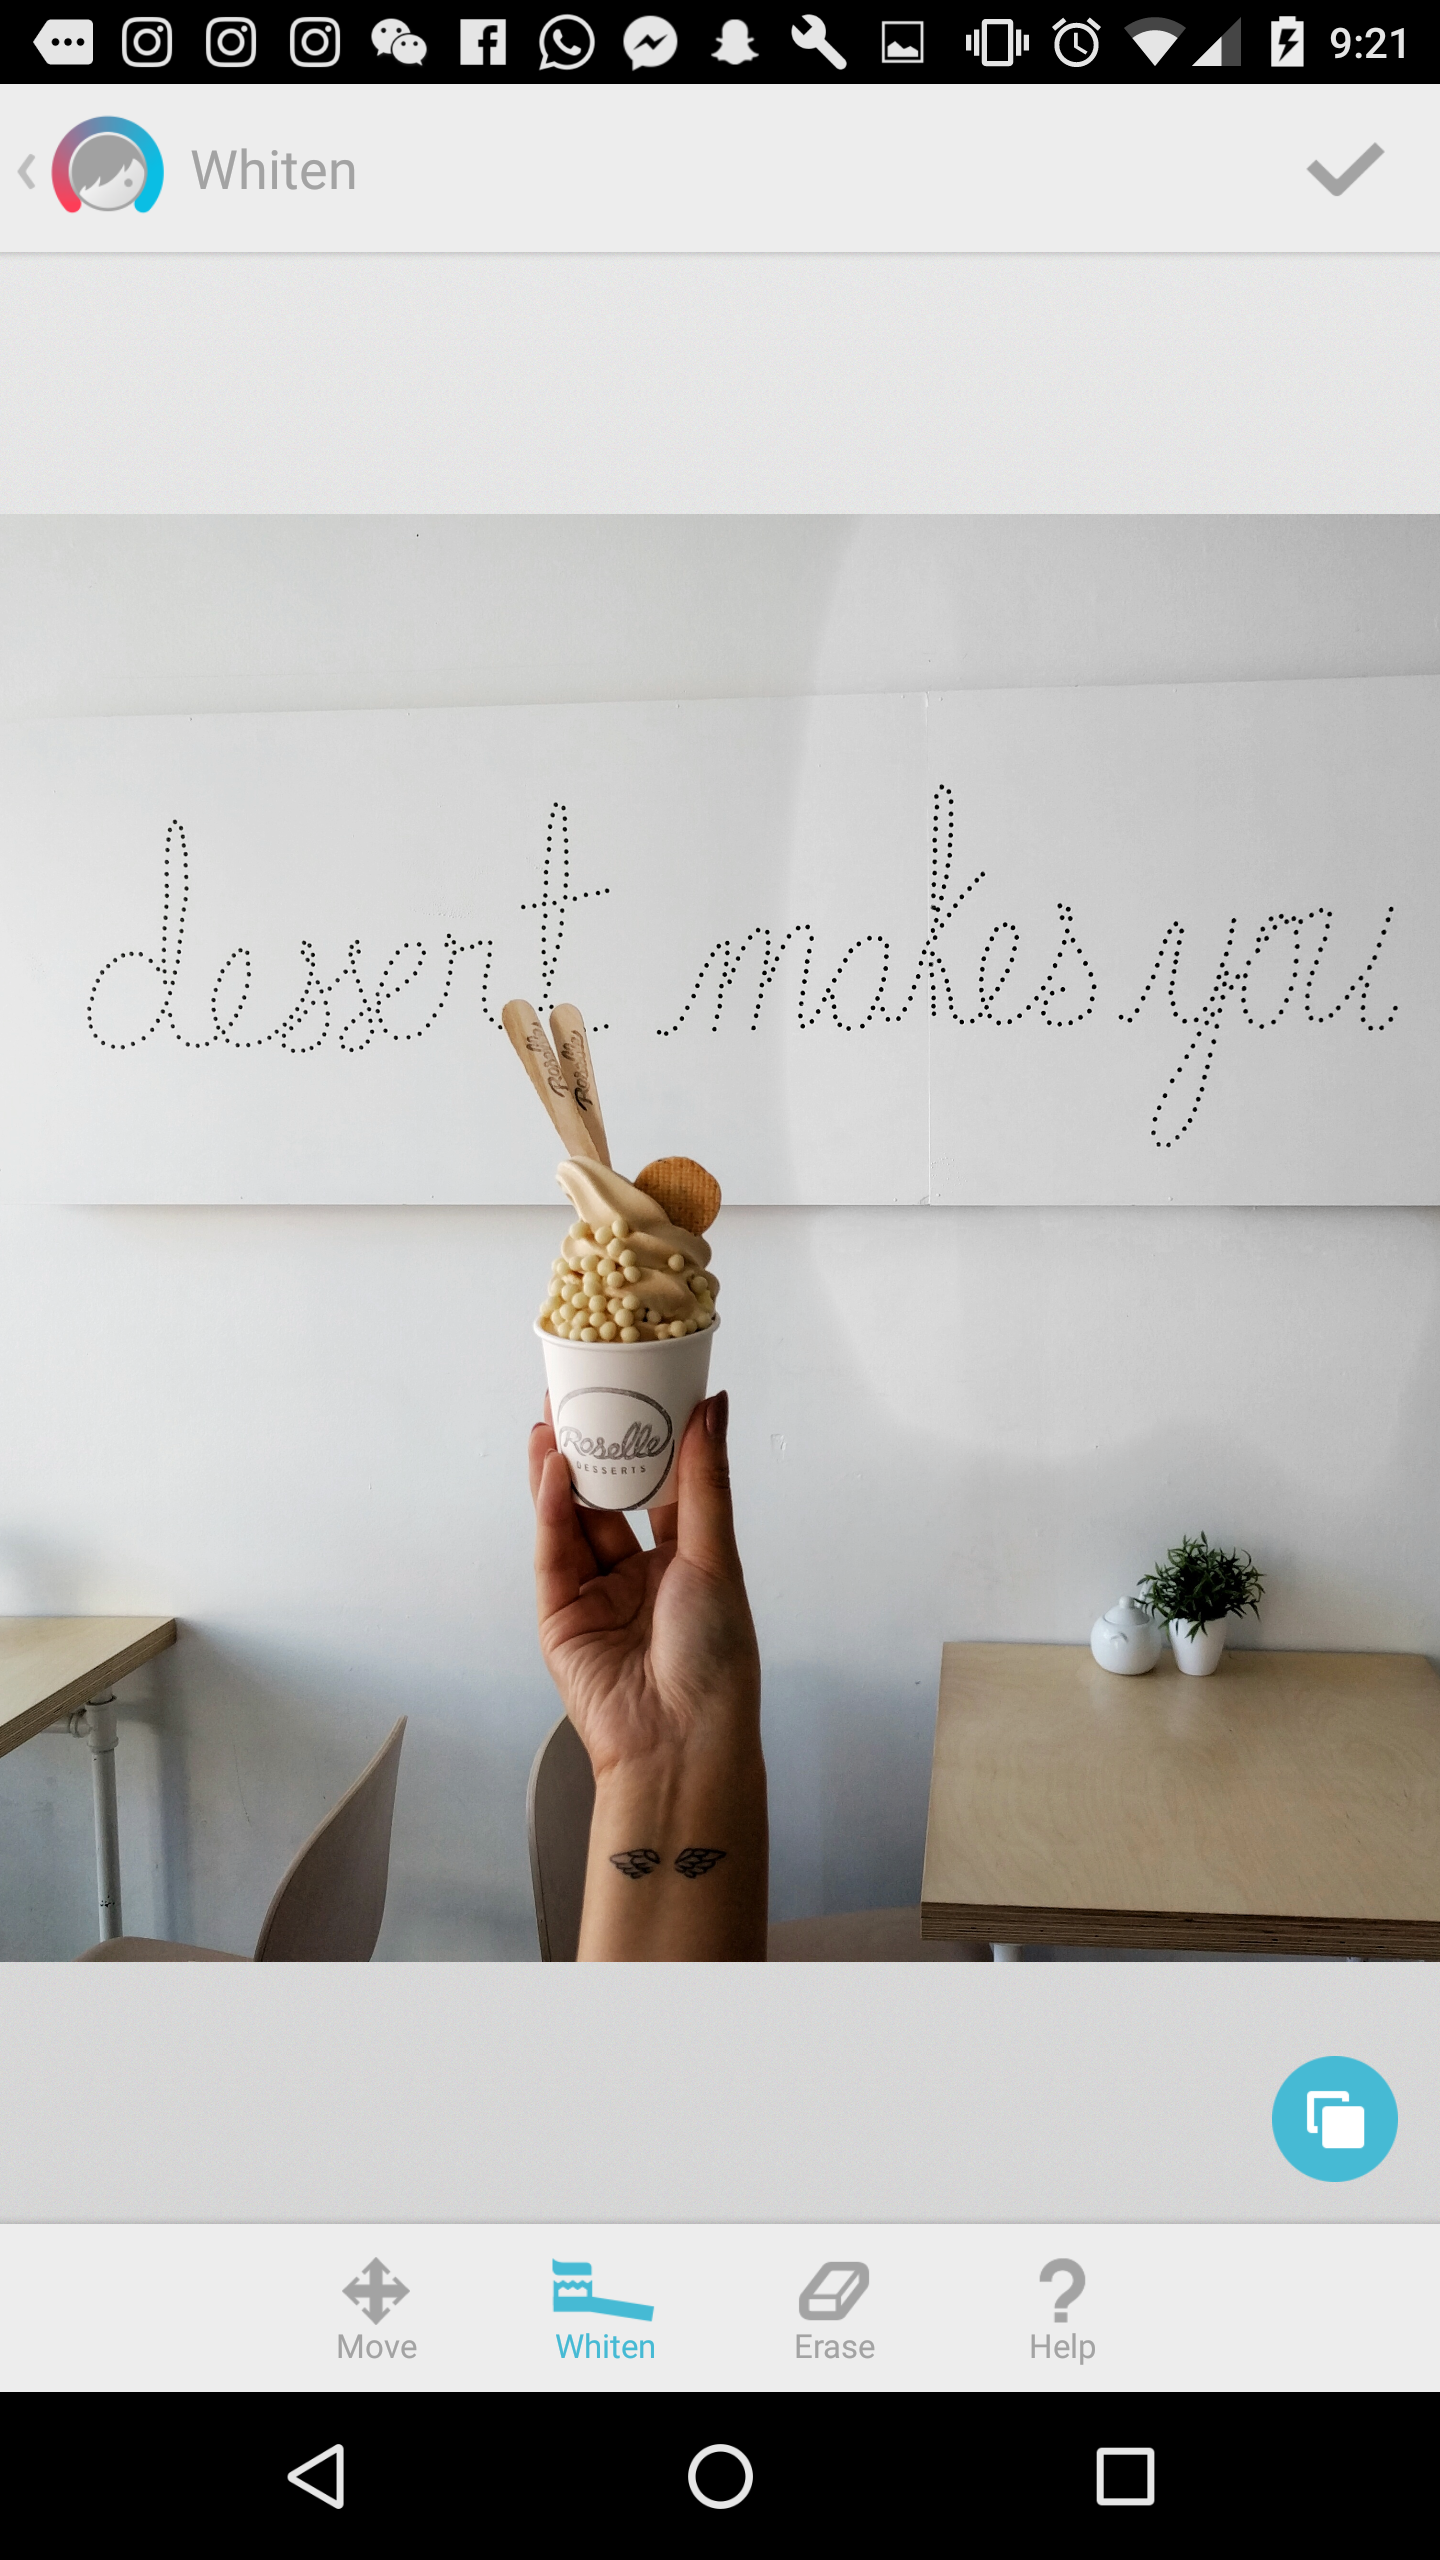
So what's the technique? Facetune! I simply use the Whiten feature to bring out the white in the photo. I zoom in to cover smaller areas, and toggle back and forth between Whiten and Erase to ensure I don't go over areas I want to maintain colour (like my hands).

And that's it! It's nothing new or innovative, and many bloggers utilize this technique to highlight the white in their photos. Simple, but effective! My editing process has changed drastically since I first started blogging, and I'm sure it'll continue to evolve. I would love to know what some of your favourite editing apps are!

How-To: Look Fabulous with 7 Day Old Hair

Well, half decent. Since I was rocking 7 day old hair here, I'm going to share some tips on how I maintain it without actually washing it. Going to keep it short and sweet - just like me. Minus the sweet part.

1. Let's Get Dirrty - (As Aguilera would put it) No matter how oily or smelly your hair is, or how itchy your scalp gets, don't give in. You need to train your hair, especially if it's used to being washed everyday. 7 days may be excessive, but washing your hair at least every other day ensures your scalp is not overproducing oil to compensate for the dryness. 

2. Cozy up with Dry Shampoo - Let dry shampoo become your best friend. My favourite is Batiste's Original or Bumble and bumble's Prêt-à-Powder. I apply it in-between washes to my roots, and massage the powder into my hair.

3. Let's Tango - With your comb, that is. Being an unnatural blonde, I usually wake up looking like a dragon lady with dreadlocks. After I comb out all the tangles, my hair is 10x more manageable and I can style accordingly.

4. Smooth Criminal - (had to reference MJ) For that finishing touch, to make it look like you just washed your hair and got a blowout, Bumble and bumble's Hairdresser's Invisible Oil is great for adding shine and taming flyaways (especially those stubborn baby hairs). I can't leave the house without it!

And that's how I get away with not washing my hair for 7 days. Would love to know the longest you've gone without washing yours!
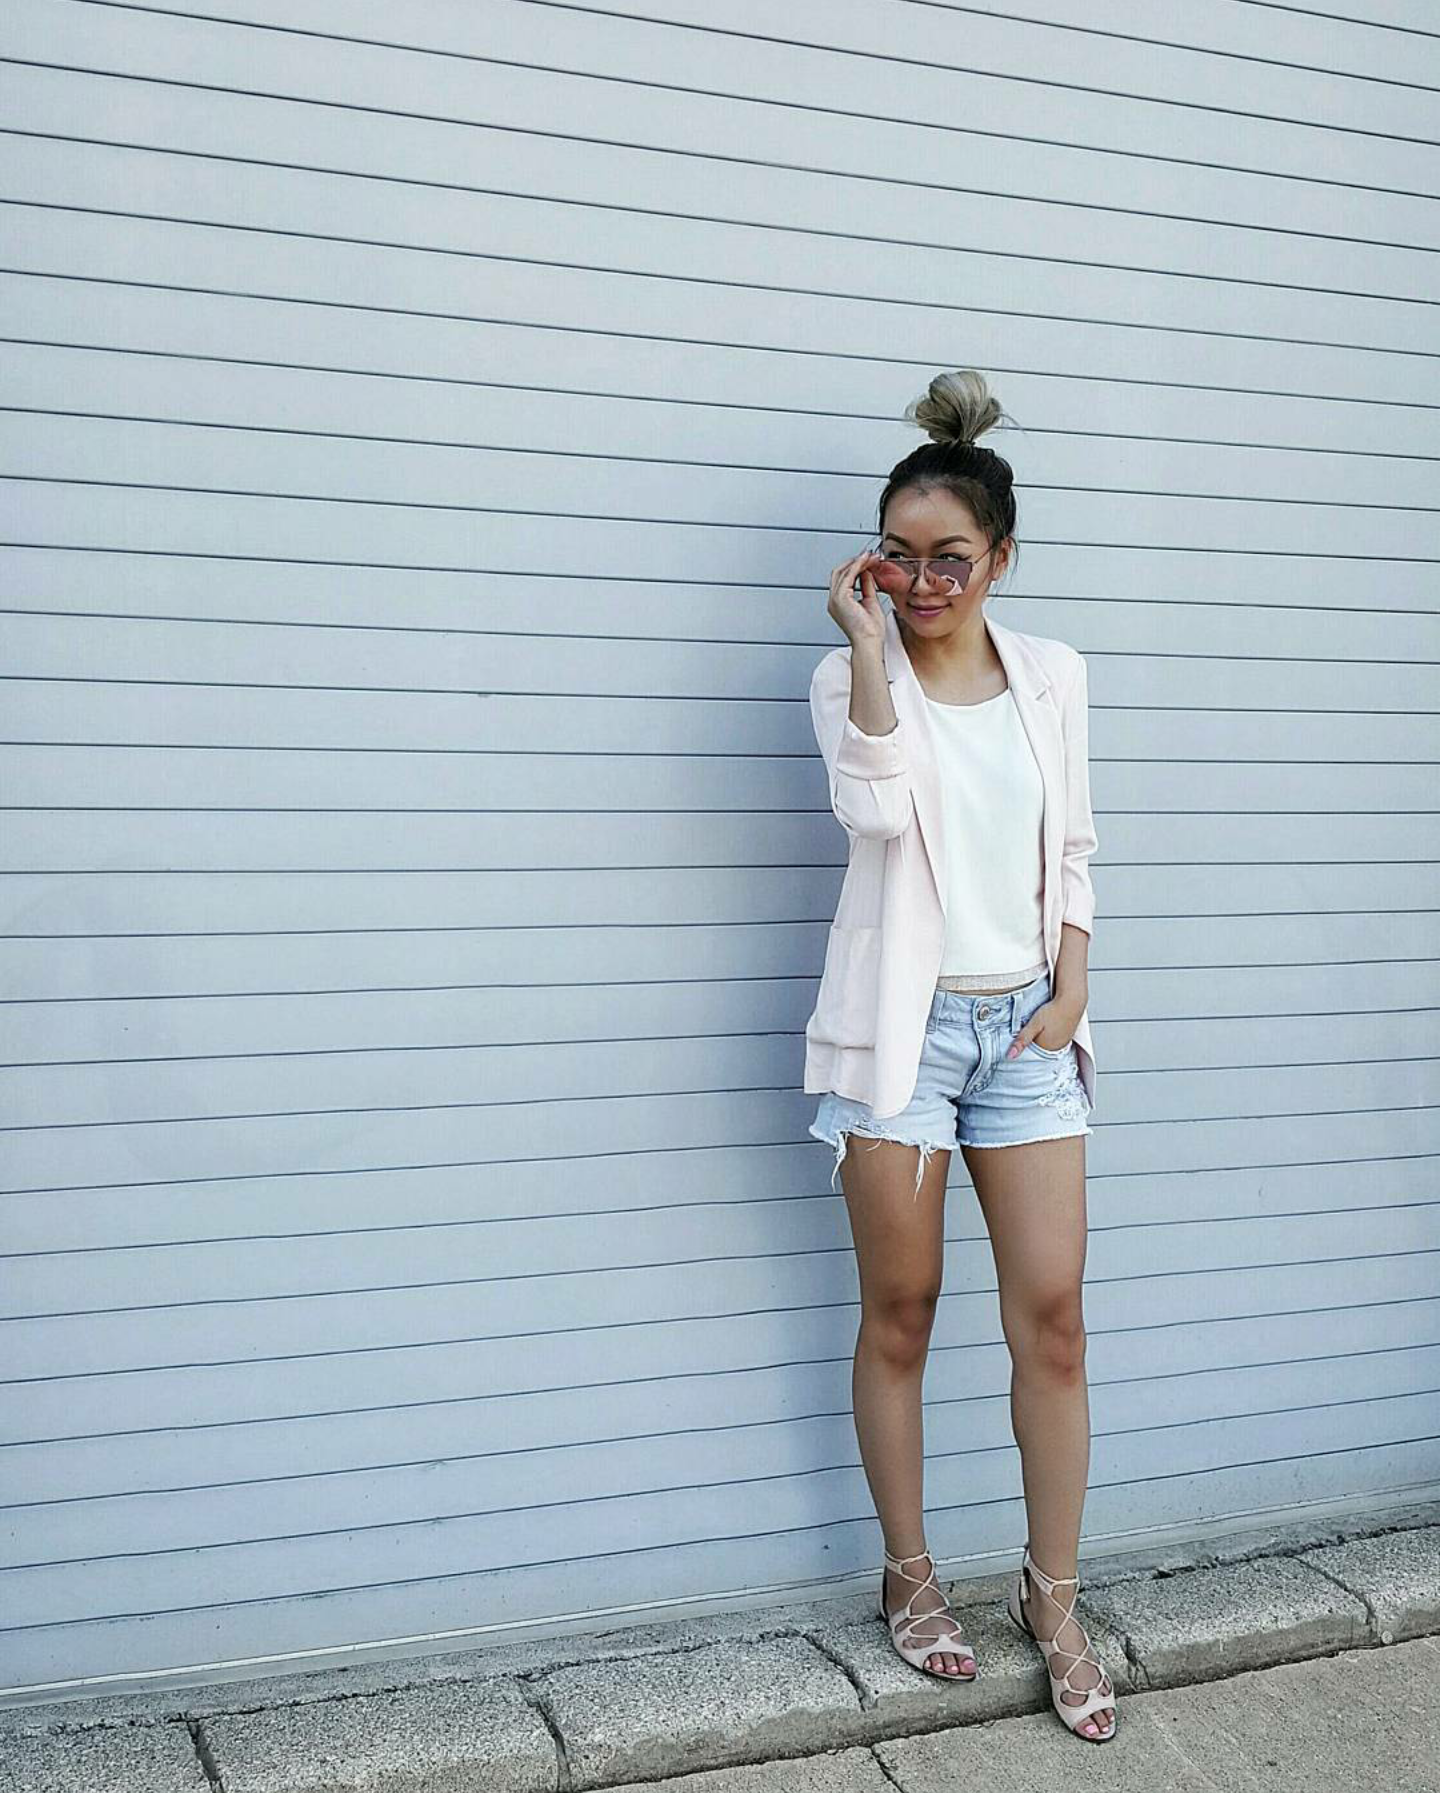
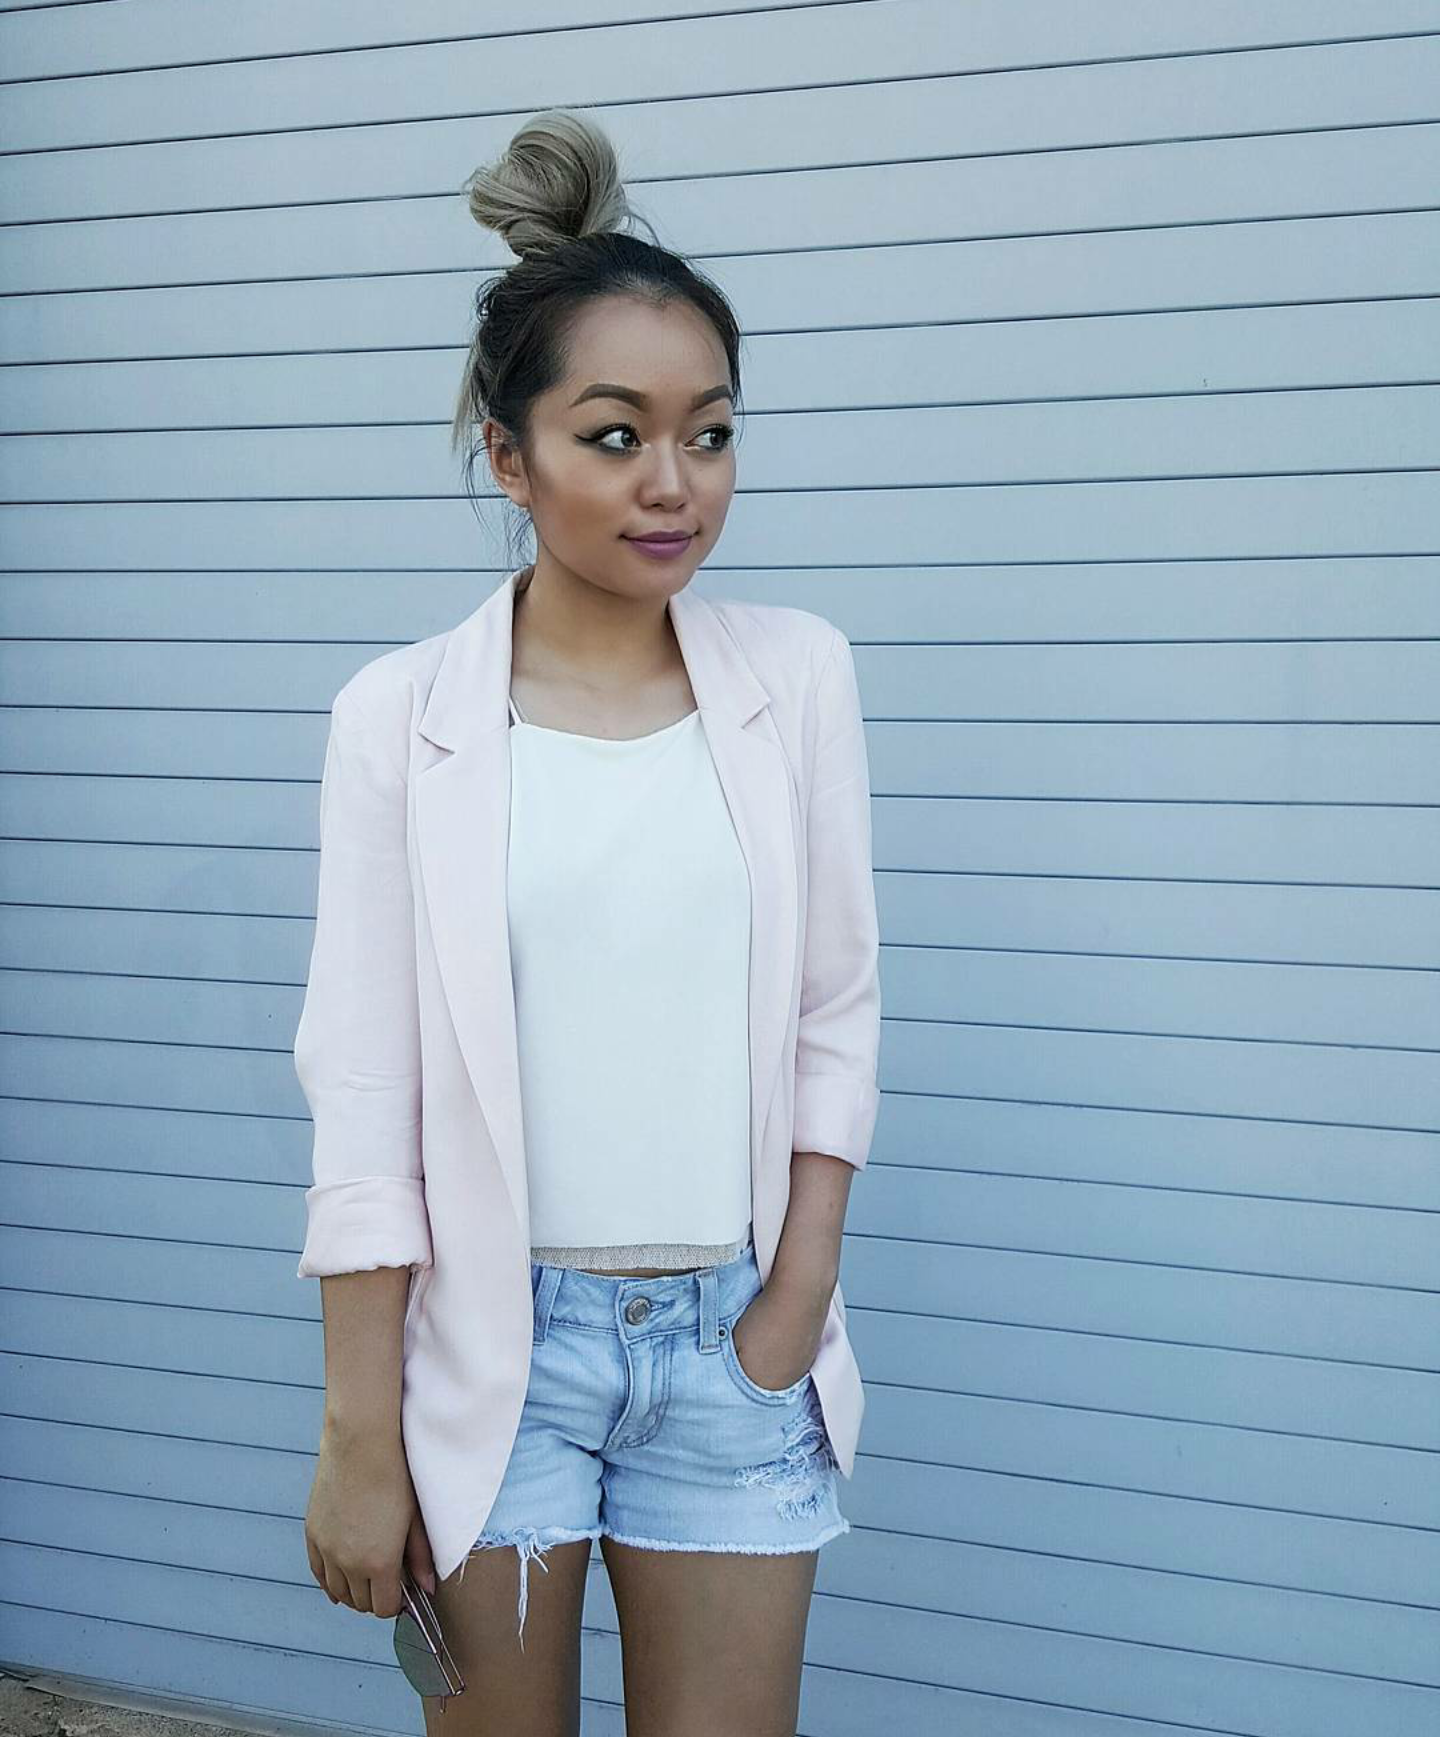
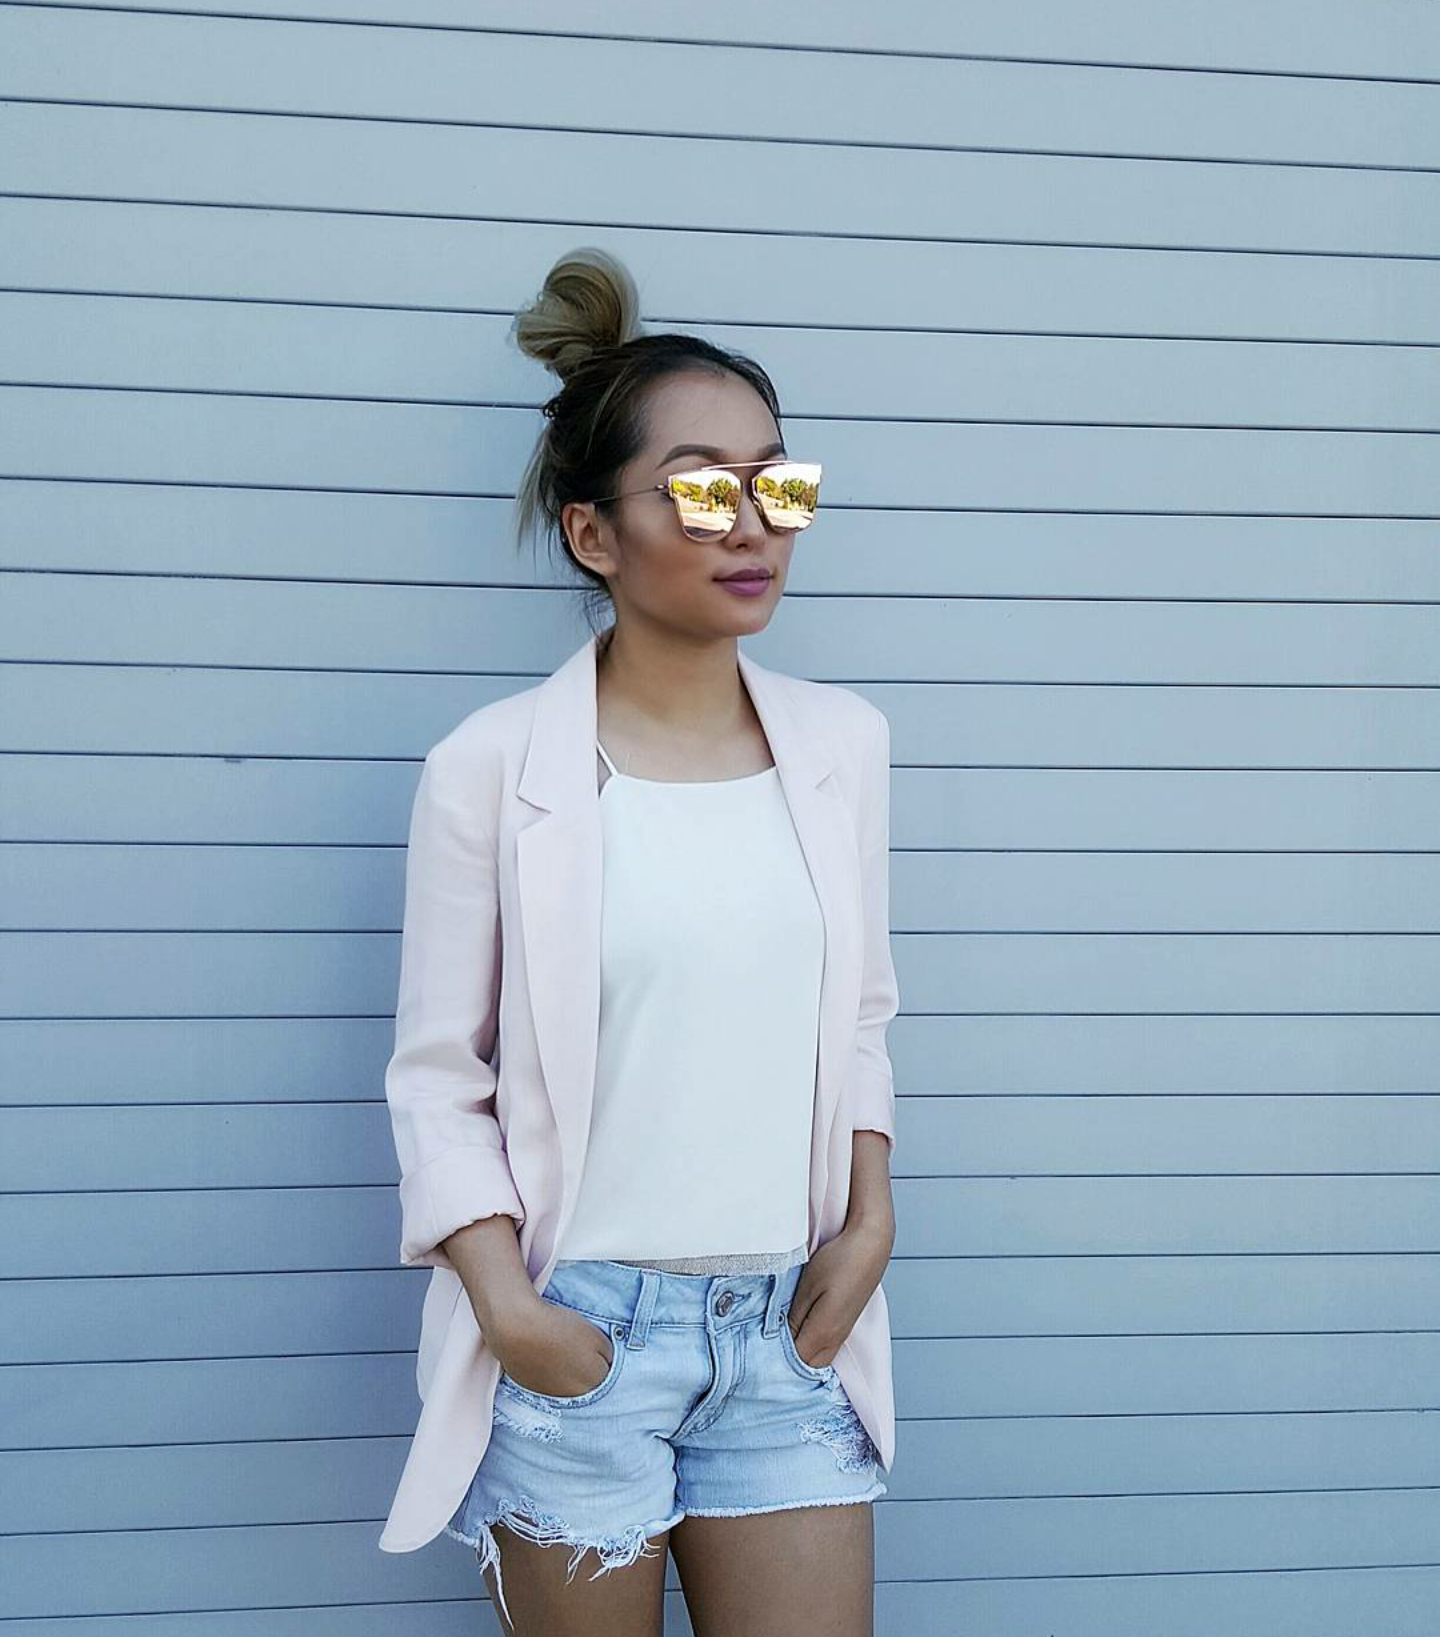
Aritzia Talula Kent Blazer (Similar) // Zara Cropped Top (Similar and cuter) (This one's nice too) // American Eagle Shorts (Similar here and here) // Zara Lace Sandals (Similar - Love these ones) // No Weekends Luna Sunglasses (Blush)

SHOP THE POST

How-To: Editing Pictures for Dummies

I've been getting a lot of questions around how I edit my photos for Instagram and the blog. When I started, I was simply using Instagram to edit, but I've recently discovered the holy grail of all editing apps.

For comparison, this is what the above photo looked originally:

Mind blown yet? Here are a few more before and afters:

Struggles of maintaining a consistent feed!
No Photoshop required

#TrustIssues - Never trust what you see in pictures, folks.

So, how!?

Snapseed my friends, is the best editing app out there. I hashtag VSCO in all my photos, but I don't actually use the app and find no use for it - unpopular opinion, I know. Let me take you through the steps I take to edit using an old photo:

Step One - Tune Image: I usually increase the brightness, contrast, saturation and highlights to my liking; Then lower ambiance, shadows and warmth [As shown in second photo]

What it now looks like compared to the original [slight difference]:

Step Two - Details: I like to increase structure and sharpen slightly

Step Three - Brush: My feed has a lot of white/grey hues, so I like to desaturate the background by lowering saturation to -10 and highlighting the entire background. Toggle the preview (eye button) to see where you're colouring. When I get close to the subject (in this case it's me), I zoom in to make the brush smaller, and continue to outline around it.

Change the saturation brush to 'eraser' to go over areas you did not want to touch. While in Brush mode, I also like to use the exposure brush at 0.3 to slightly brighten the background, and the dodge & burn brush to expose/darken certain areas. 

It now looks like this: 

Step Four - Finish off in Instagram - As the last few steps, I usually apply the Ludwig filter at 10-15%, and slightly adjust as needed. 

And voila! Final result against the original:

Hope you found this helpful! Everyone has a preference when it comes to editing; this is simply how I like to edit my photos. If you have any tips, let me know in the comments!

DIY: Halloween Sushi Costume (No Sew)

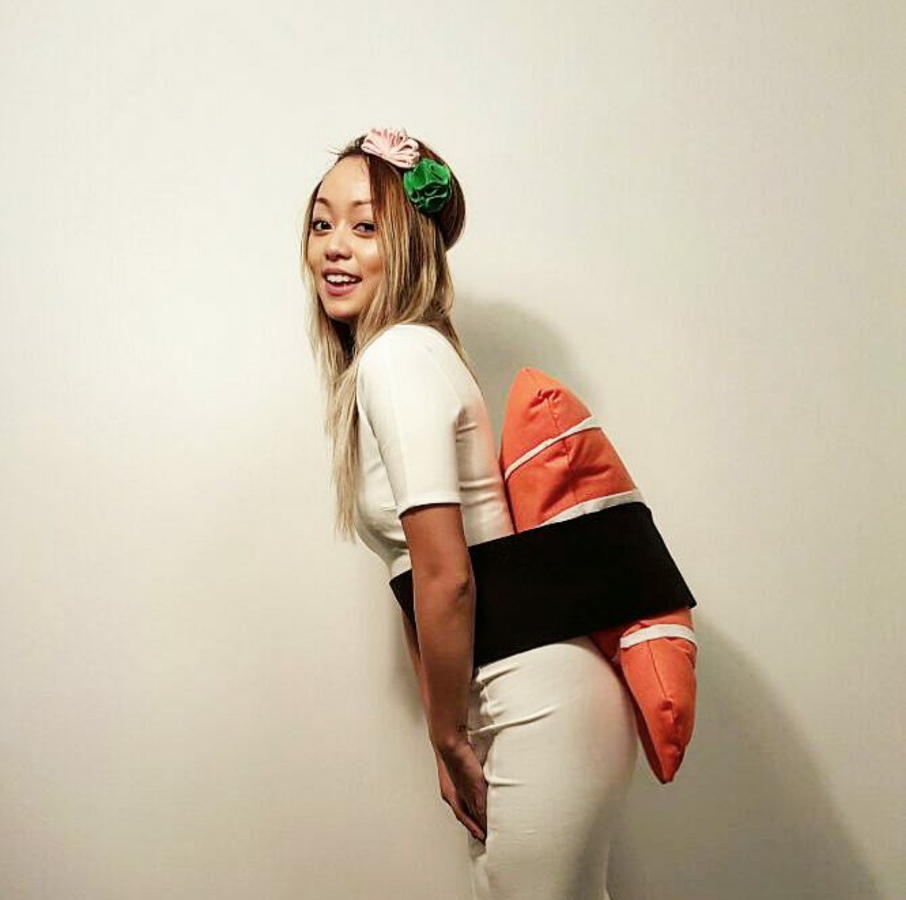
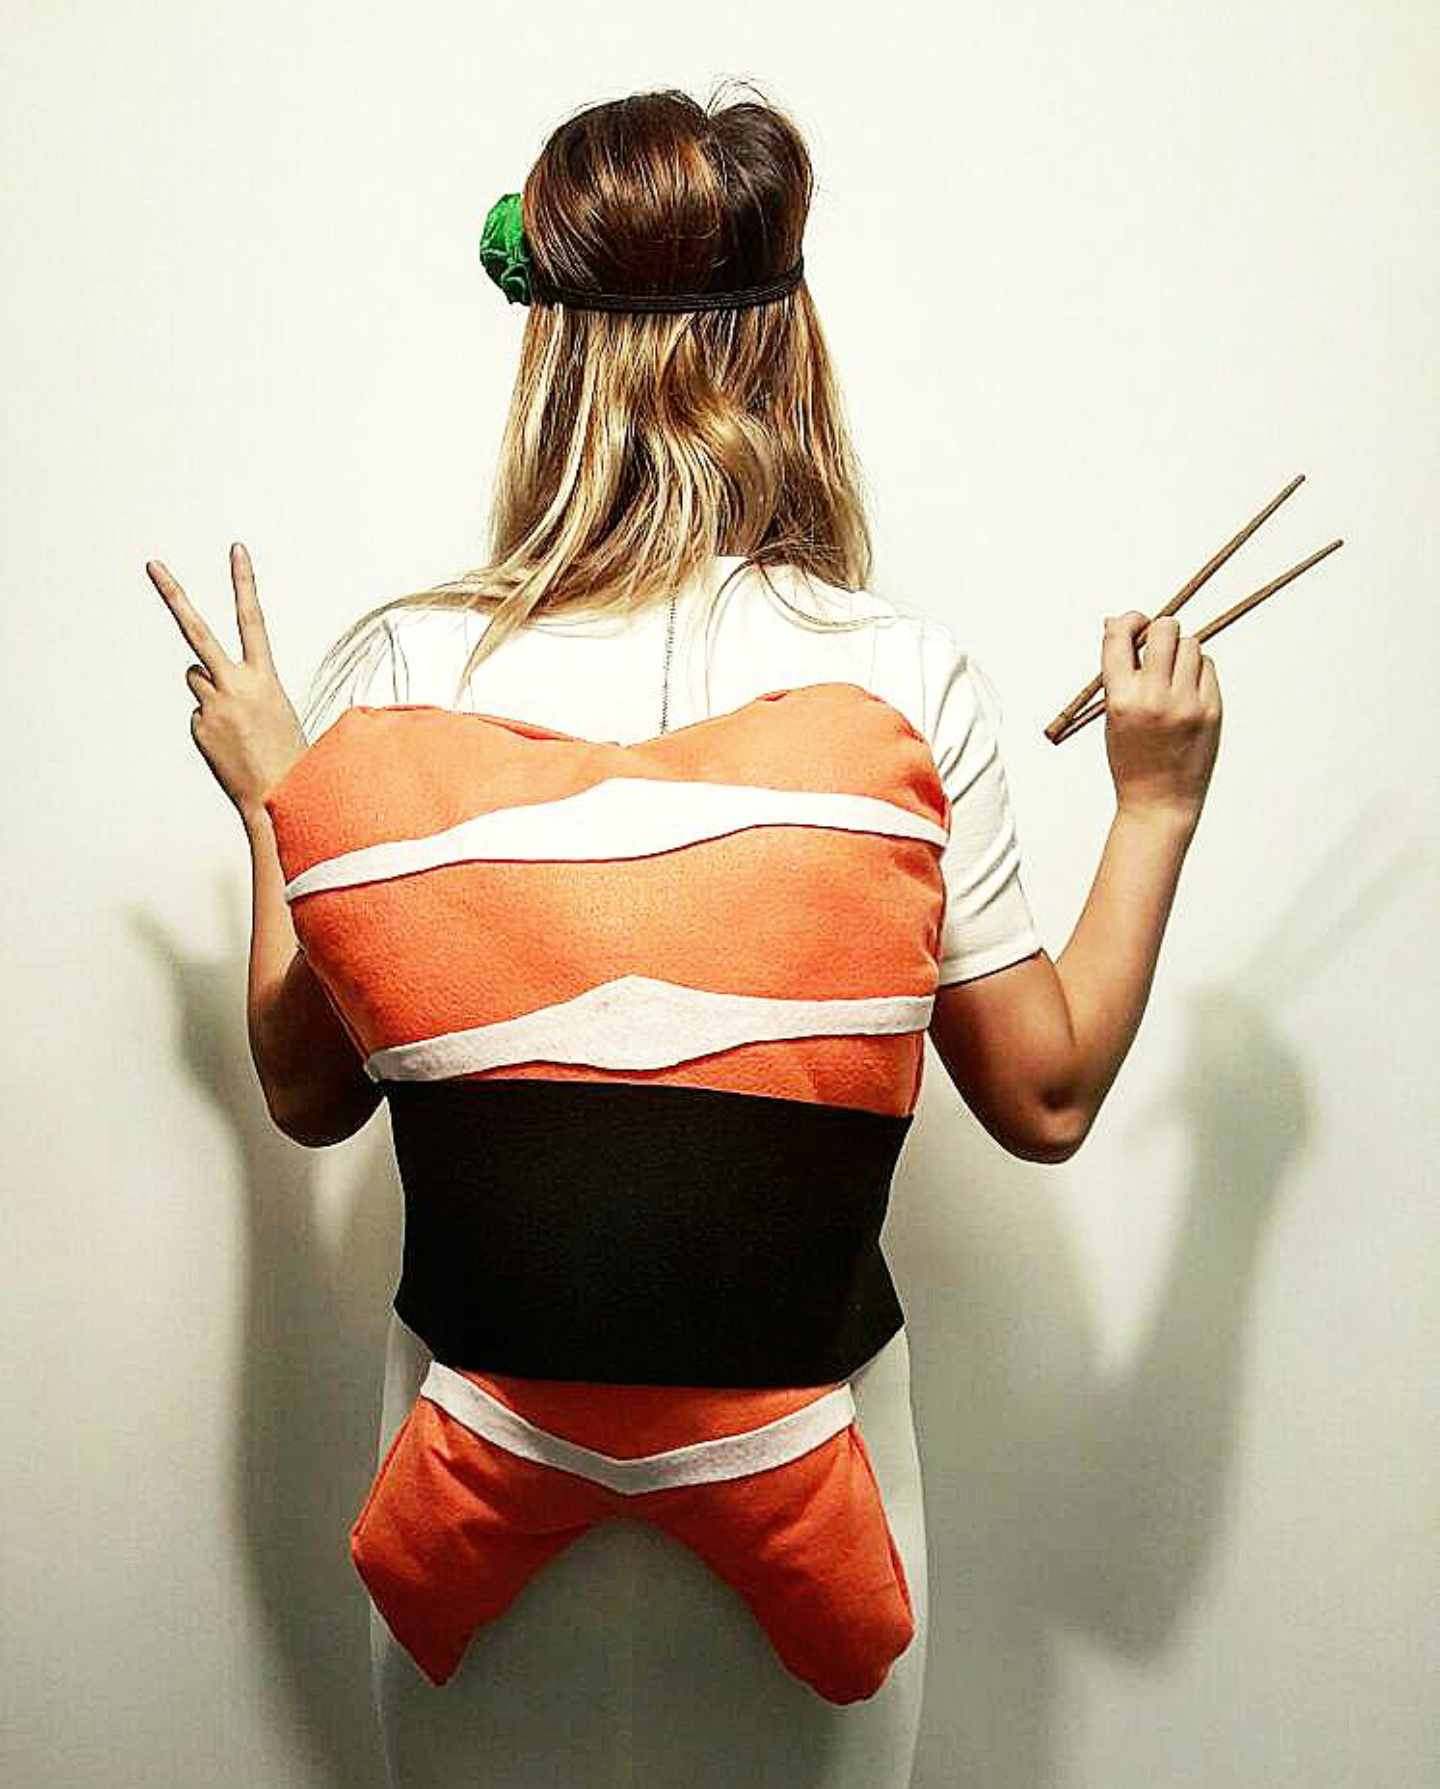
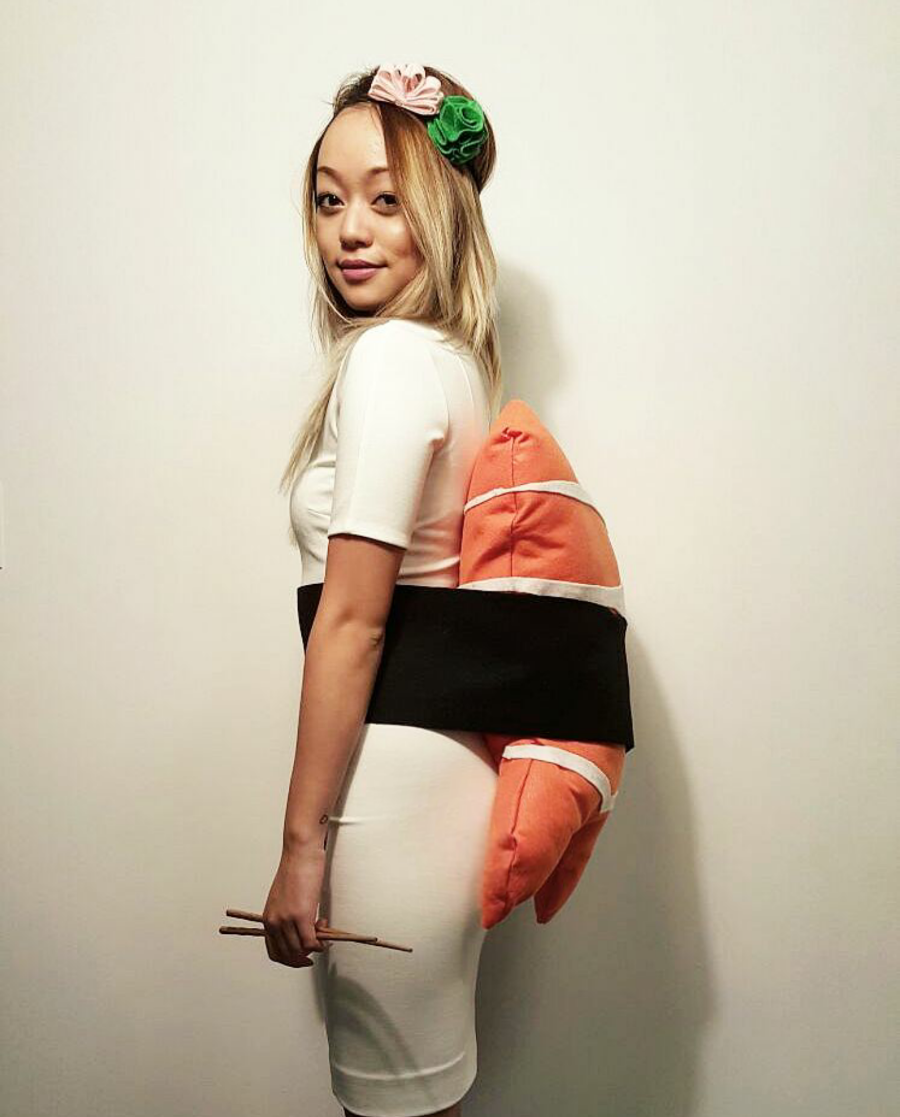
The theme this year for Halloween in my department at work was 'Emojis', so it was either poop or sushi. I opted for sushi because I was inspired by a cute DIY for babies online, and decided to put my own twist on it. Still one day left until Halloween so feel free to make your own sushi, save this for next year, or just go out and eat sushi like I probably will.

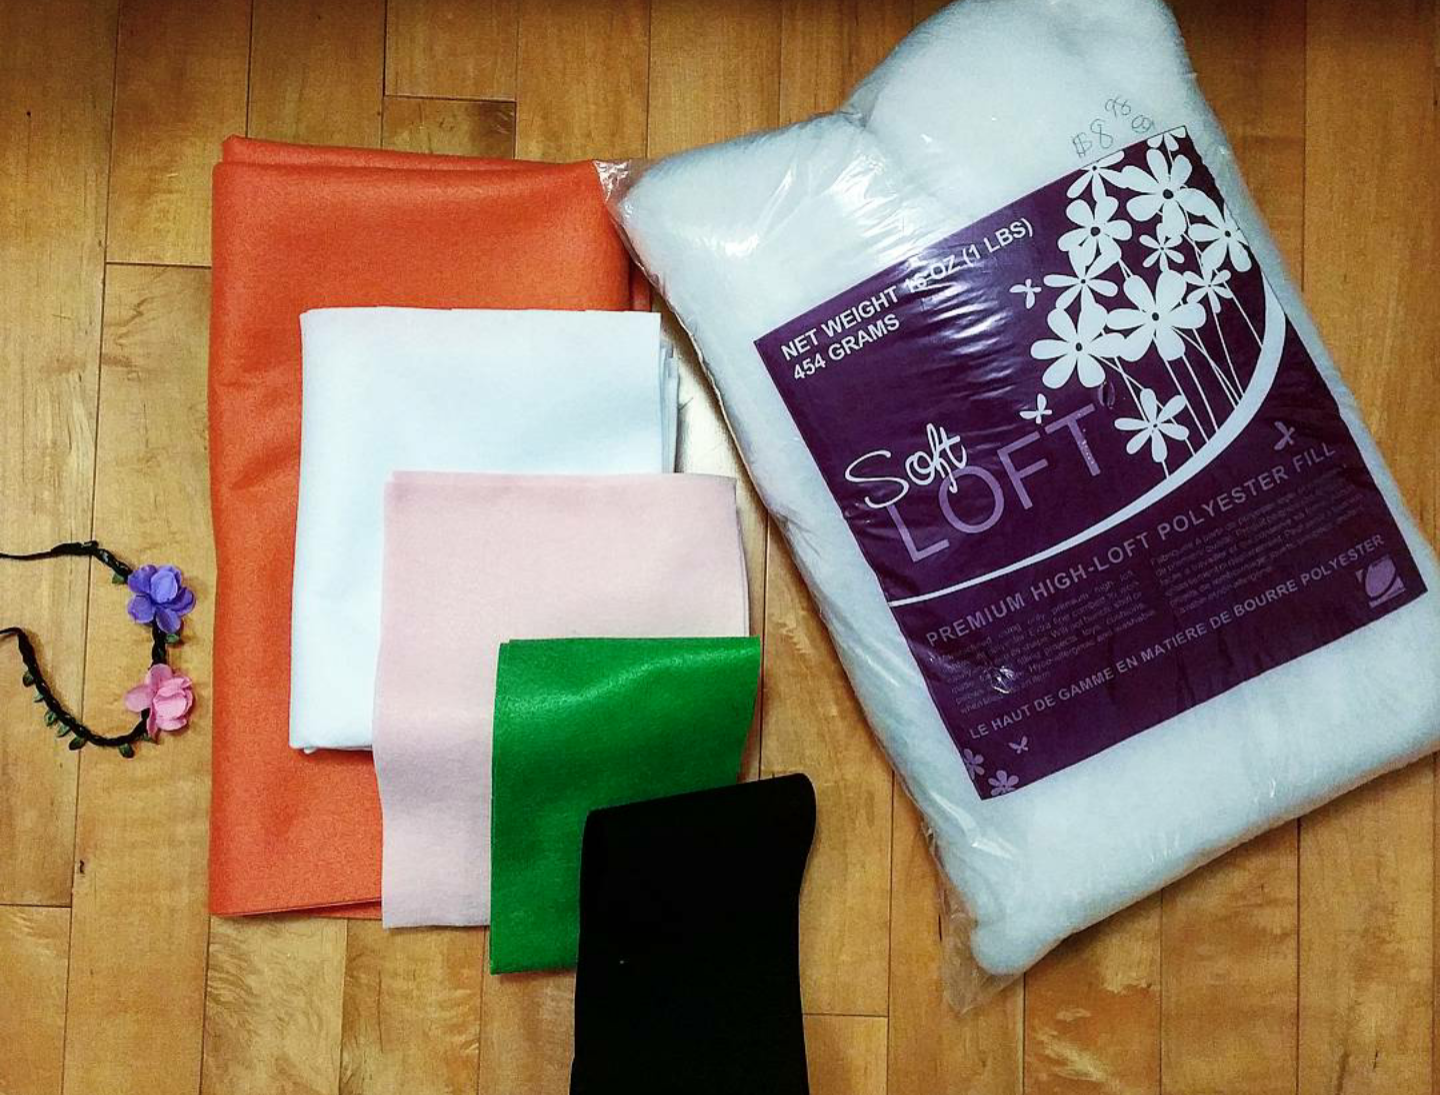
Materials: 1) Headband (Shown: Dollar store elastic flower headband), 2) 1x1 metre orange felt, 3) 0.5x0.5 metre white felt, 4) 1 sheet of light pink felt, 5) 0.5x0.5 metre green felt, 6) 10 centimetre x 1 metre black felt, 7) Bag of stuffing (Shown: Polyester stuffing from Fabricland), 8) White dress (Shown: Aritzia Babaton Dress), 9) Black satin belt (optional), 10) Hot glue gun and scissors

Shrimp - Orange and white felt, stuffing ; Seaweed wrap - Black felt and optional satin belt; Wasabi/Ginger headband - Headband, green and light pink felt ; Rice - White dress

PART ONE - SHRIMP

I decided to go with shrimp, but you can opt for tuna, salmon, unagi or whatever sashimi floats your boat.

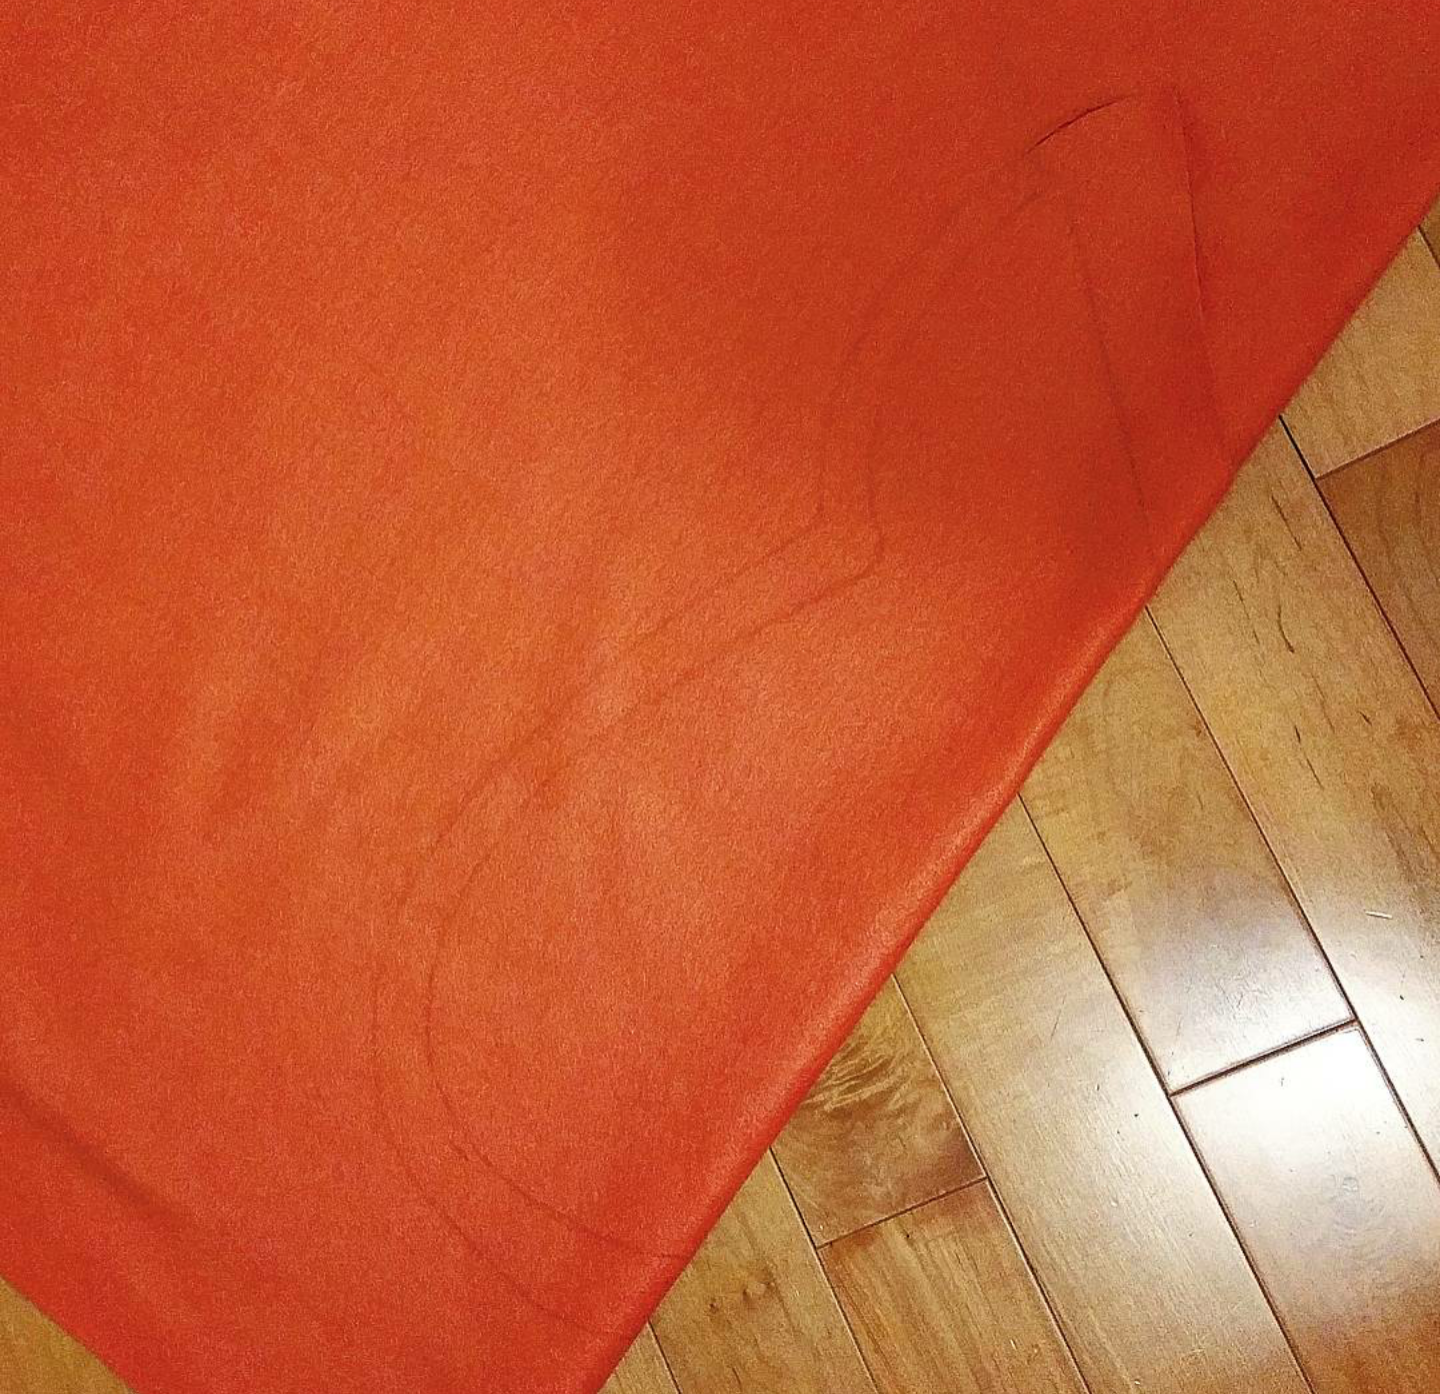
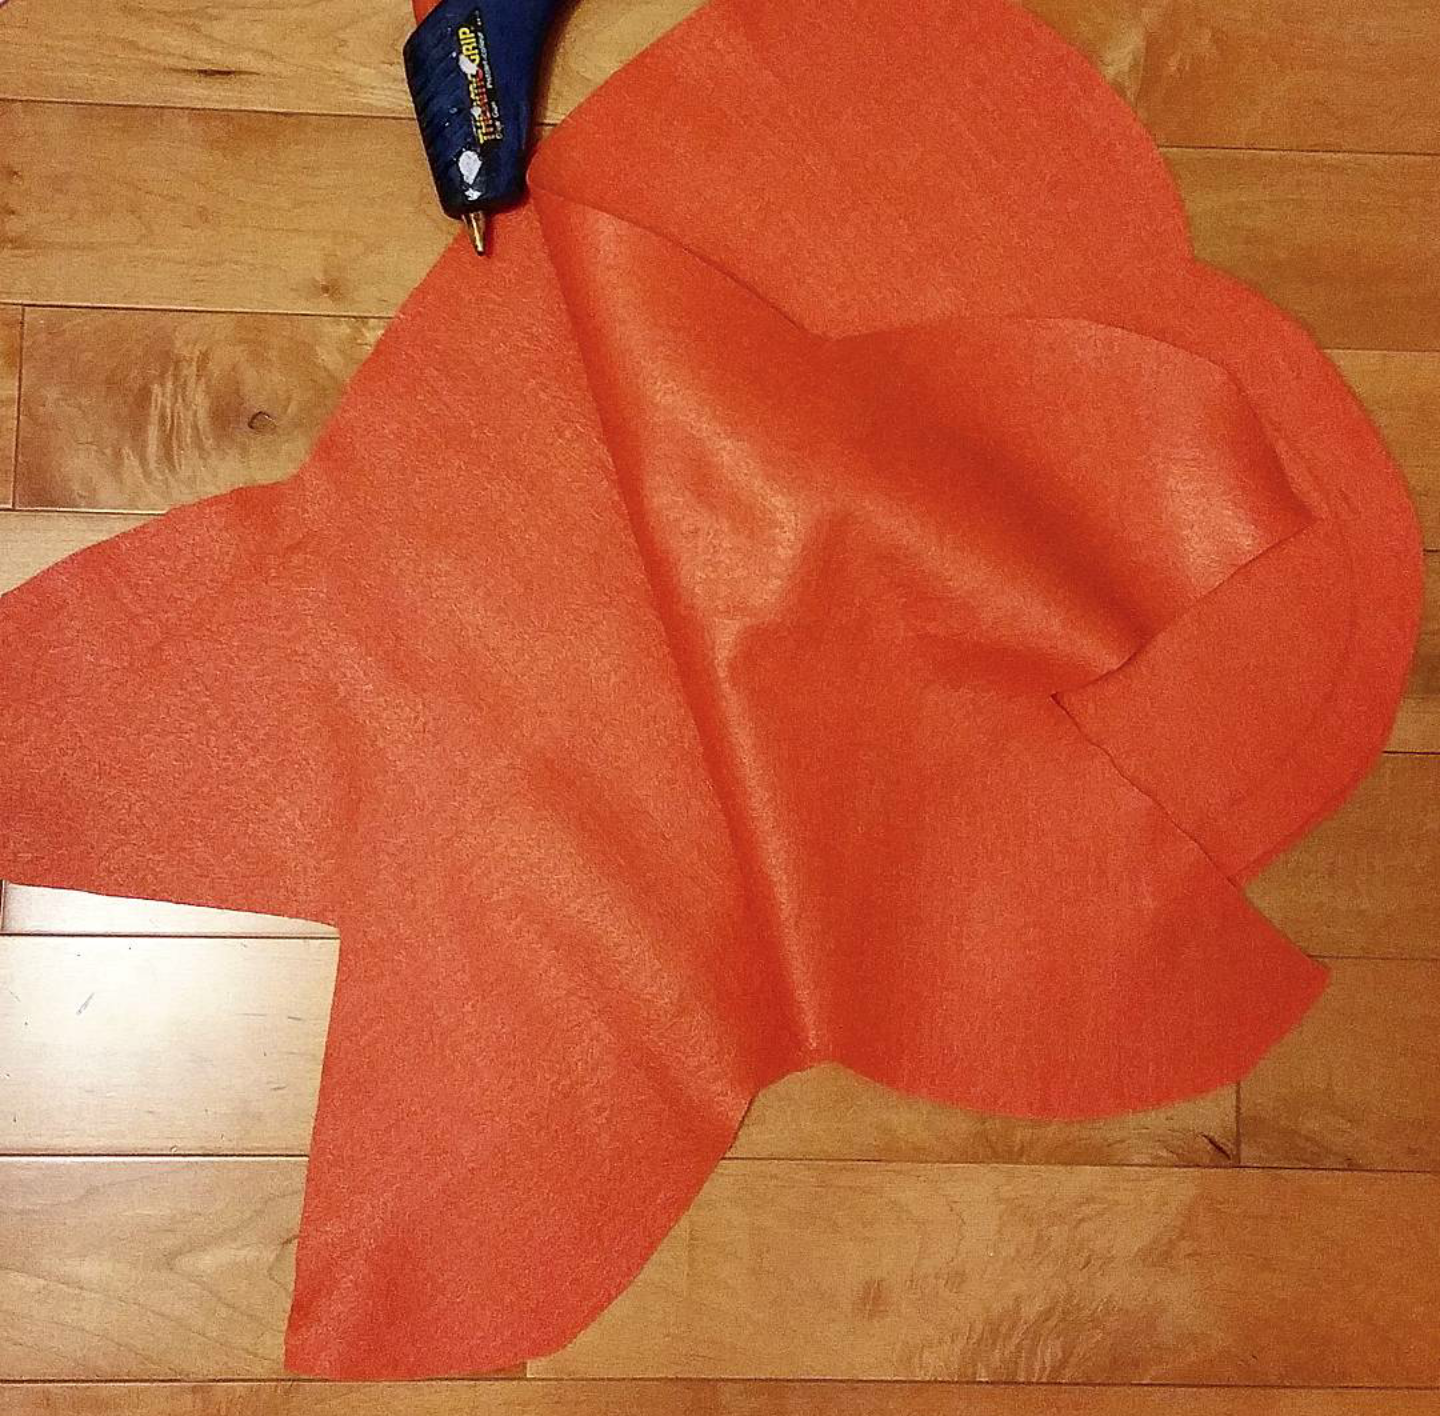
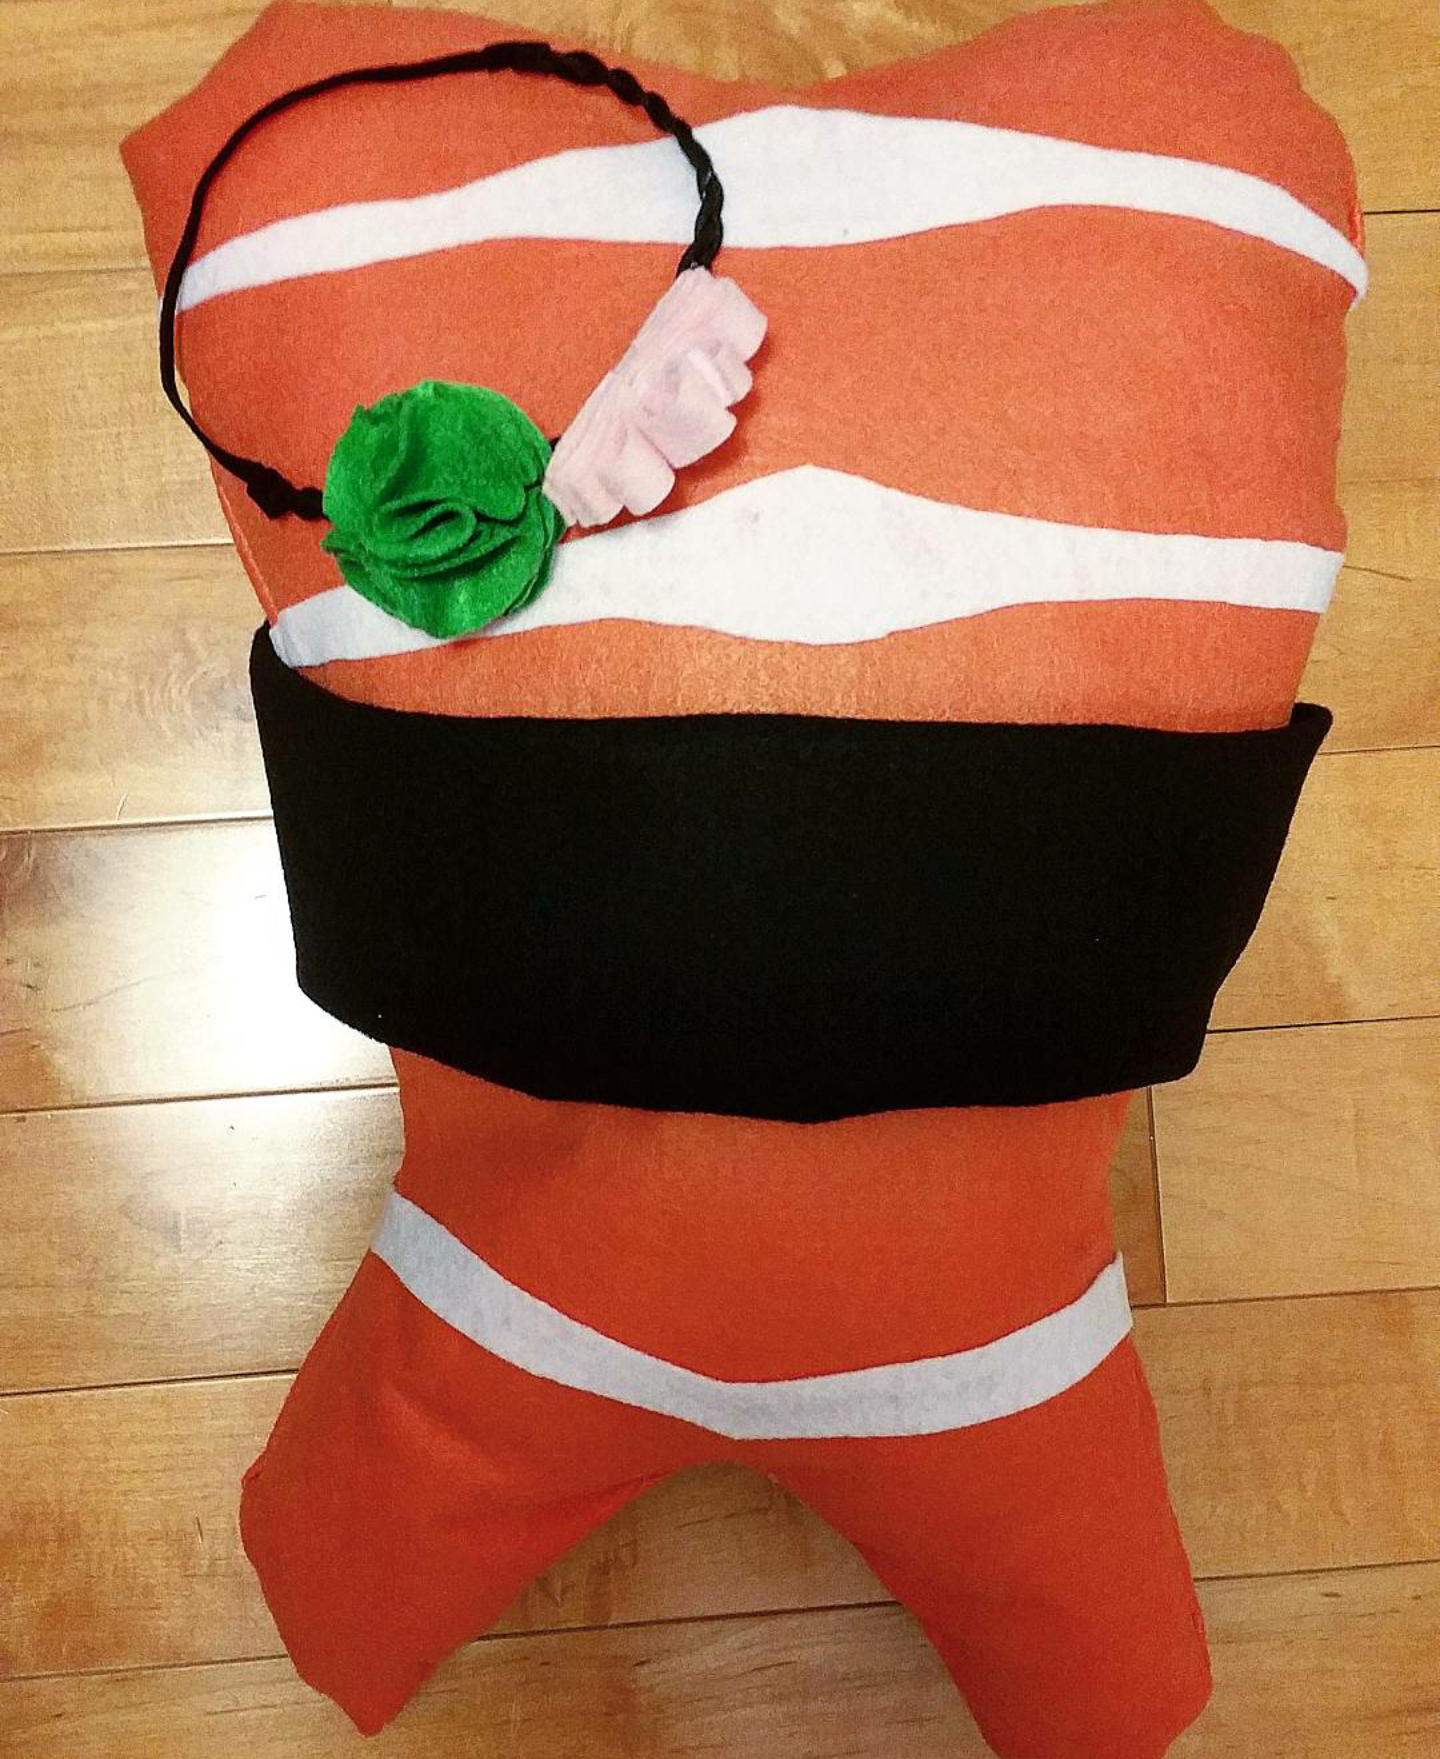
Step 1 - Fold the orange felt in half, then trace an outline of a shrimp. Draw it slightly larger than you want the shrimp to be, to allow room to hot glue the edges.

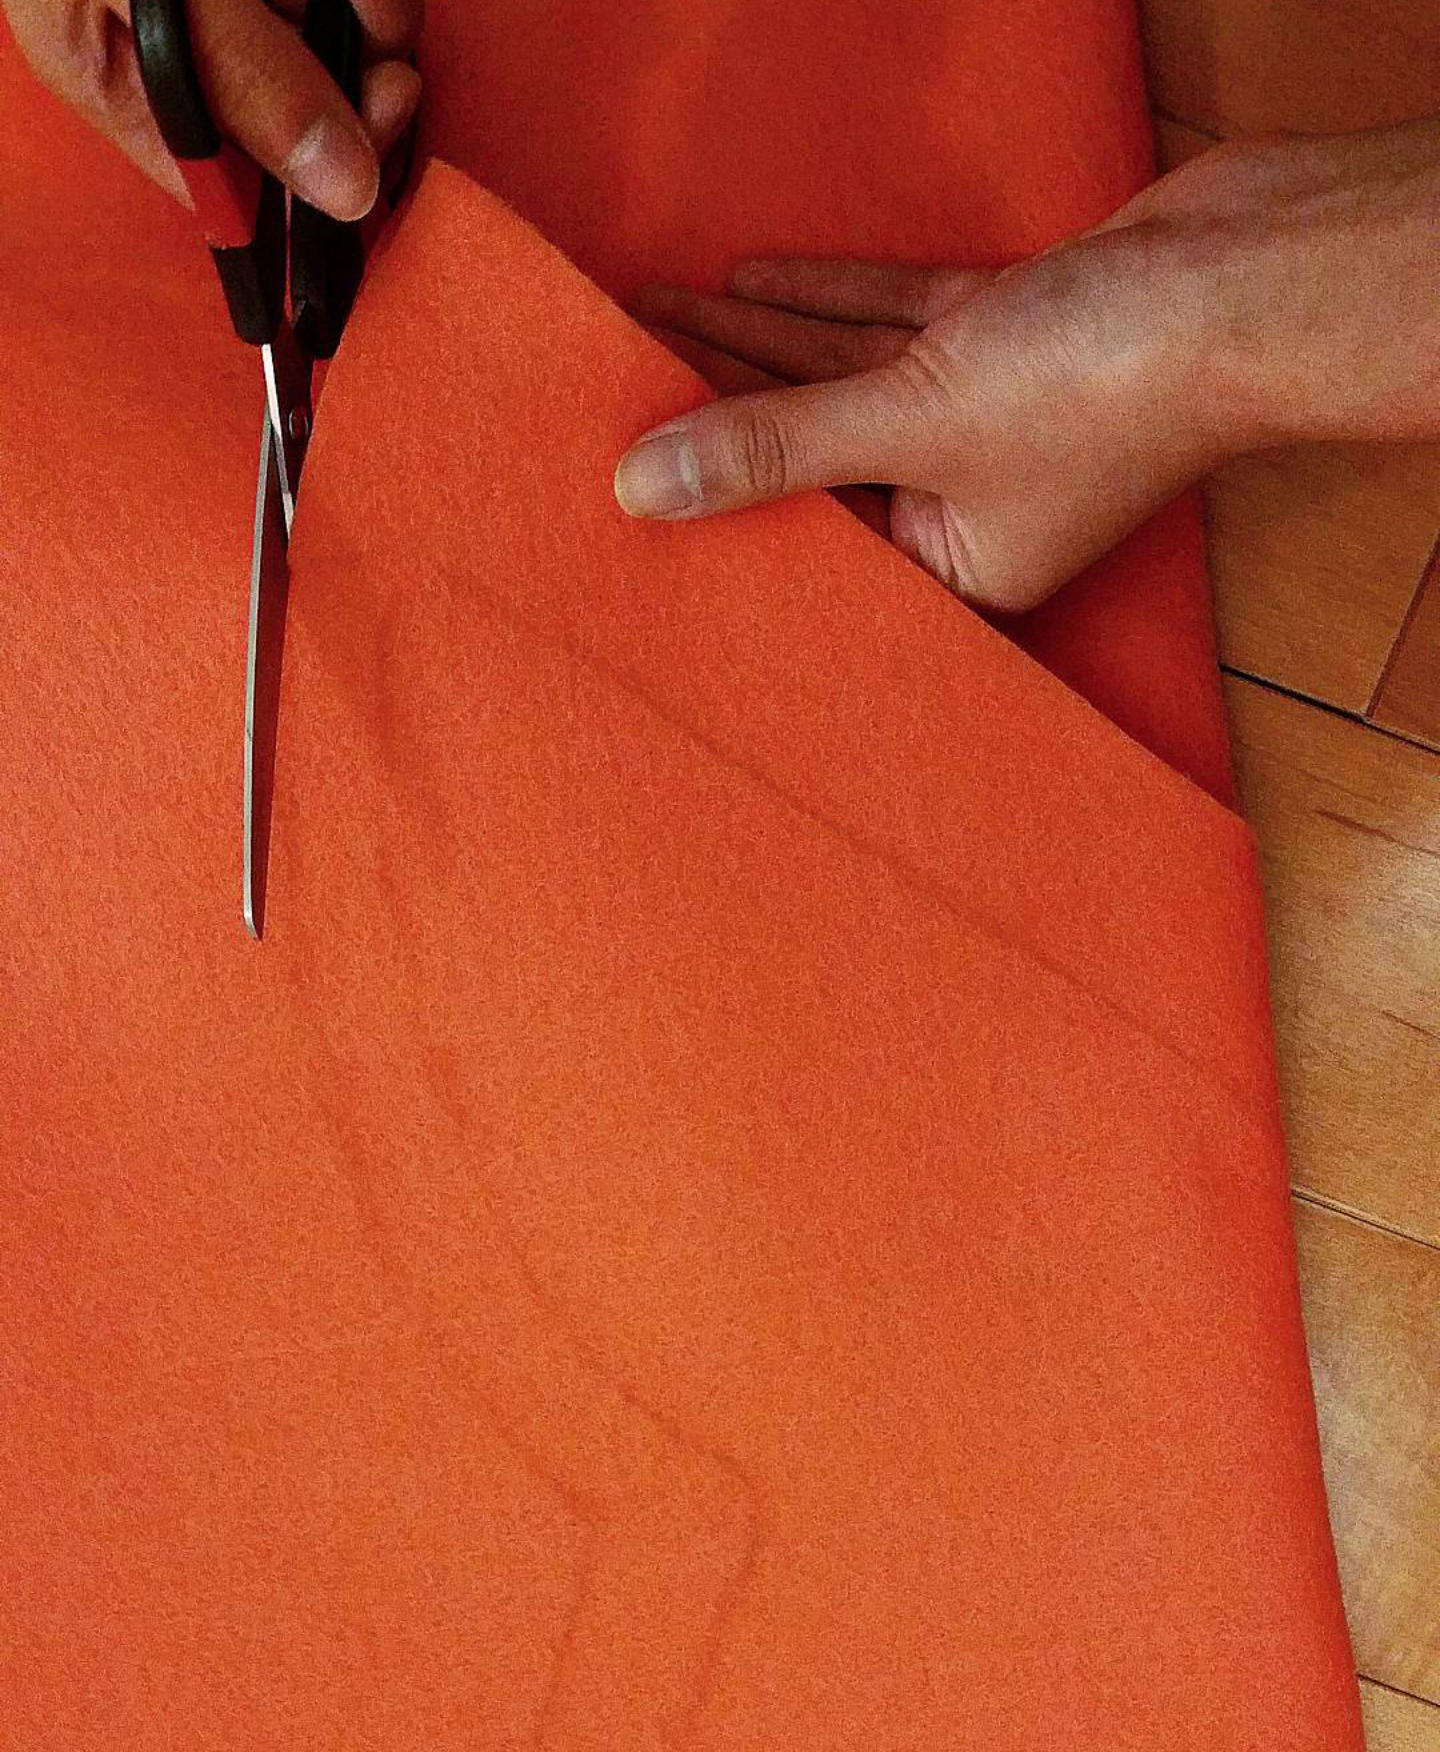
Step 2 - Cut out the outline being careful to line up both sides of the felt.

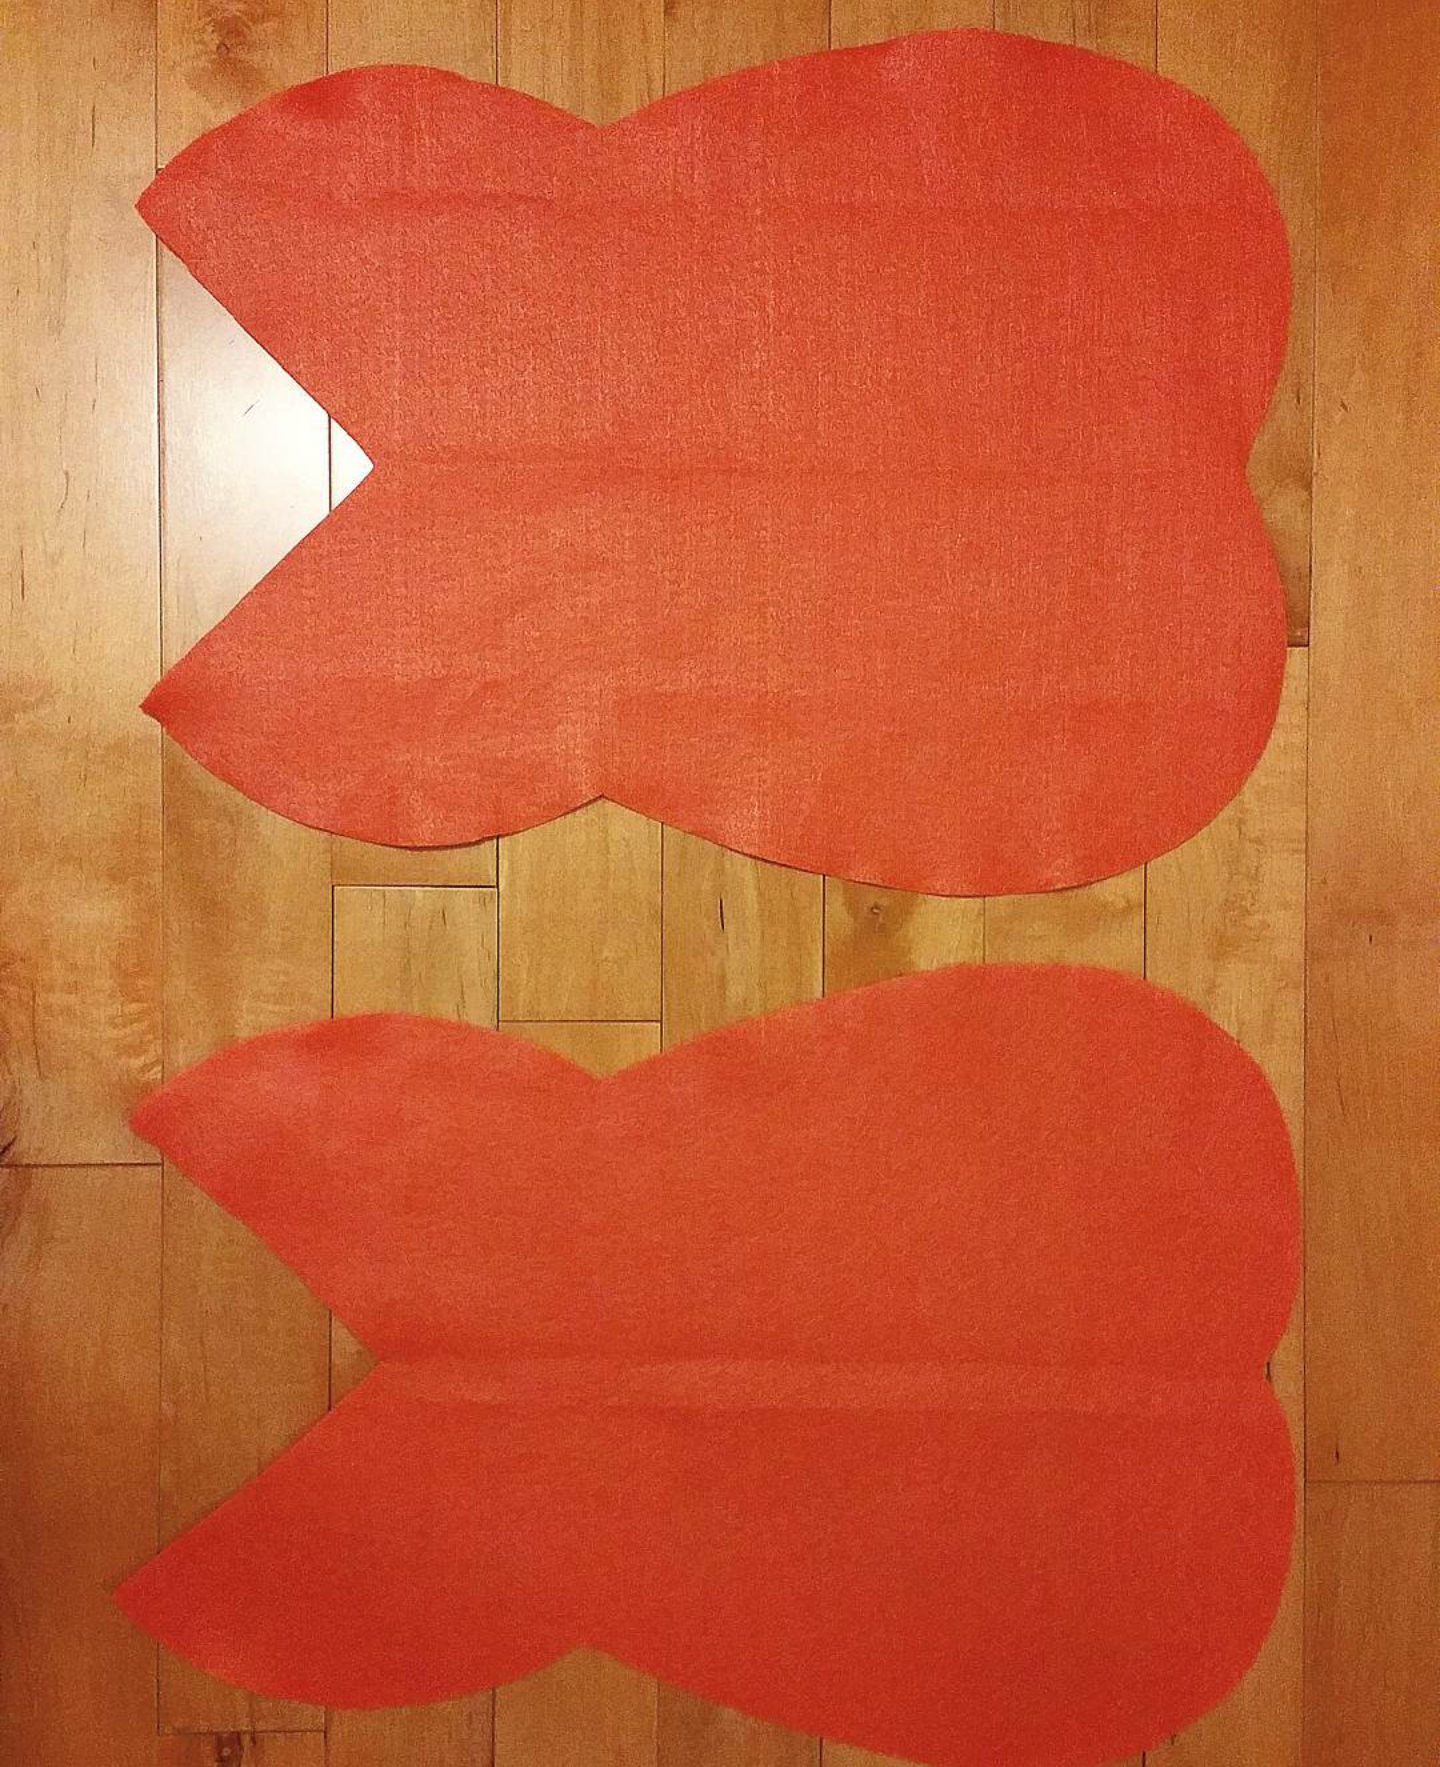
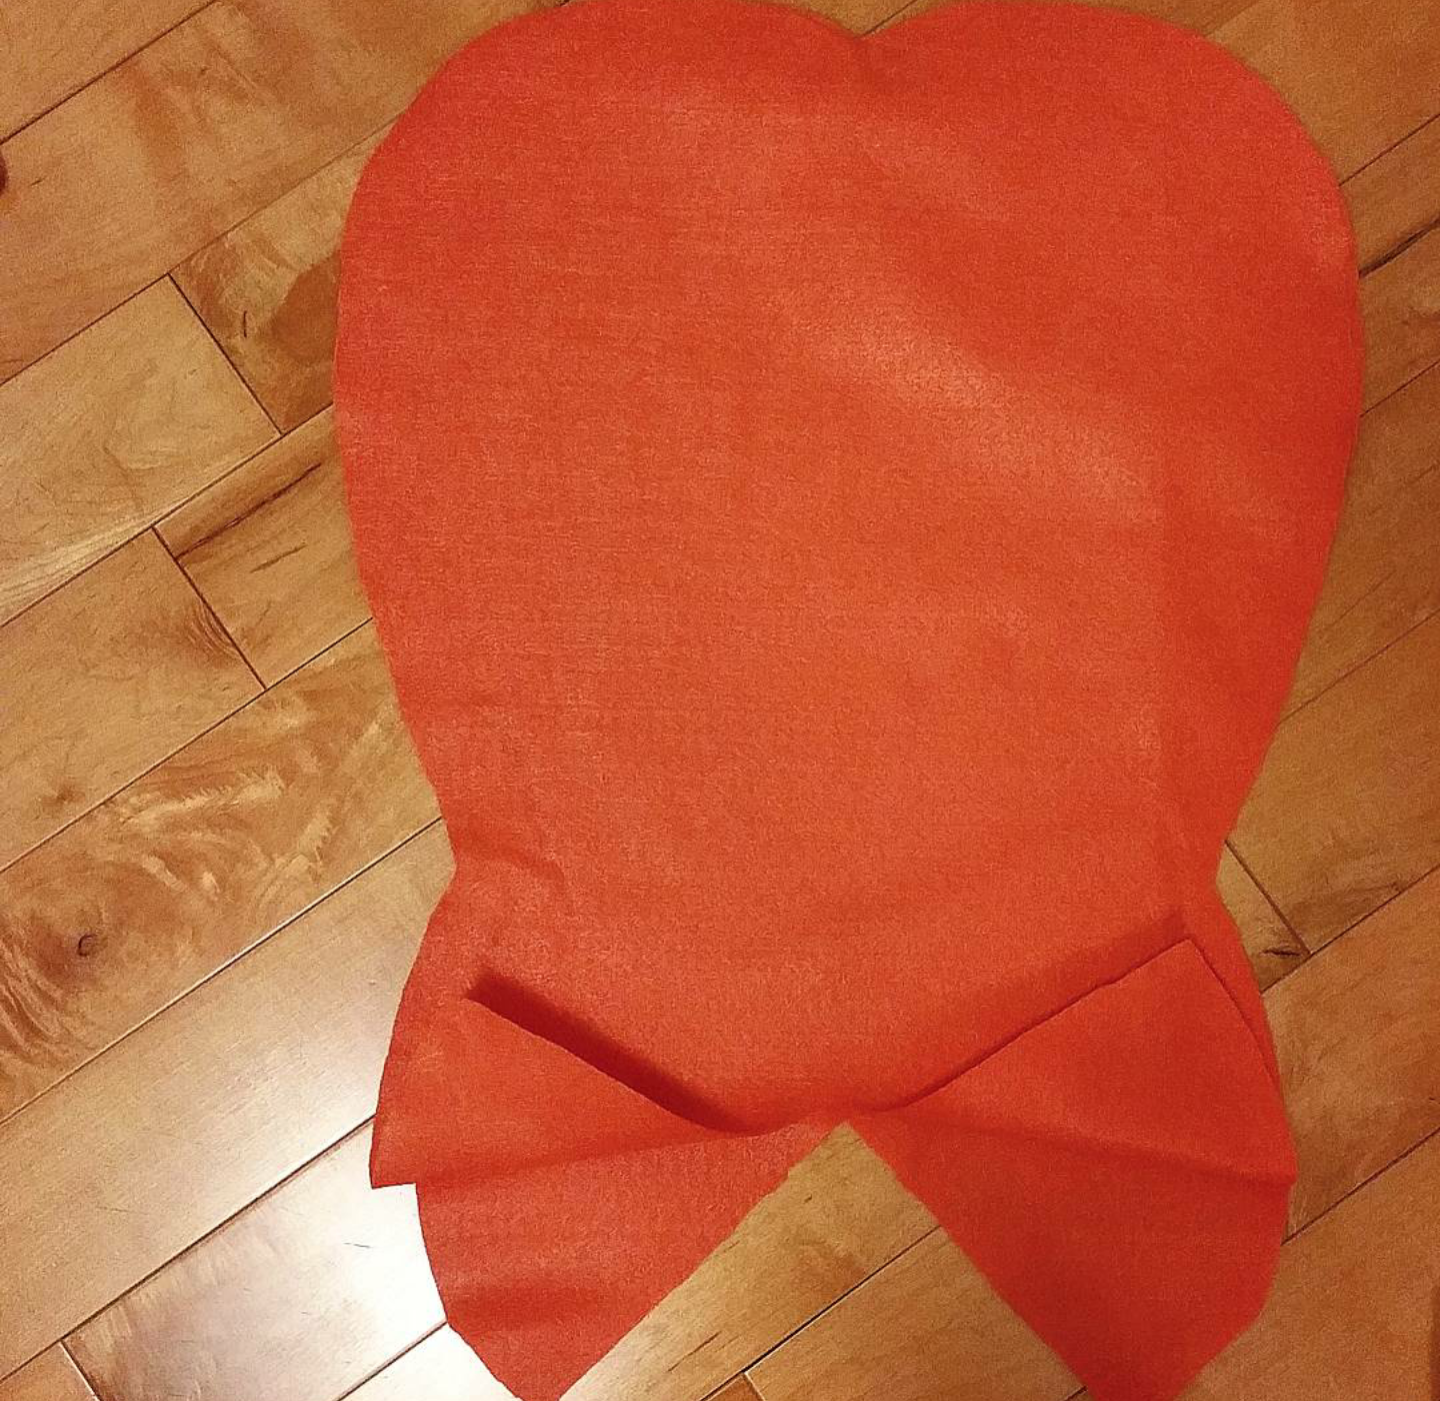
Step 3 - You should now have 2 identical (or nearly) shrimp outlines. Place them directly on top of each other to prepare for hot glue.

Step 4 - Once your hot glue gun is warmed up, glue along the edges of the shrimp starting at the top and working your way to the tail. Leave enough room at the tail for stuffing.

Step 5 - Leave the inside edges of the tail unglued to allow room to put in the stuffing. Set aside the shrimp for now.

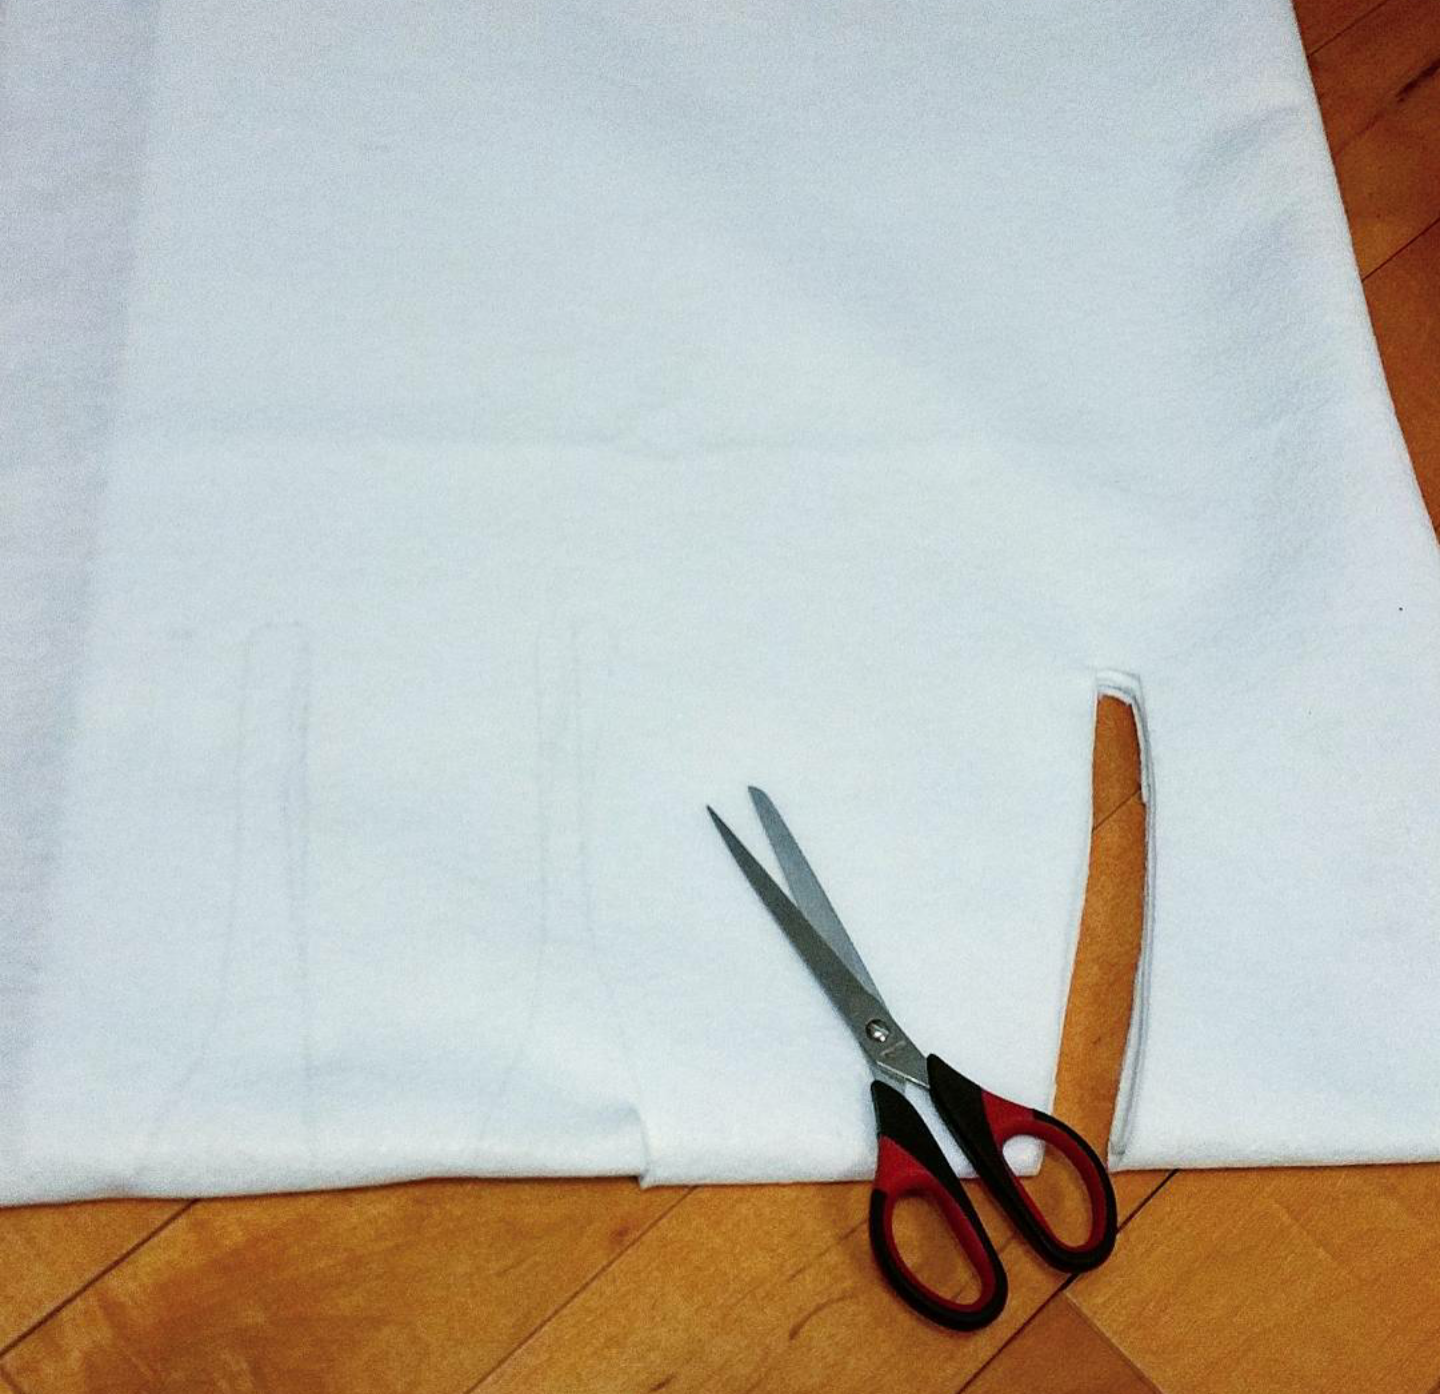
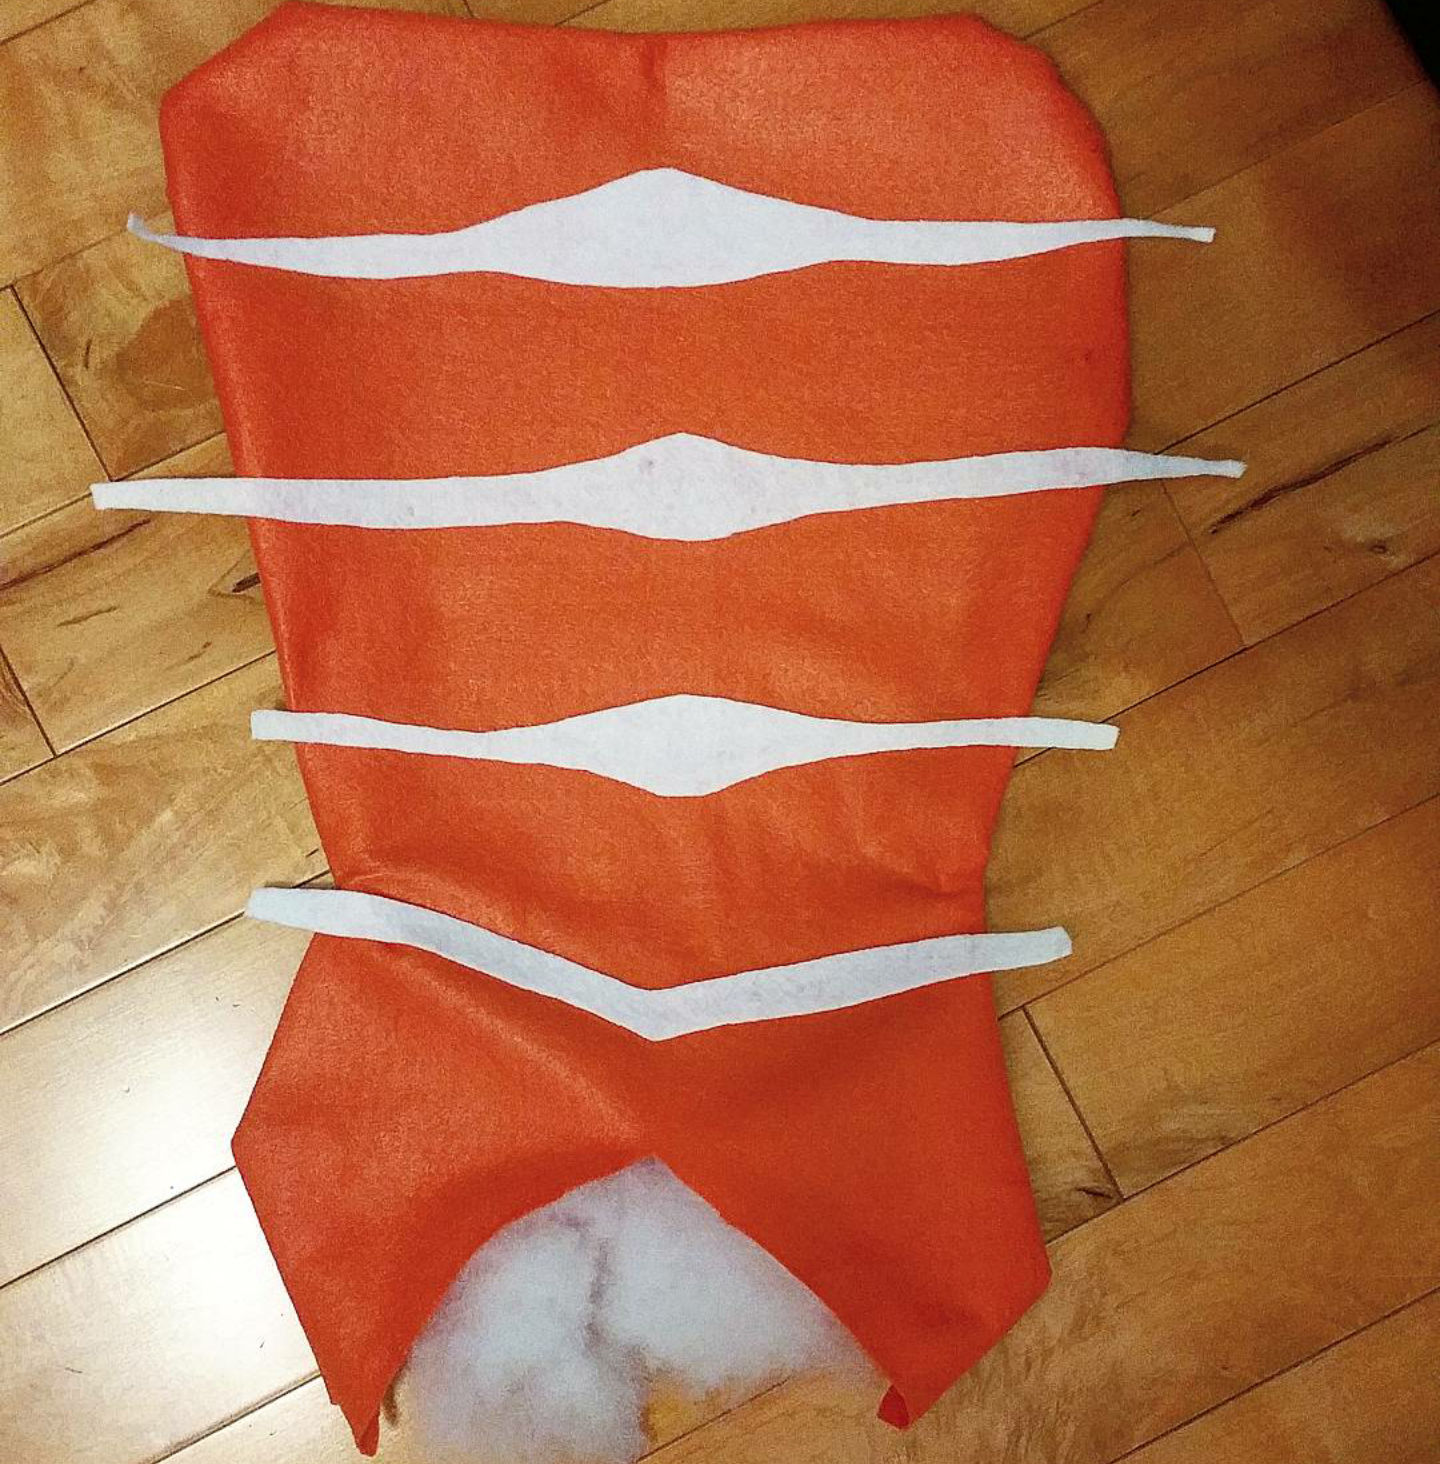
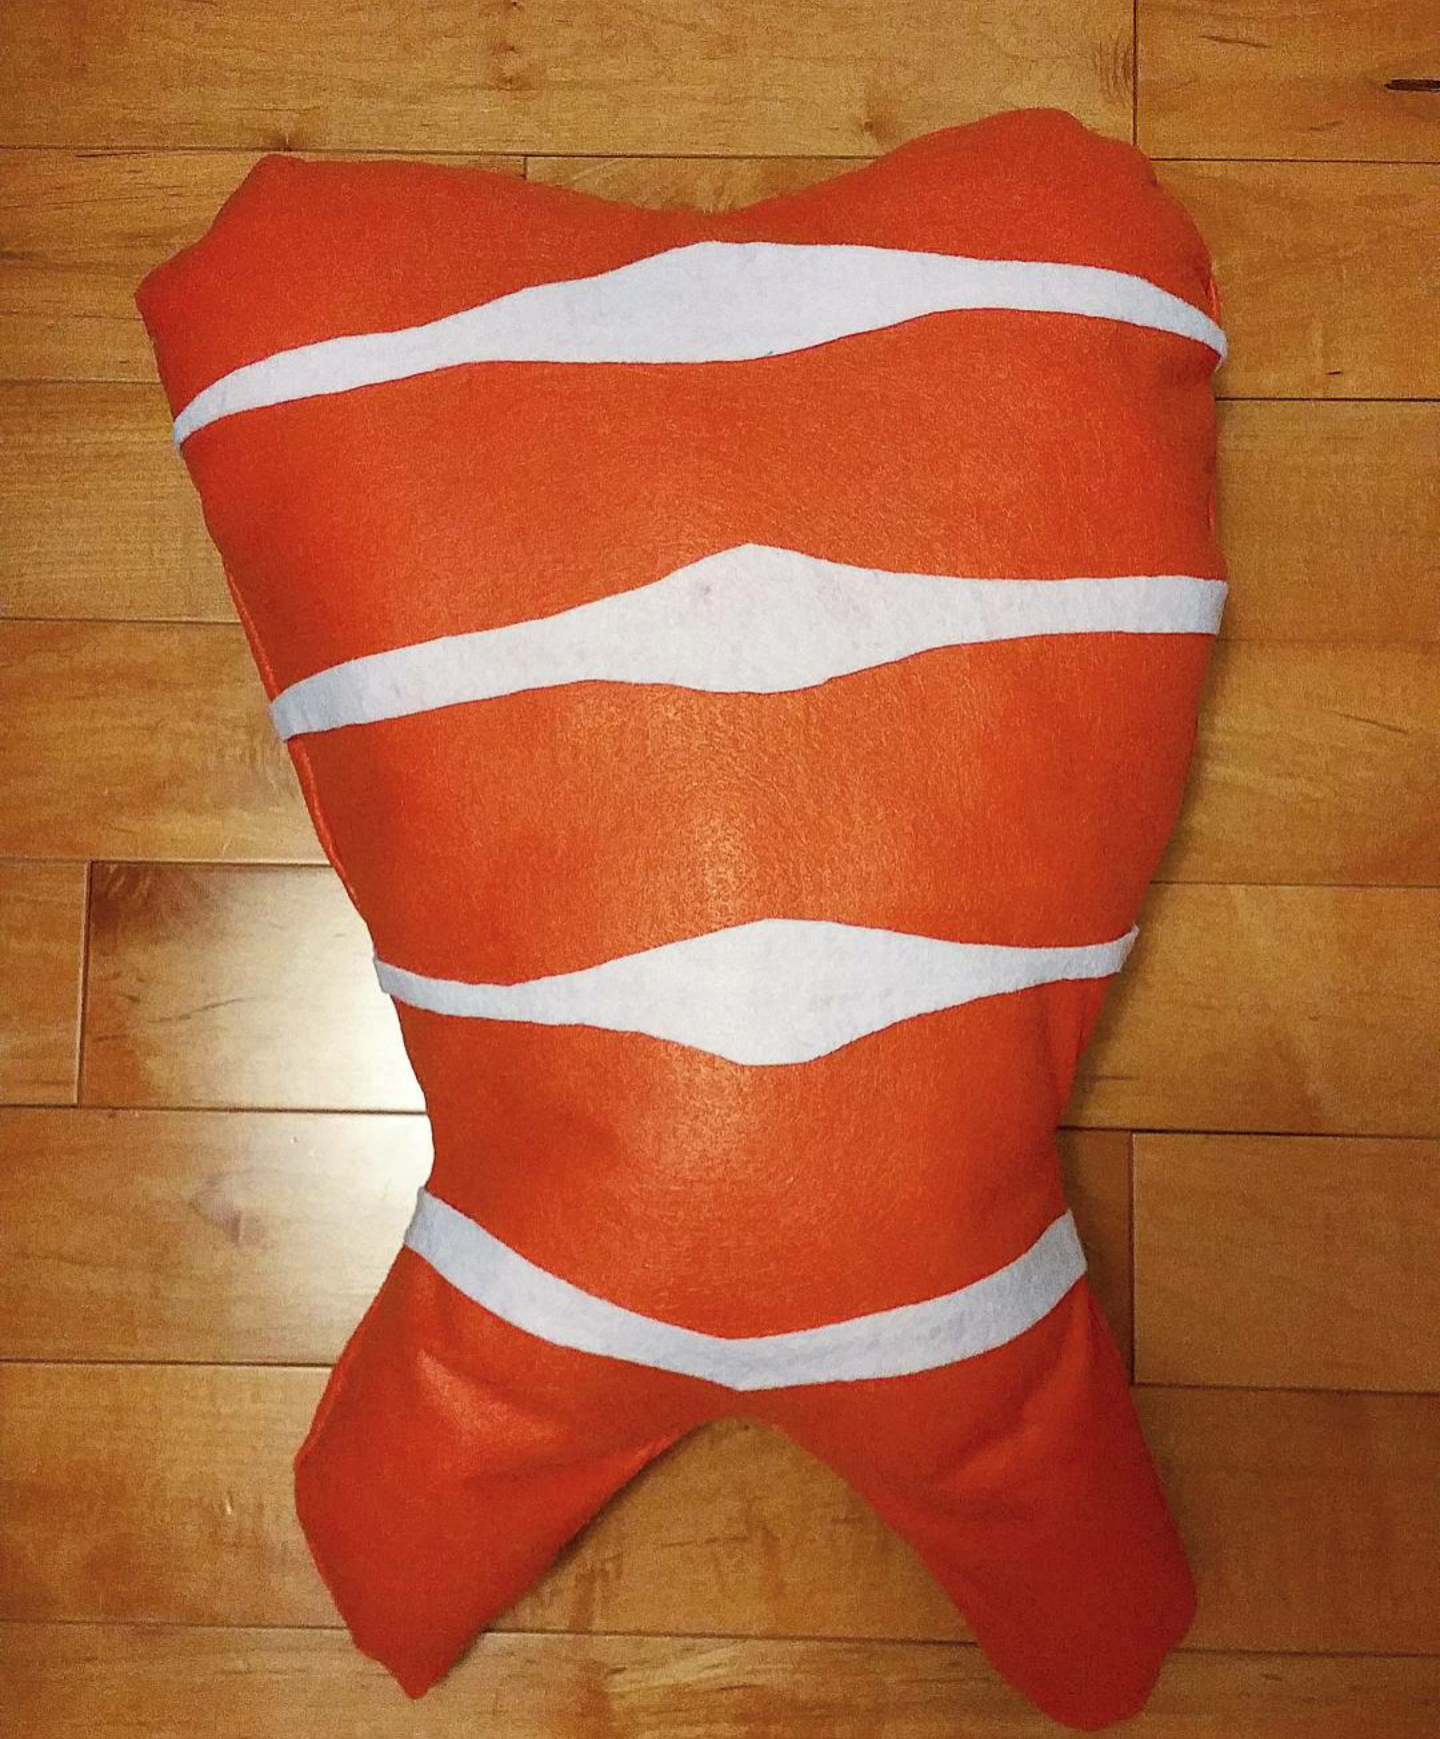
Step 6 - Fold the white felt in half and cut 4 small stripes to add dimension to the shrimp. I used this image as a gauge.

Step 7 - Hot glue the stripes onto the shrimp then begin stuffing it from the tail.

Step 8 - Hot glue the inner sides of the tail to secure the stuffing inside the shrimp.

Voila! You're now done with your shrimp :). Try not to eat it.

PART TWO - WASABI/GINGER HEADBAND

A) WASABI

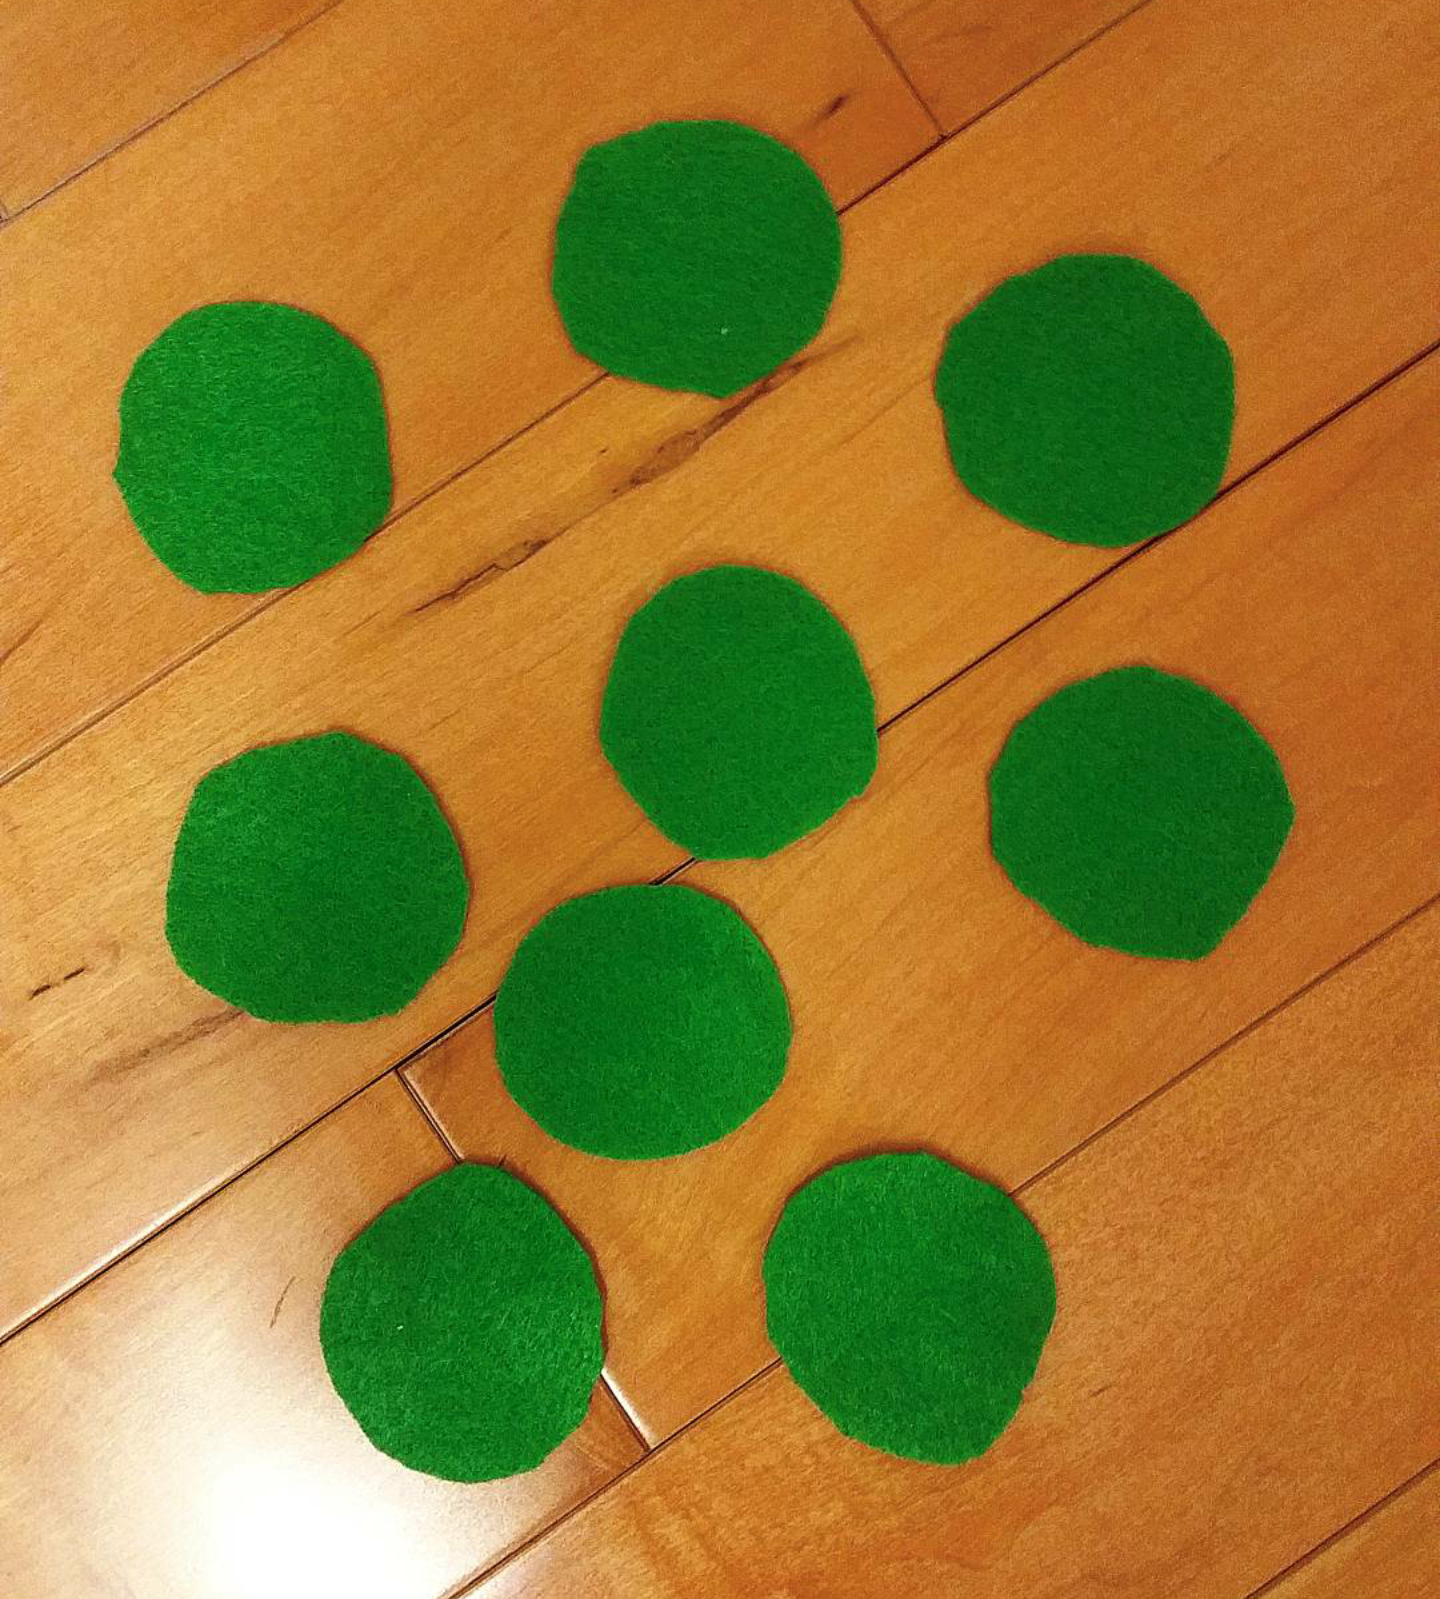
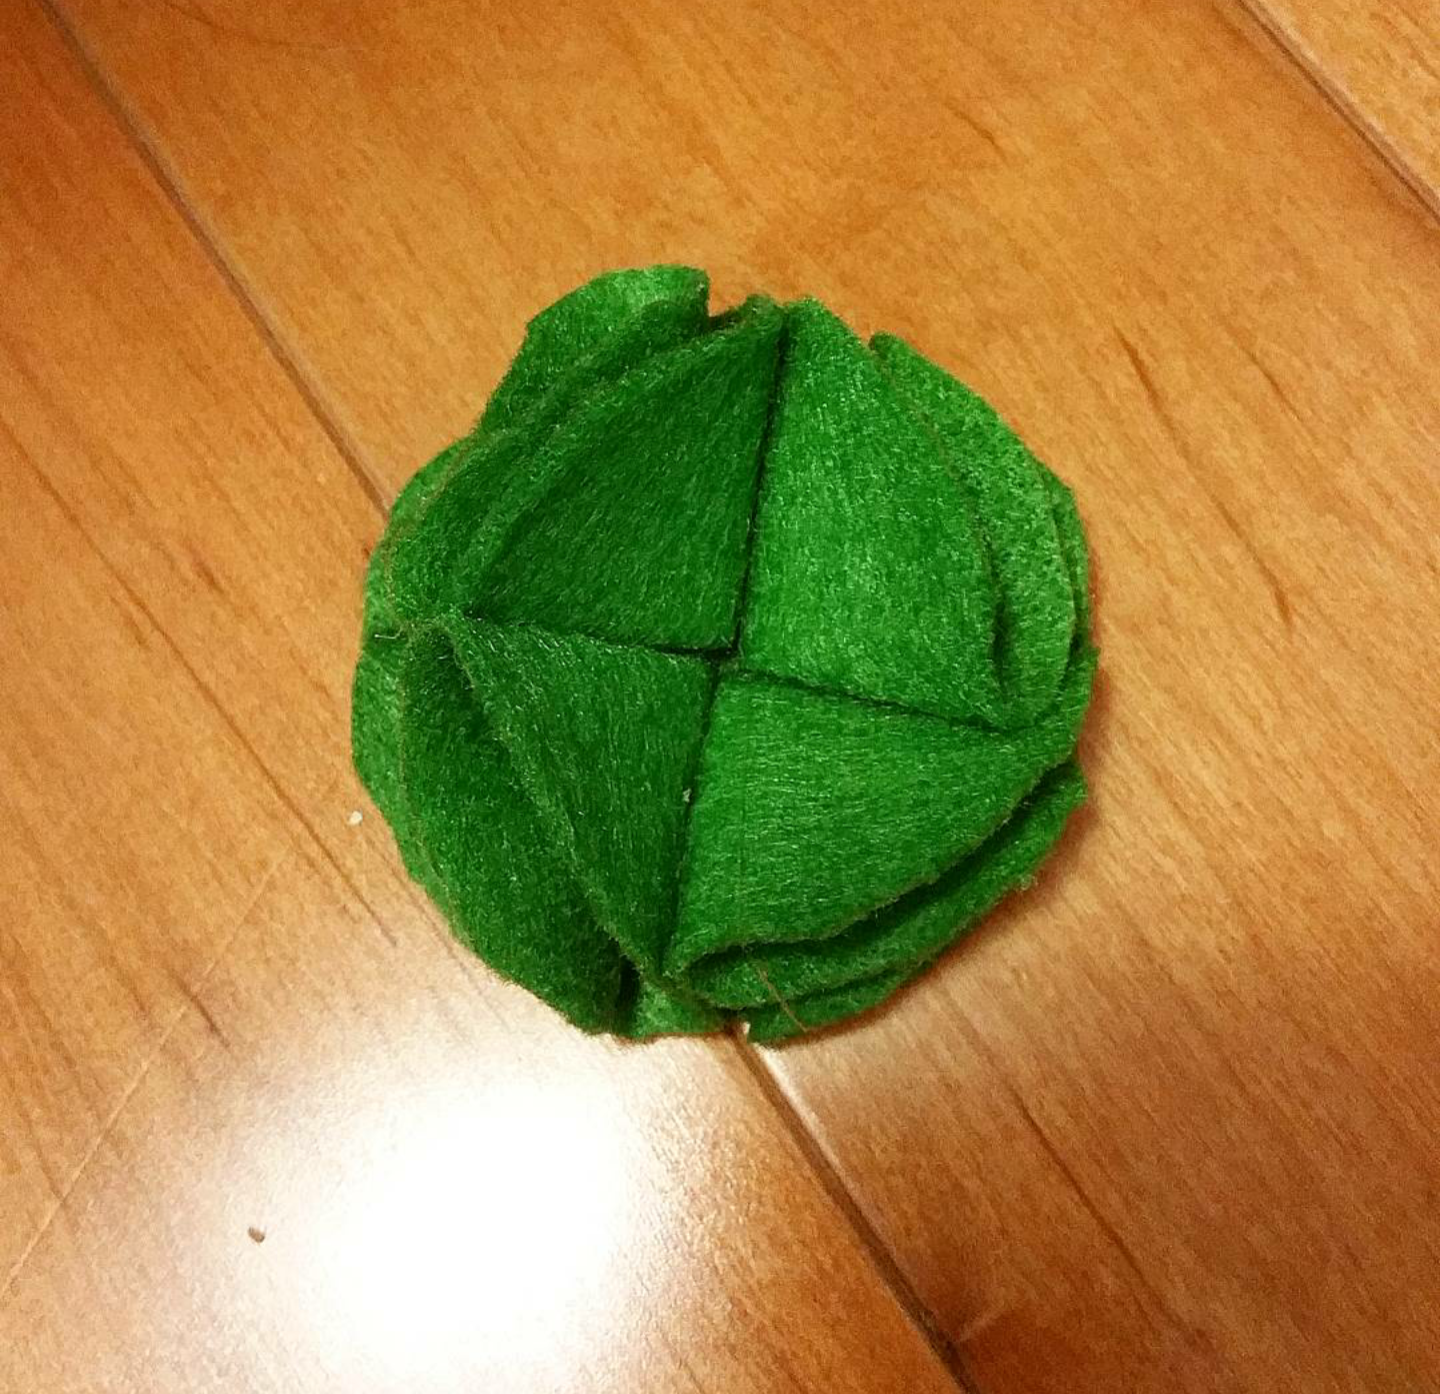
Step 1 - Cut out 9 small circles about 2 inches wide from the green felt. 

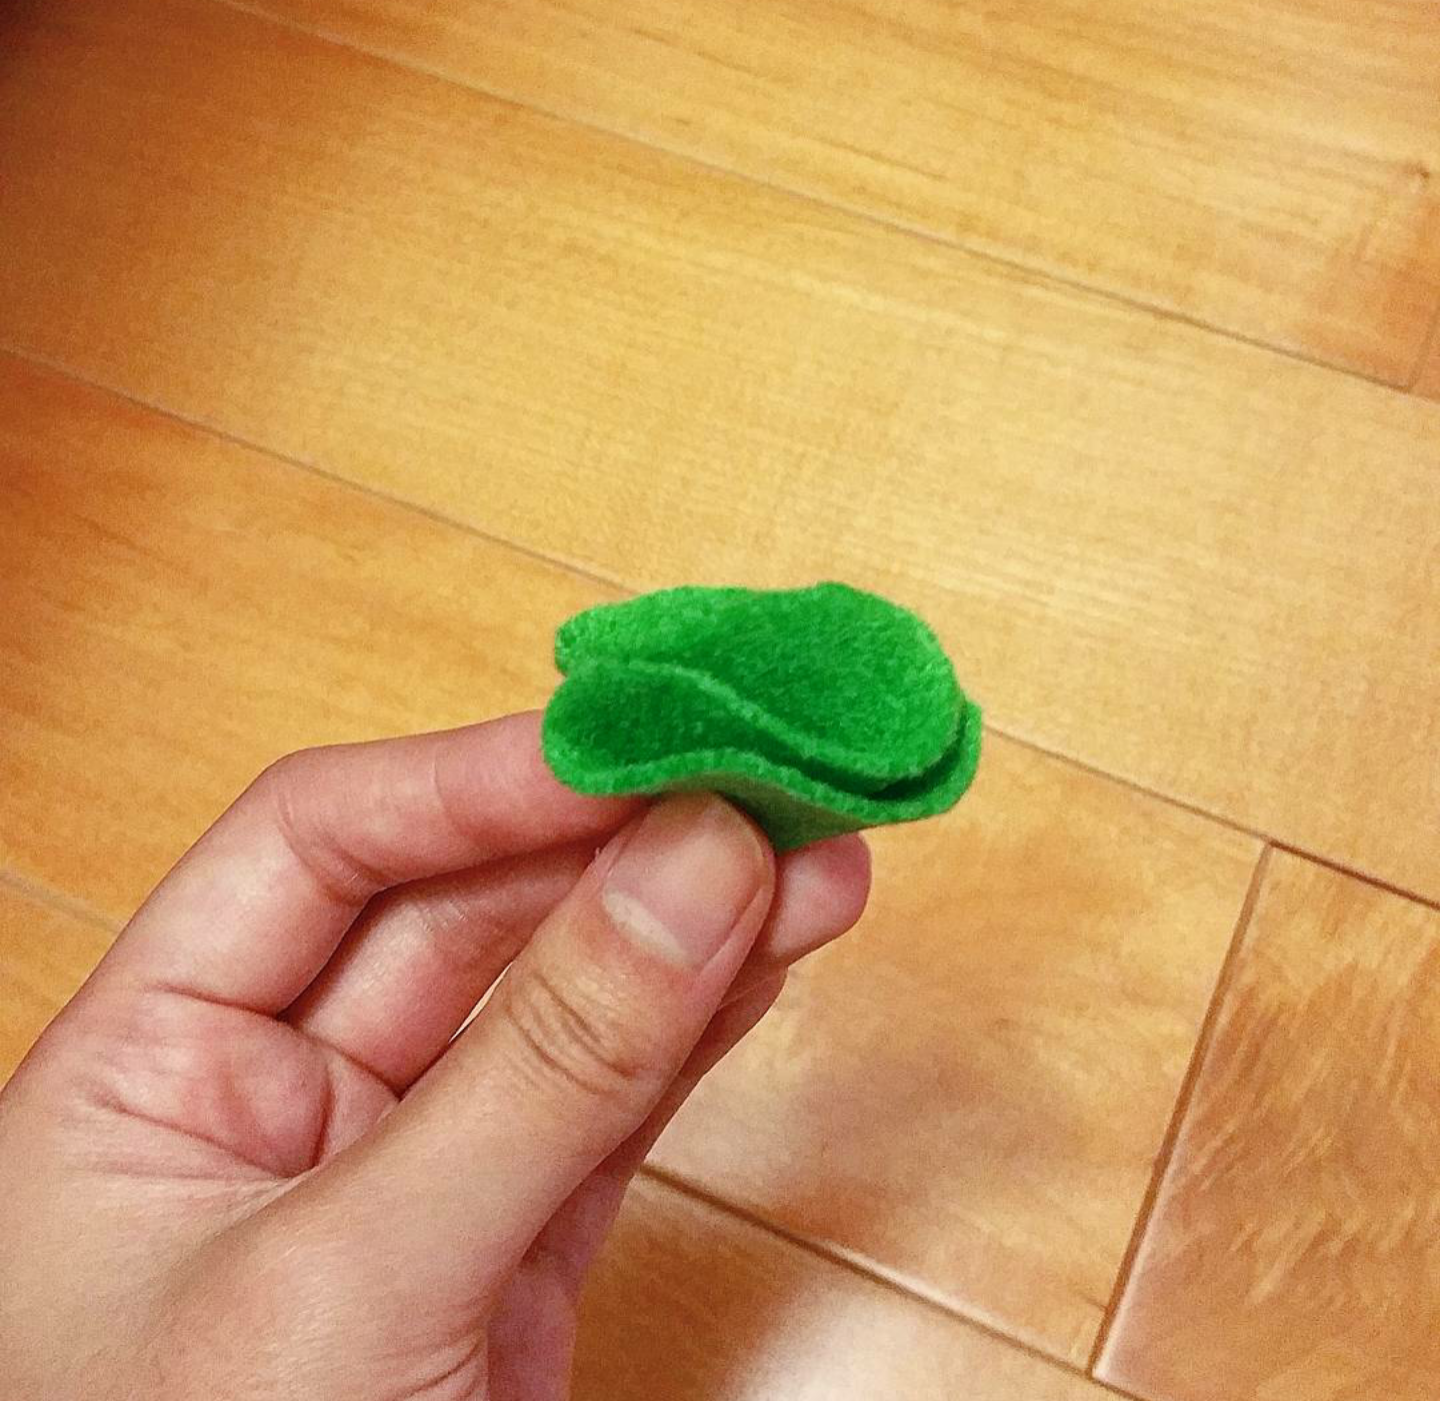
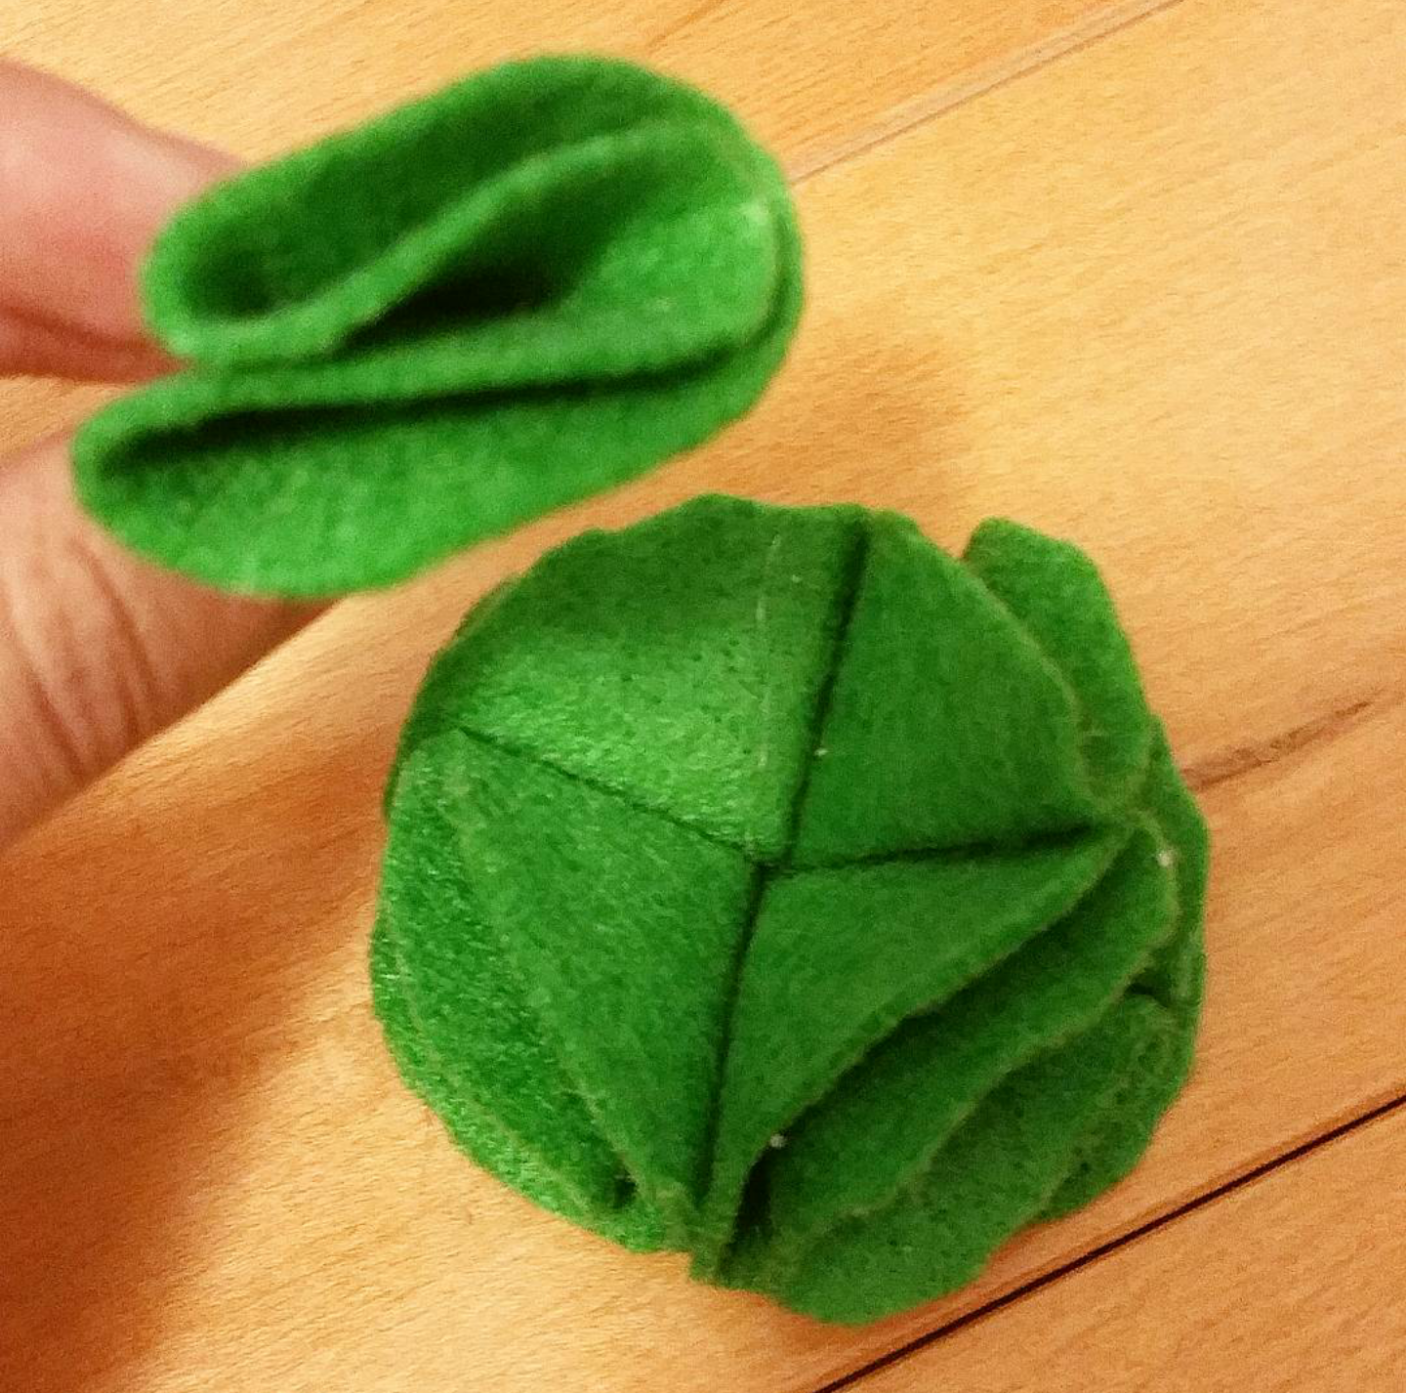
Step 2 - Take 1 circle and fold it in half twice.

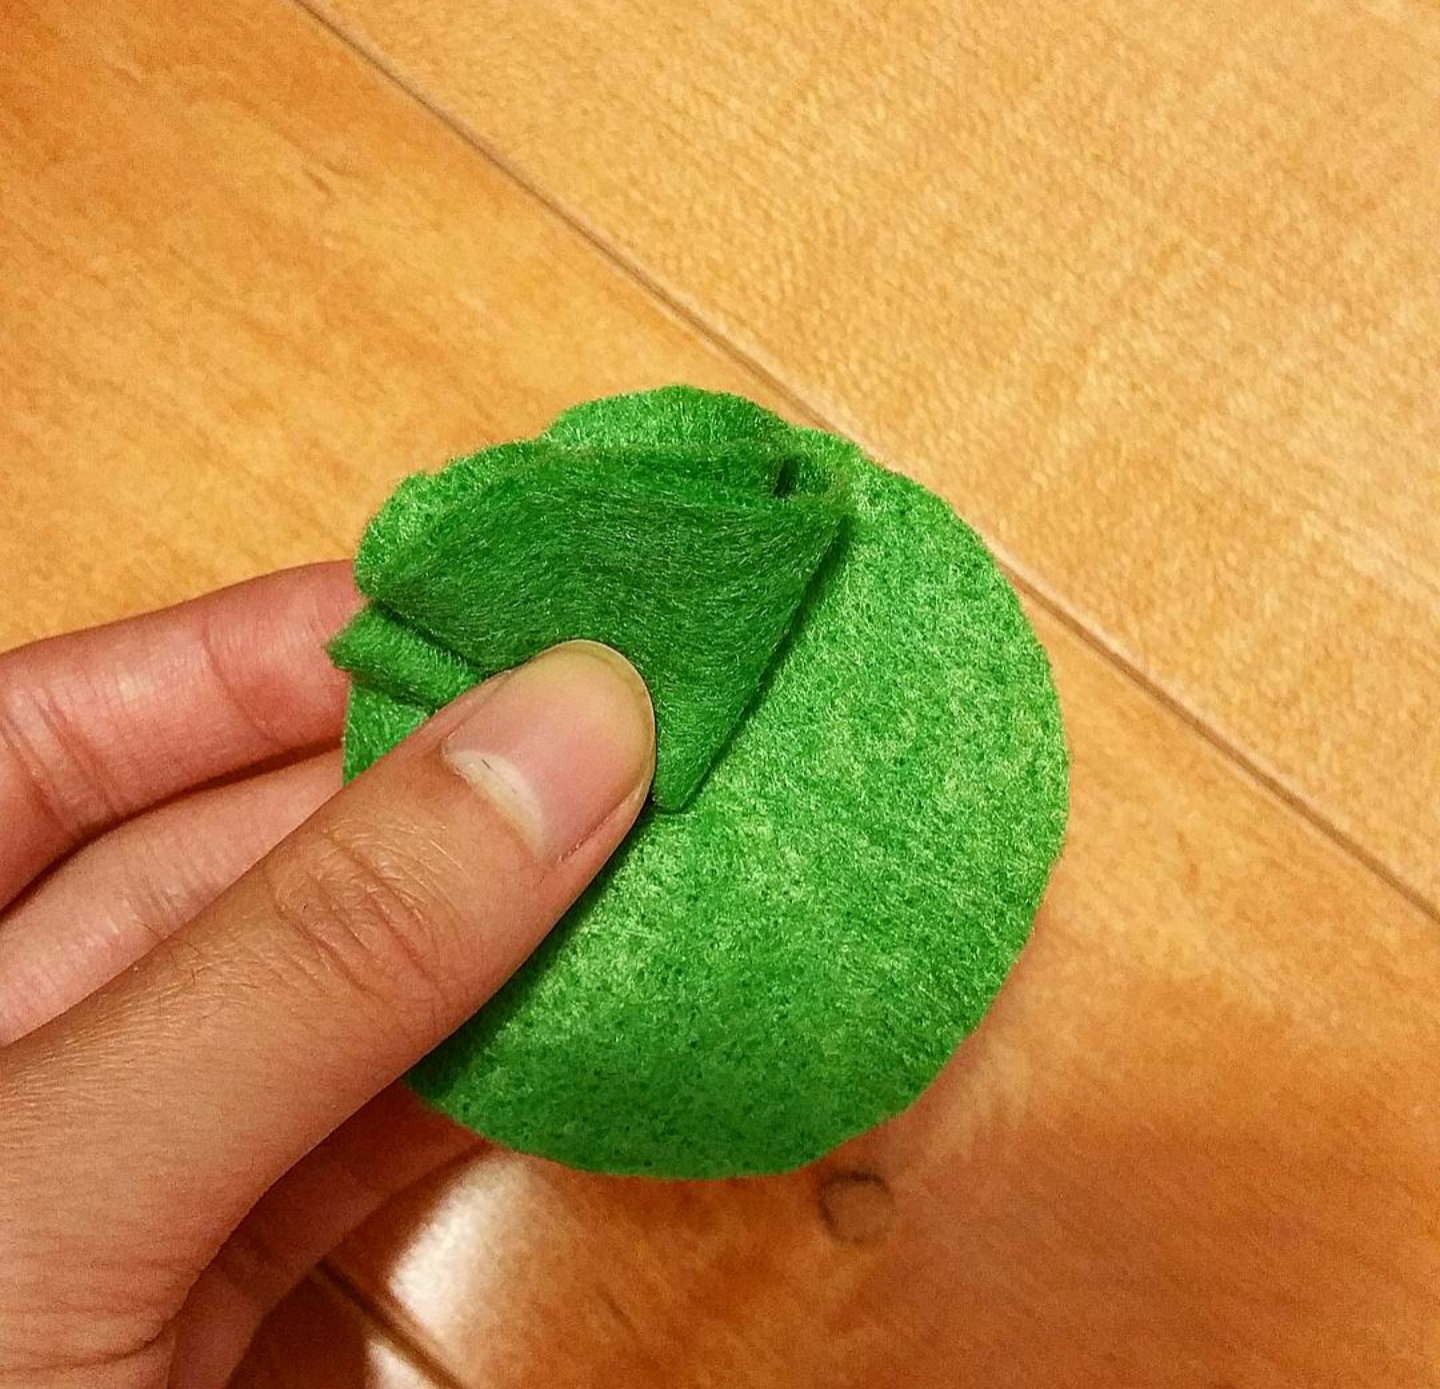
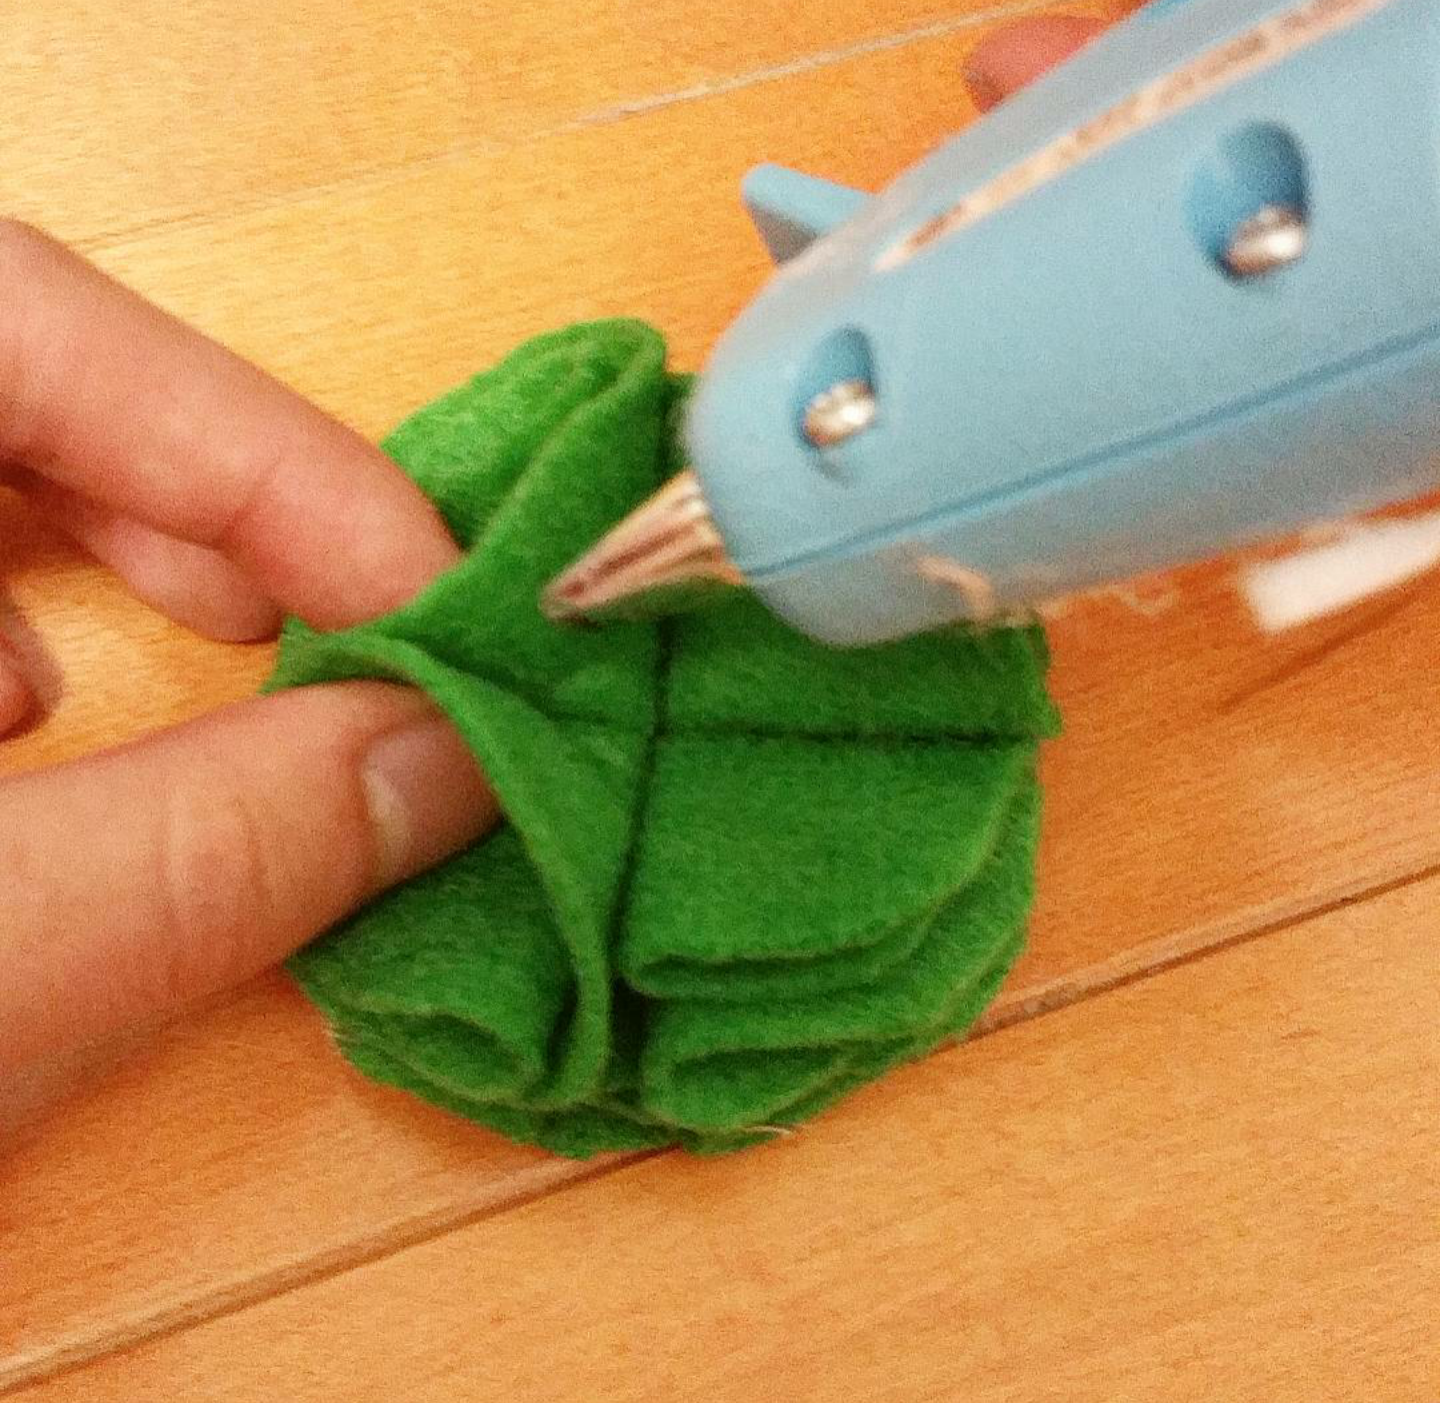
Step 3 - Take the double folded circle and hot glue it to another circle for the base.

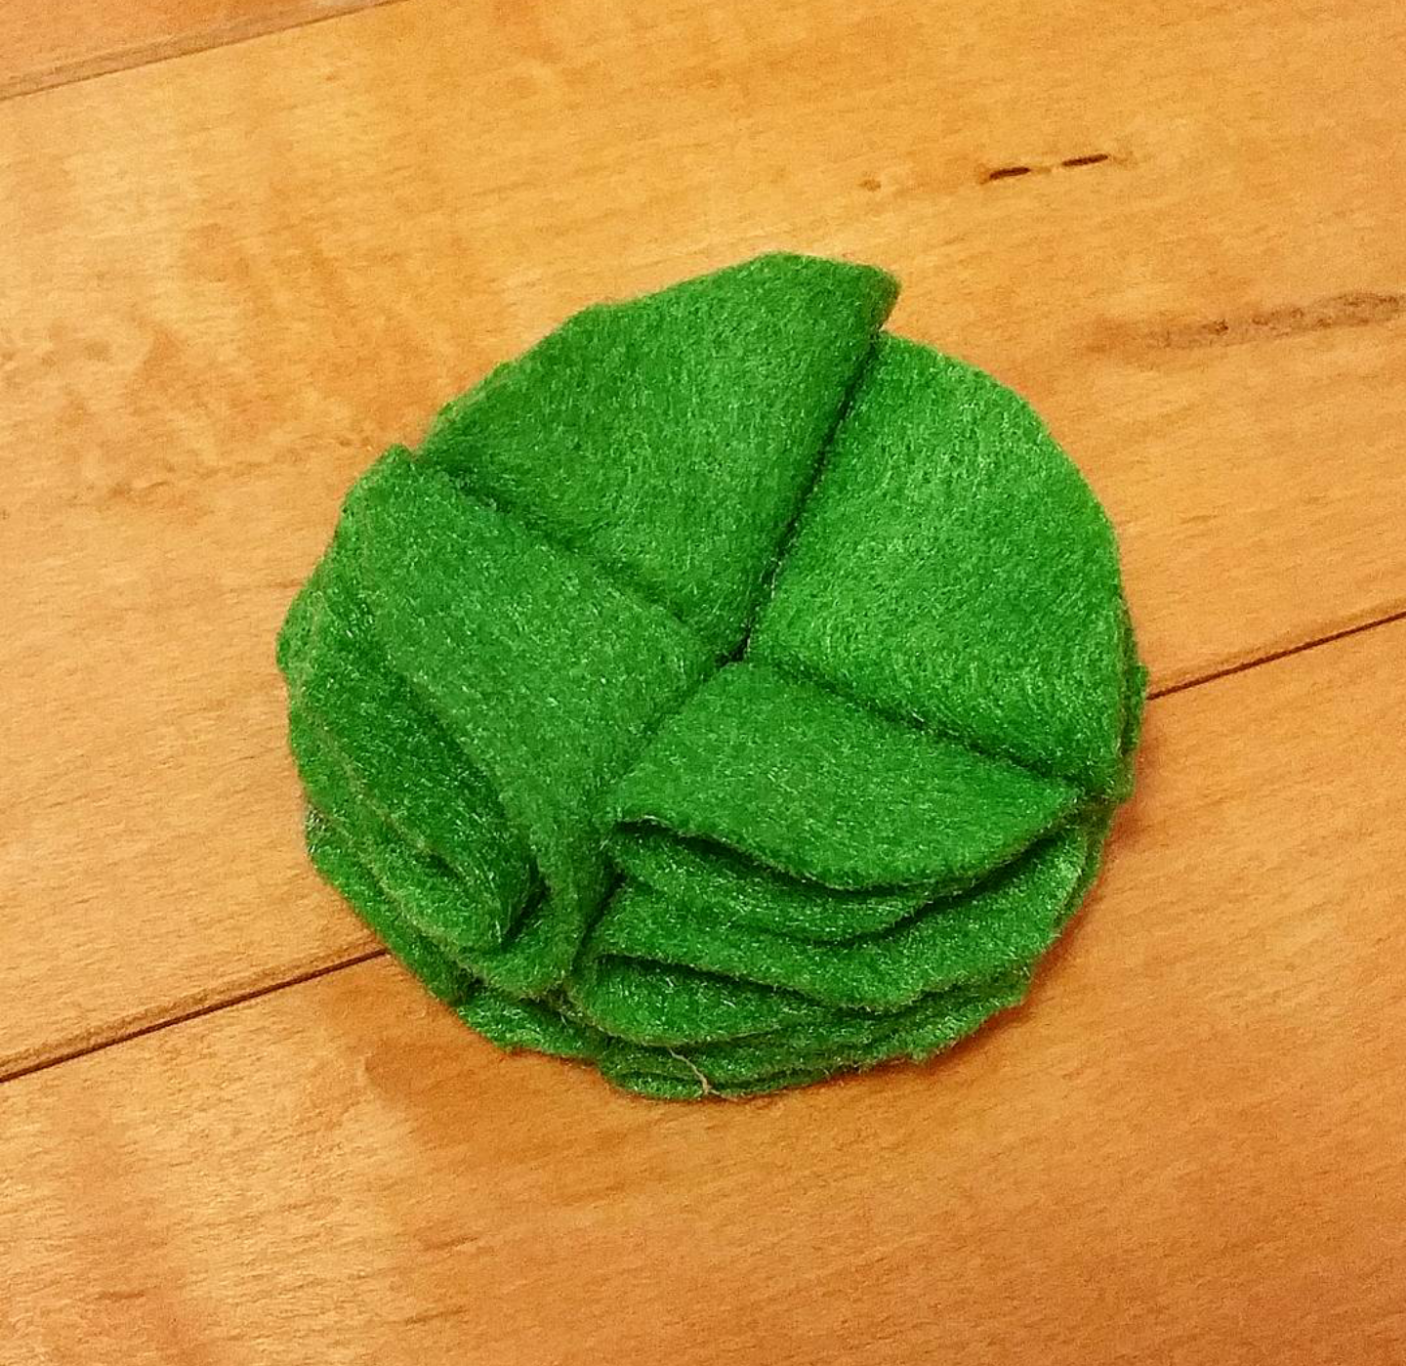
Step 4 - Double fold 3 more circles and hot glue it to the base to make a full pizza.

Step 5 - We're now going to create a second layer using the same steps as above. Double fold 4 more circles and hot glue it in the same manner.

Step 6 - Take two connecting sides of the double layer pizza and hot glue it as shown in the left image below. Do the same to the other two connecting sides.

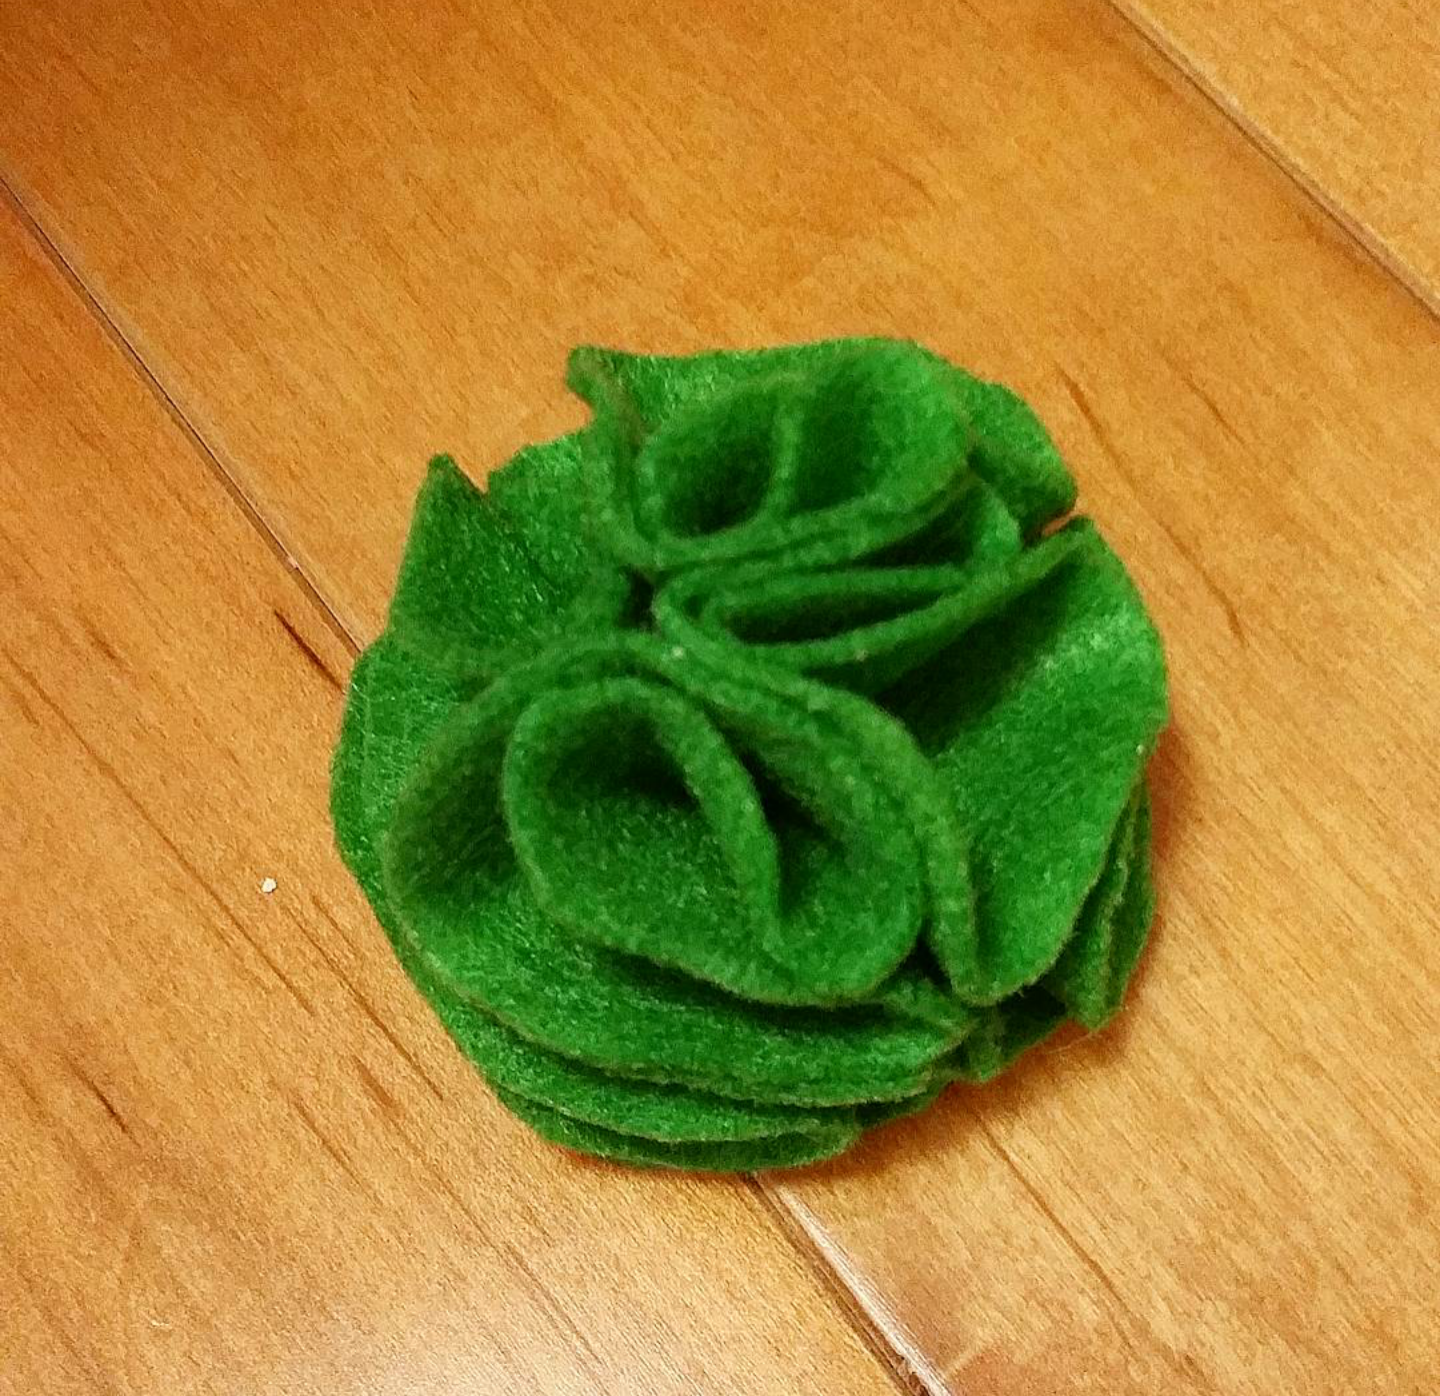
Step 7 - Fluff out the wasabi to make it look more natural.

You're now finished with the wasabi!

B) GINGER

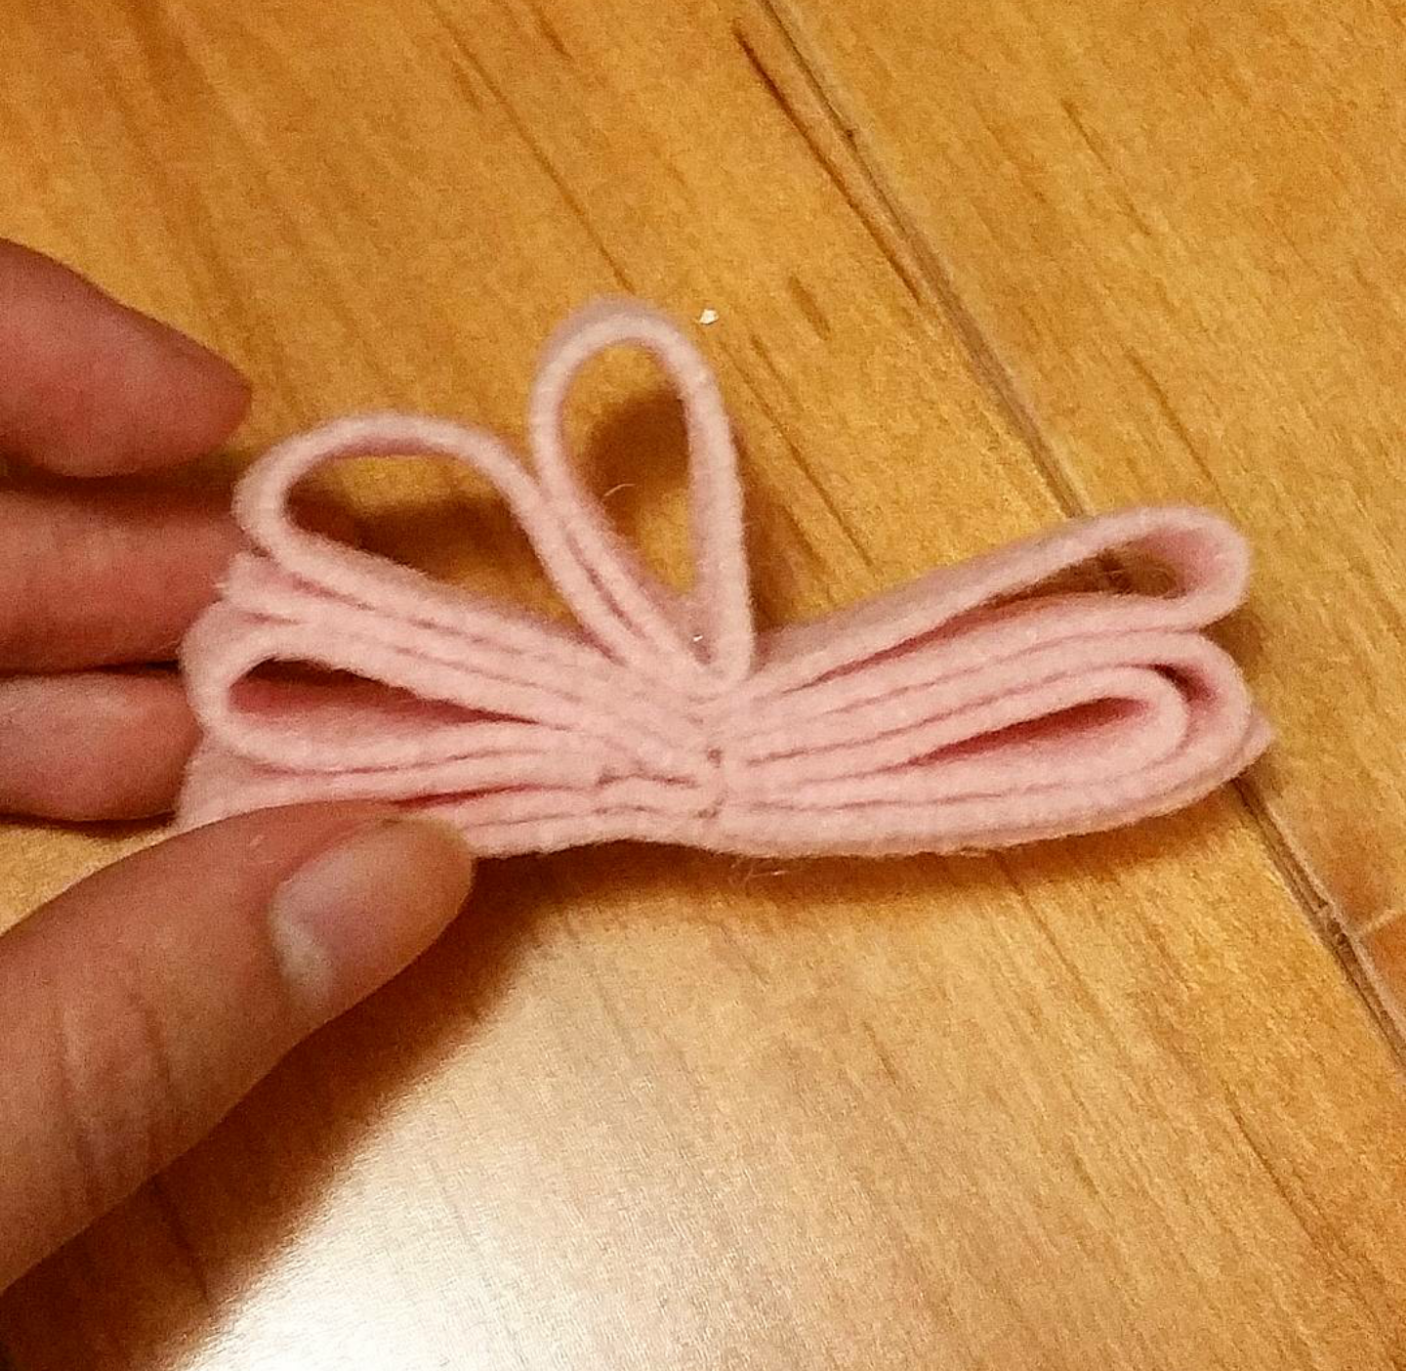
Step 1 - Cut 4 long strips from the light pink felt. No need for a ruler, we don't need precision here.

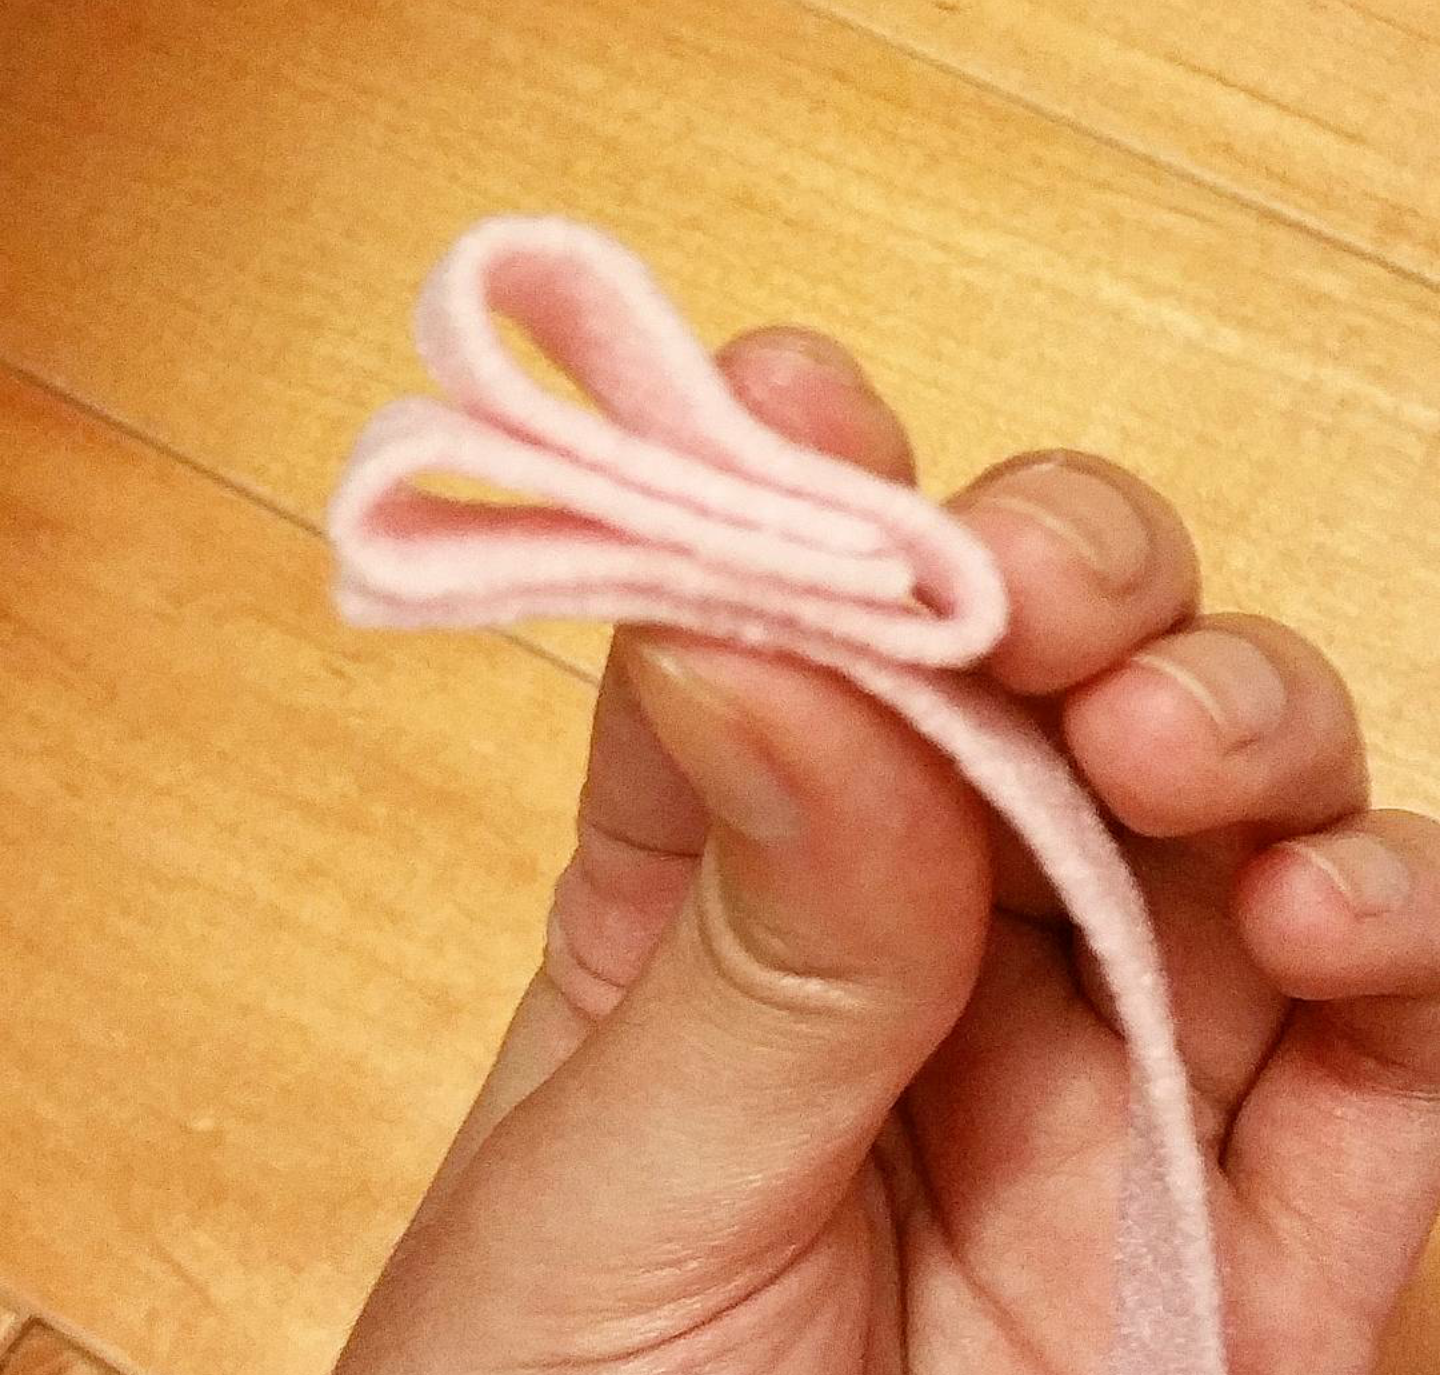
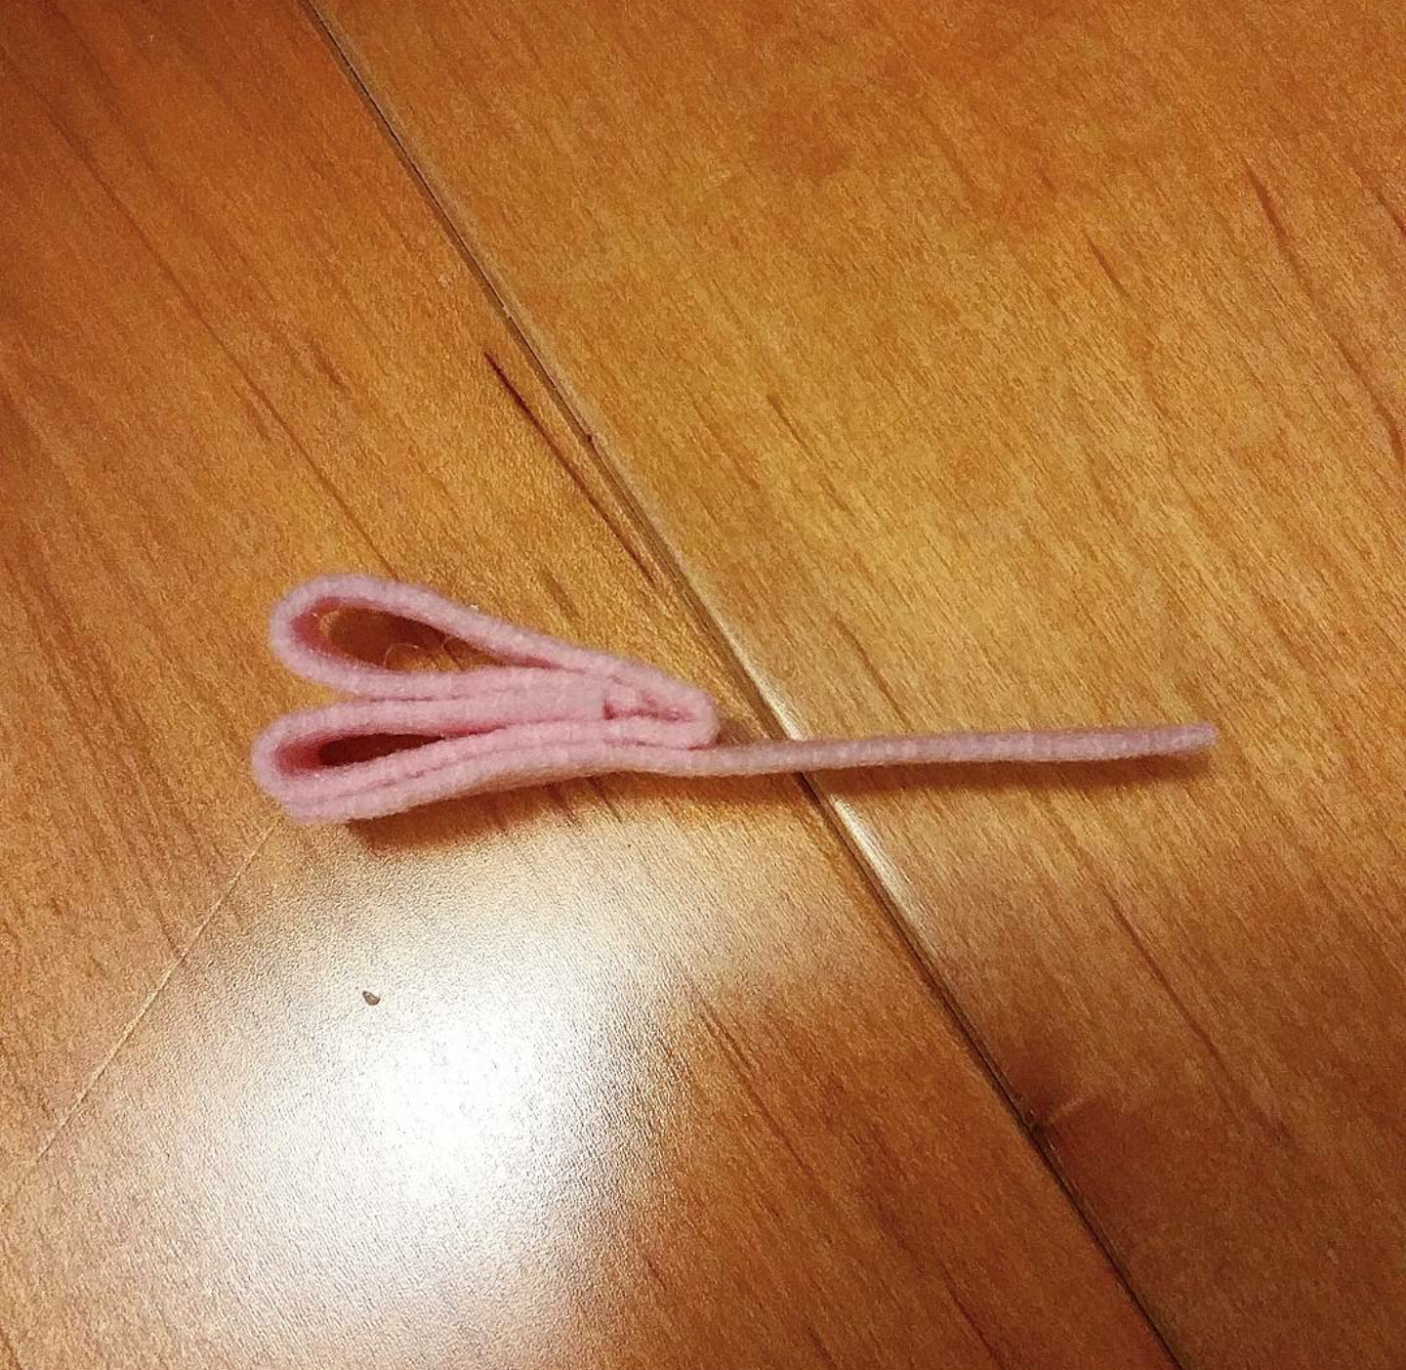
Step 2 - Take 1 strip and cut it into about 9 cm. Fold the two ends into the middle so it forms 2 loops/bunny ears.

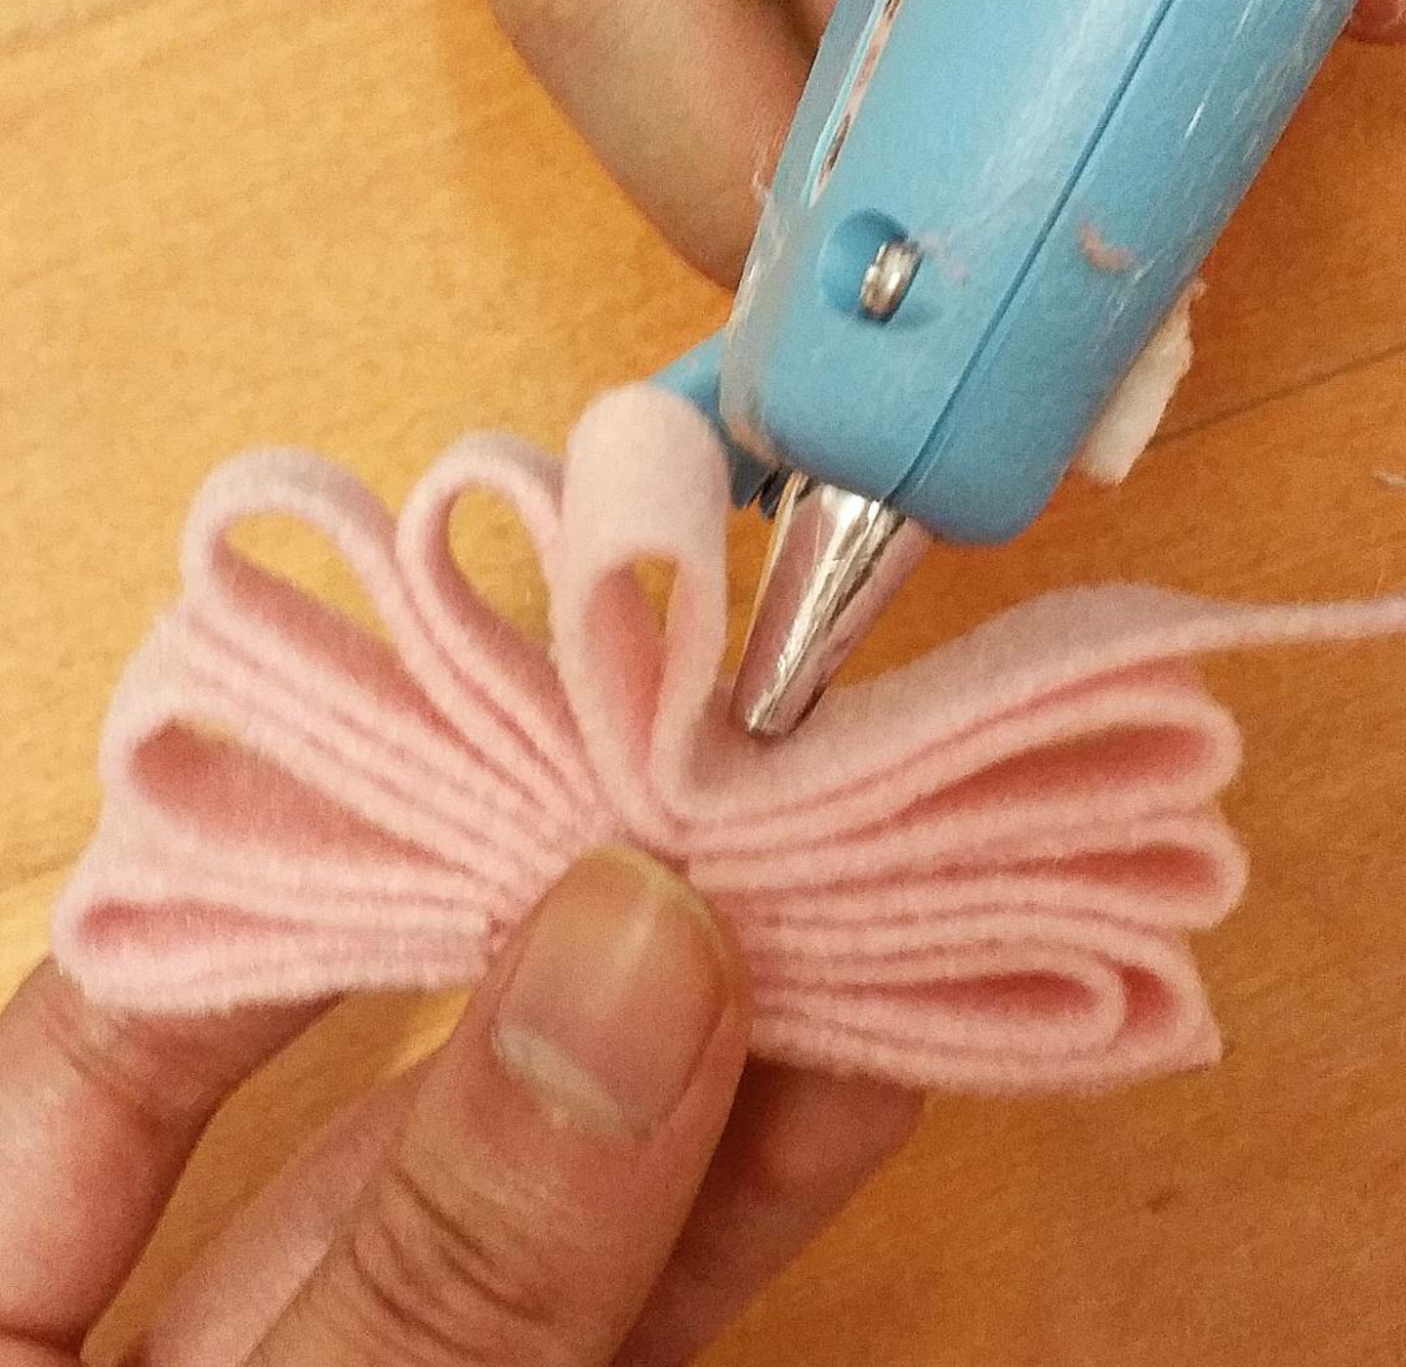
Step 3 - Hot glue one side of the bunny ears onto 1 long strip for the base, as shown in the right image below.

Step 4 - Shorten the long strip used as the base into about 6 cm.

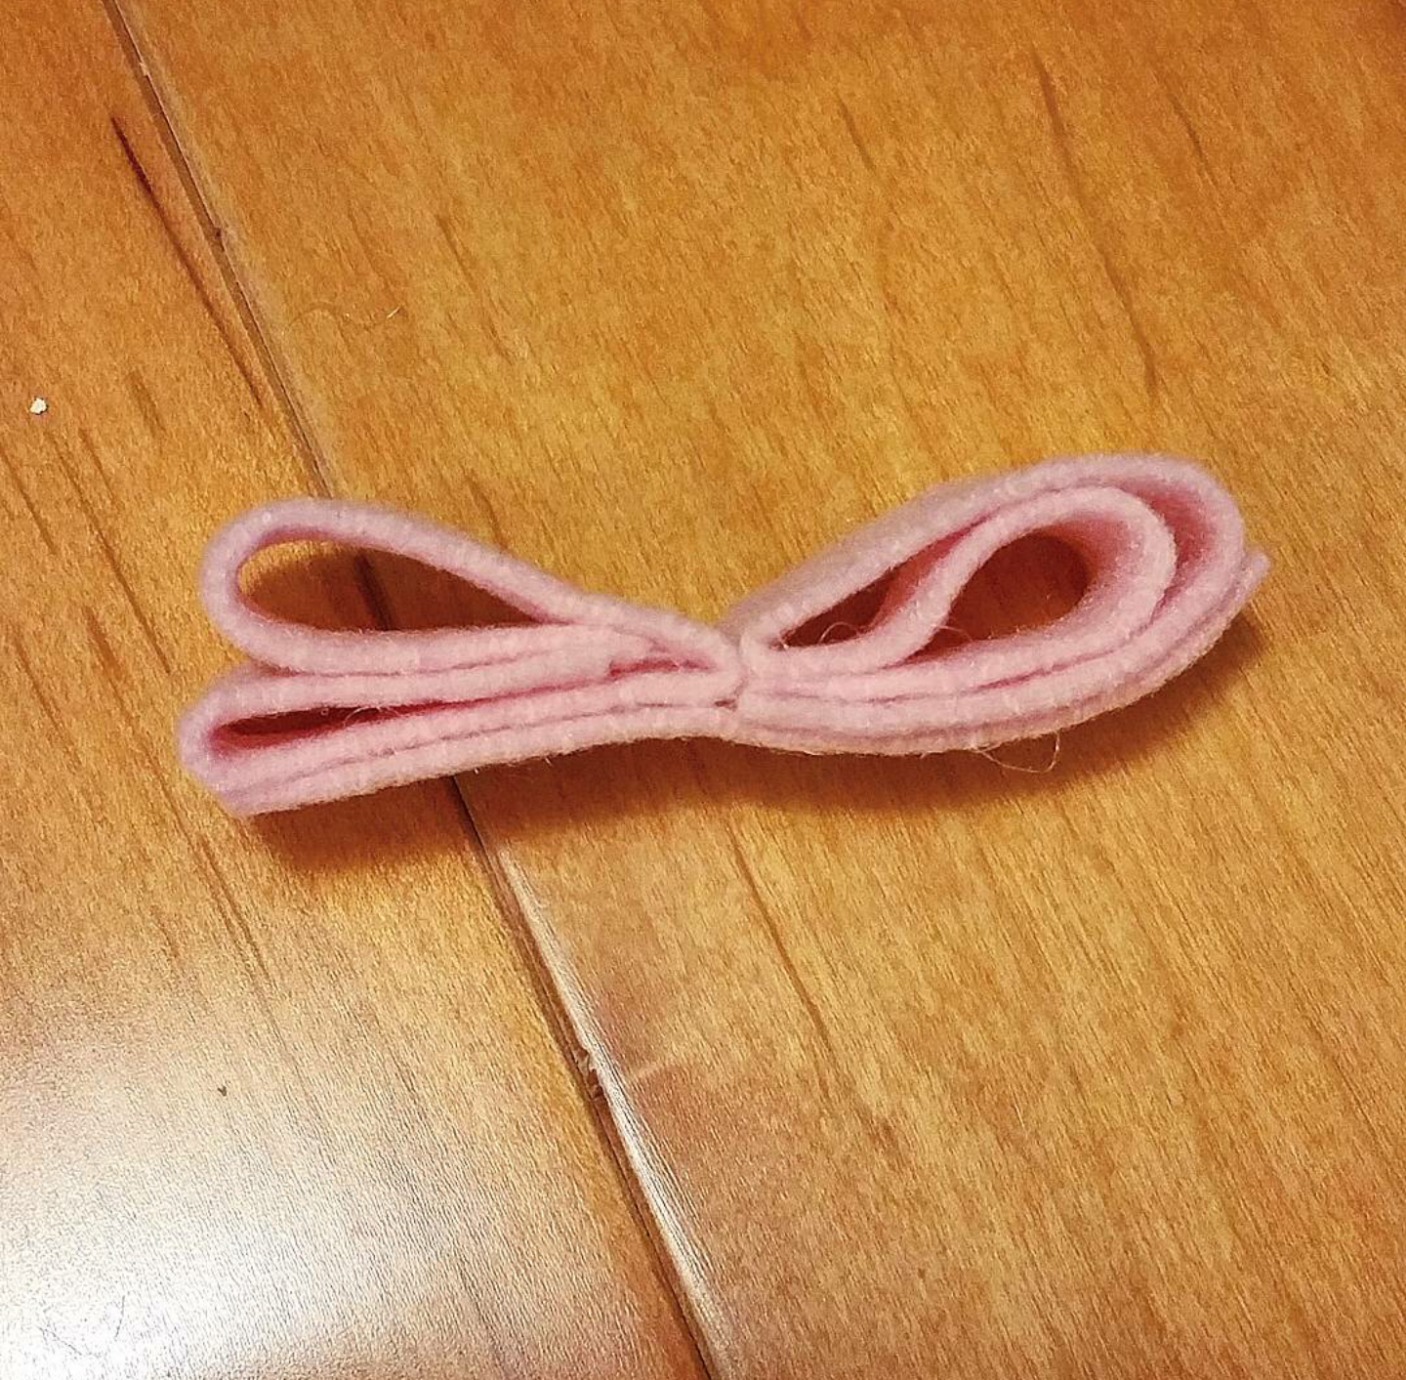
Step 5 - Repeat the same steps to the other side of the base, hot gluing a double loop/bunny ears.

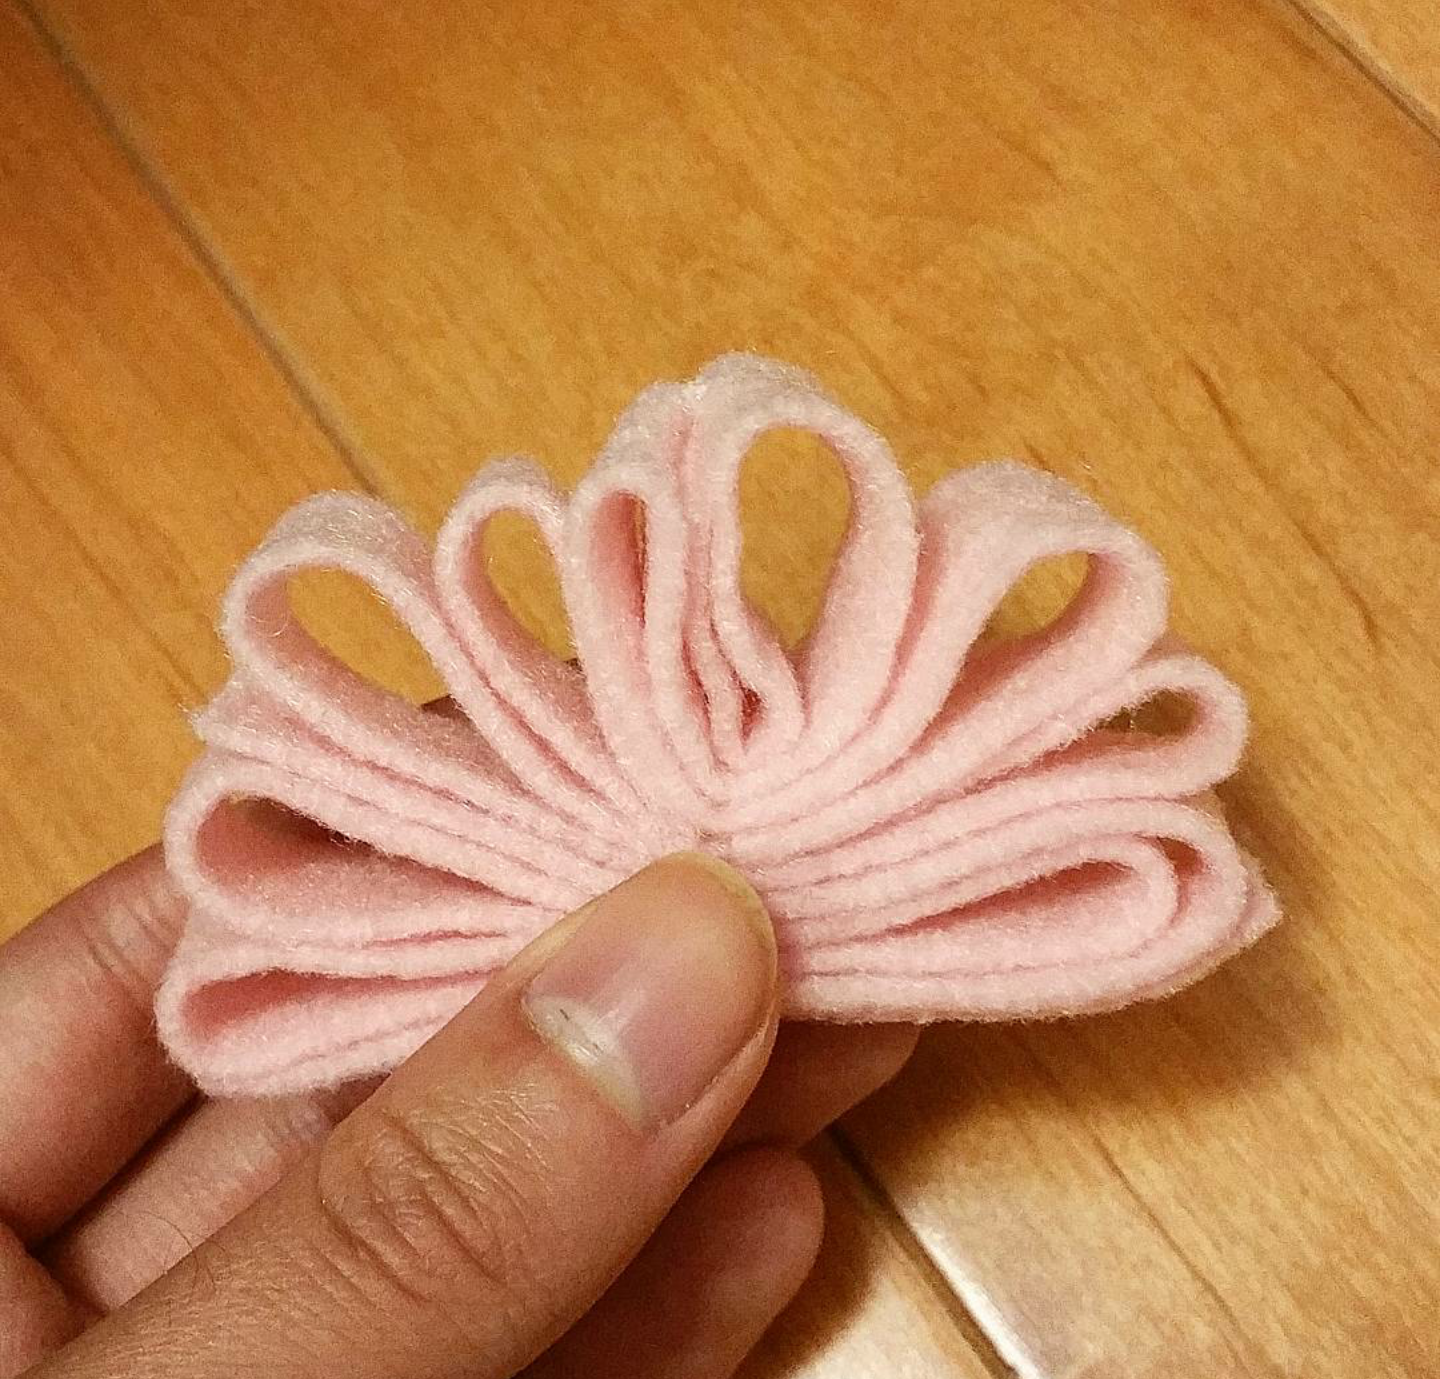
Step 6 - Continue to hot glue more loops, creating the shape of a fan, similar to NBC's logo or a peacock's tail.

Step 7 - Glue the final loop together and you should end up with something similar to the left image below. The more imperfect it is, the more natural it'll look.

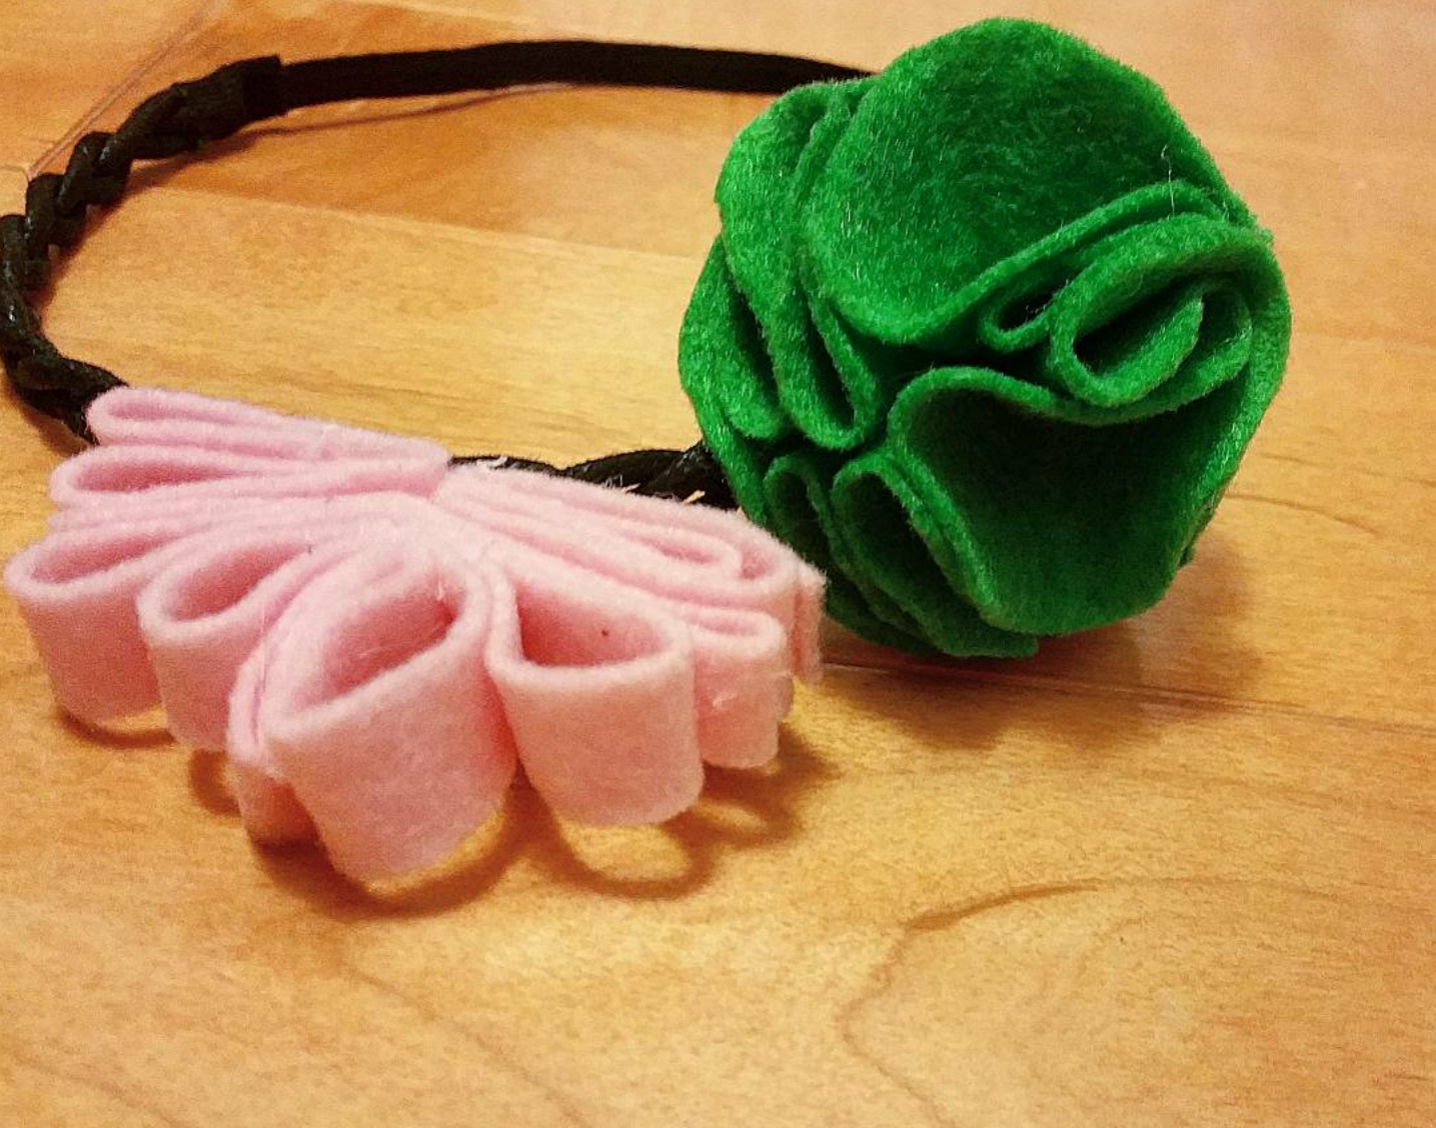
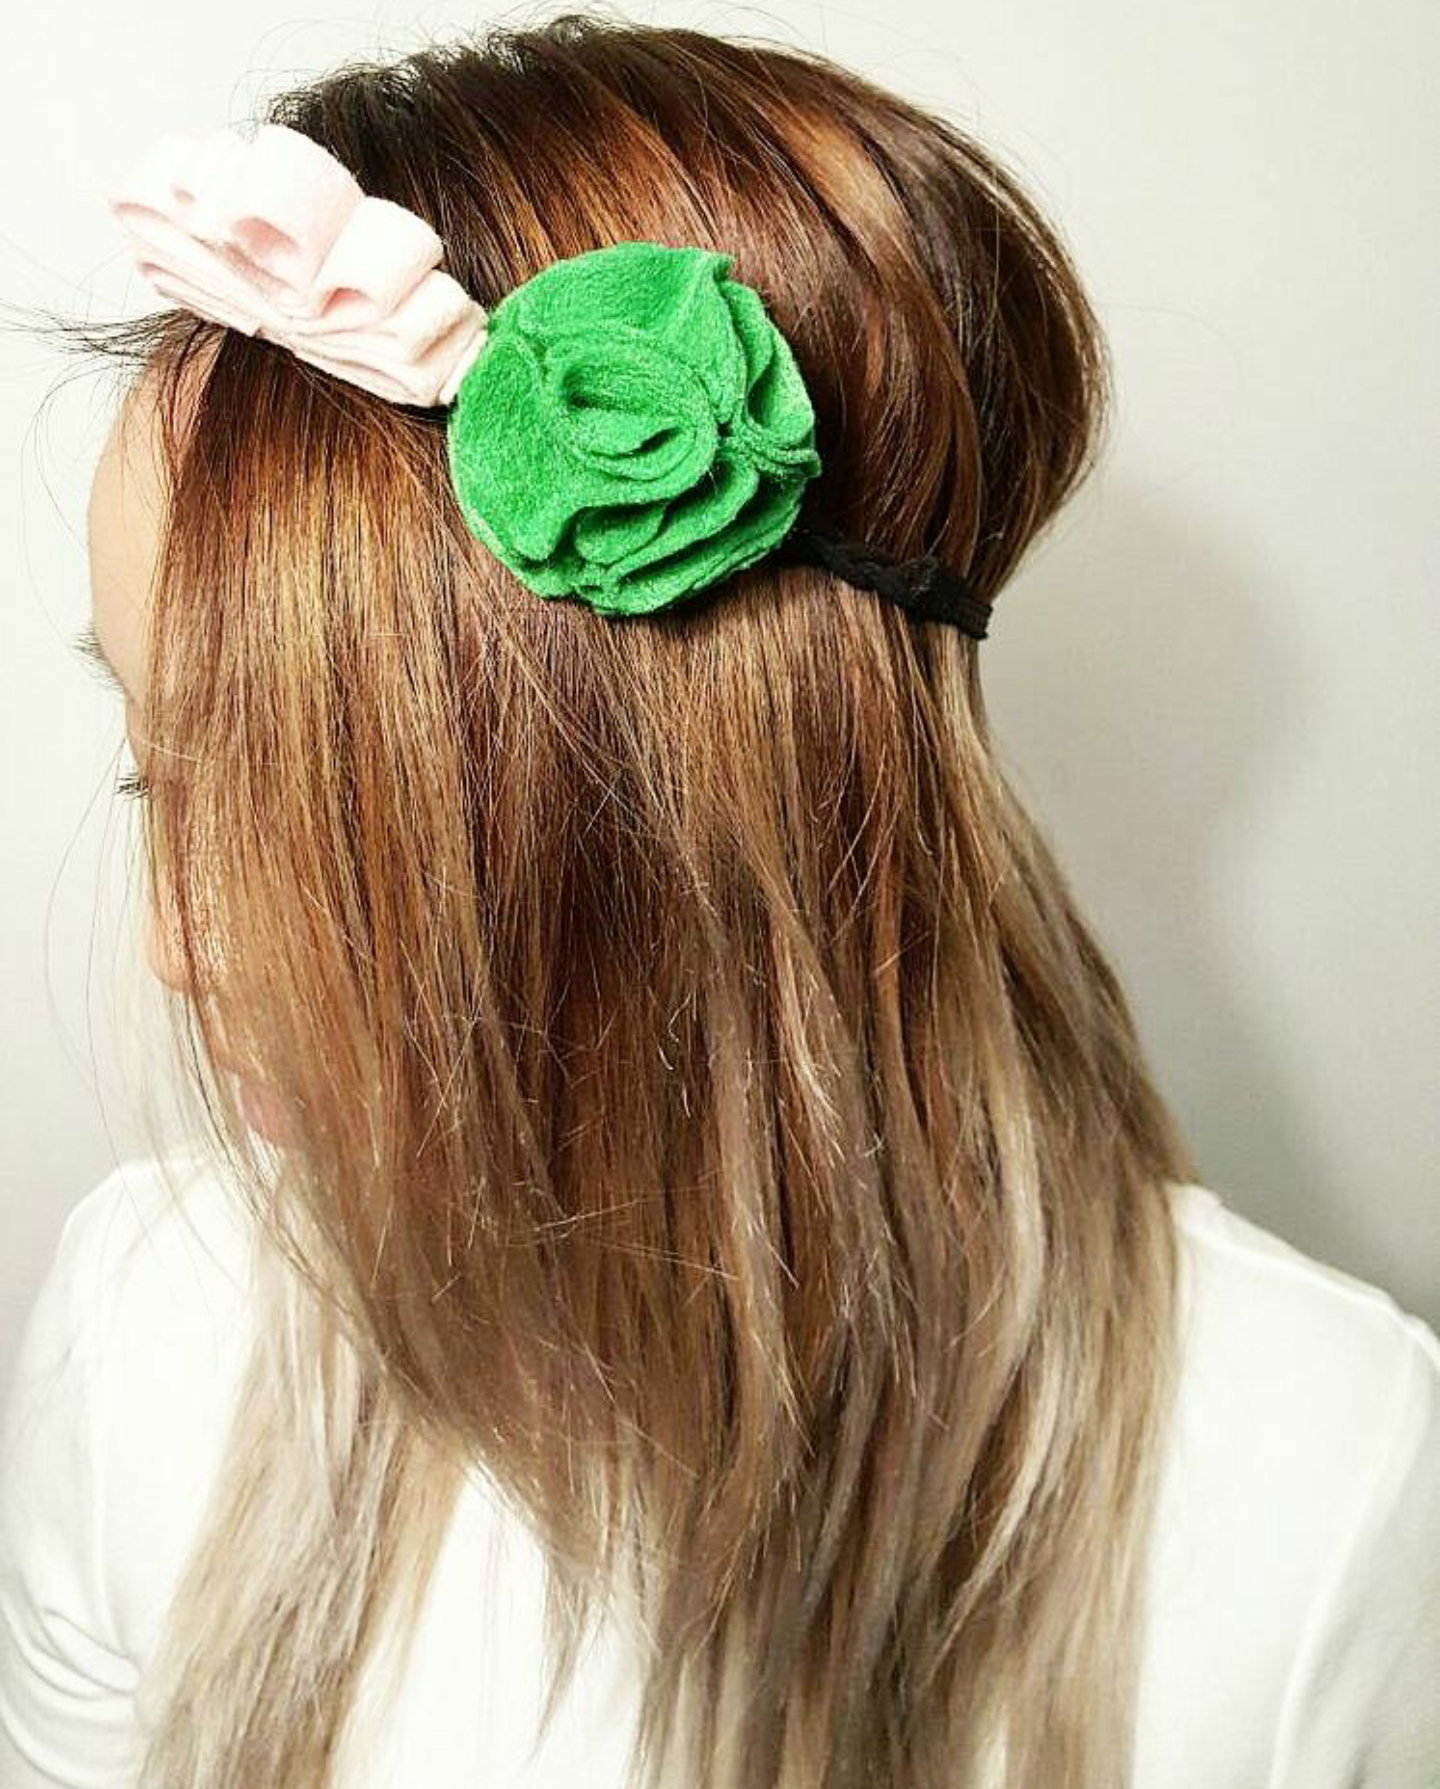
Step 8 - Now hot glue the wasabi and ginger onto a headband (I removed the flowers from the one I got) and you're done!

PART THREE - SEAWEED BELT

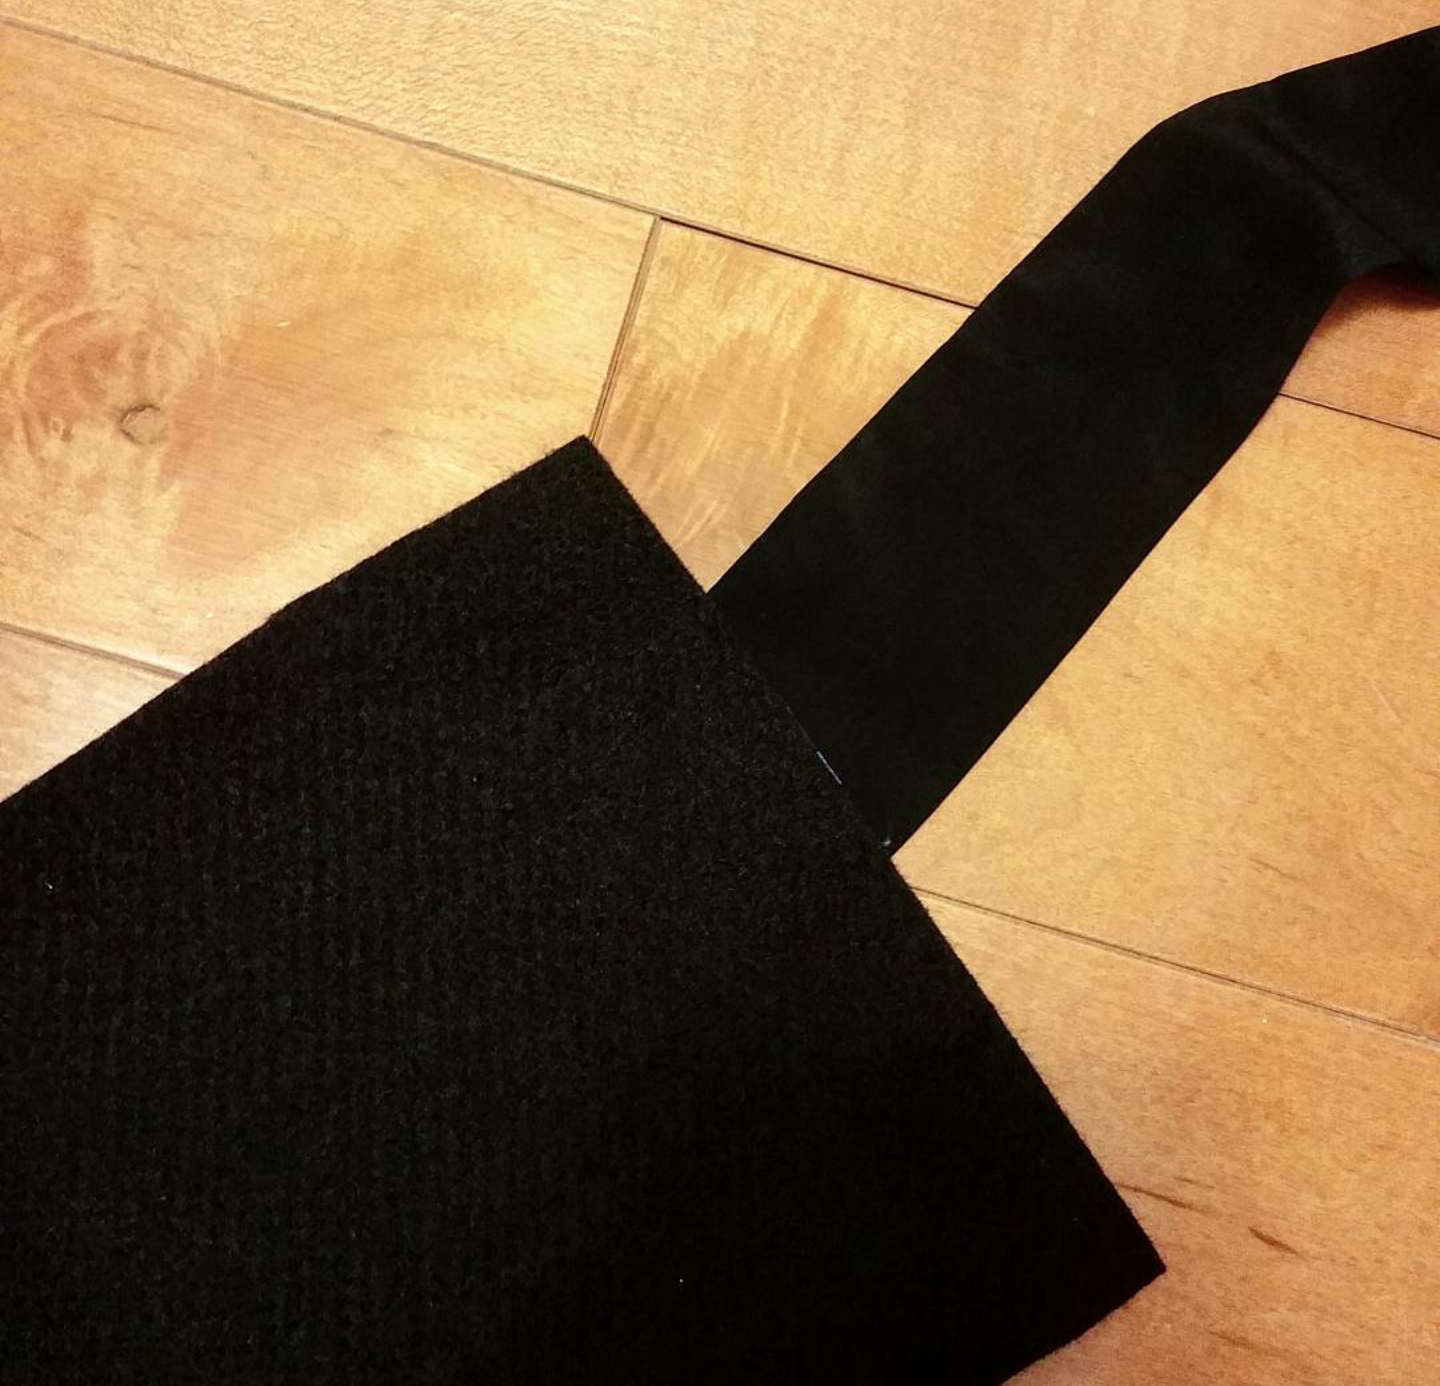
Step 1 - The black felt wasn't long enough to tie, so I glued a satin belt onto the ends to secure it better to my body.

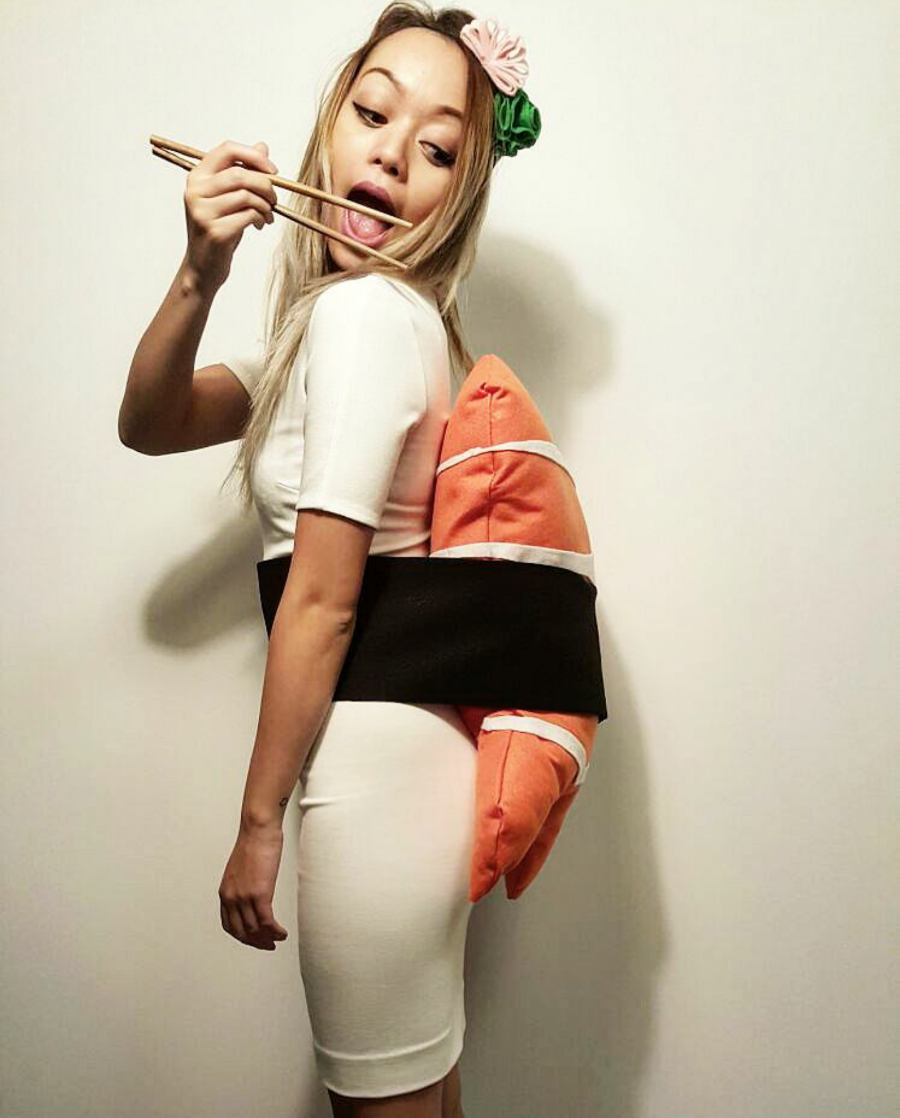
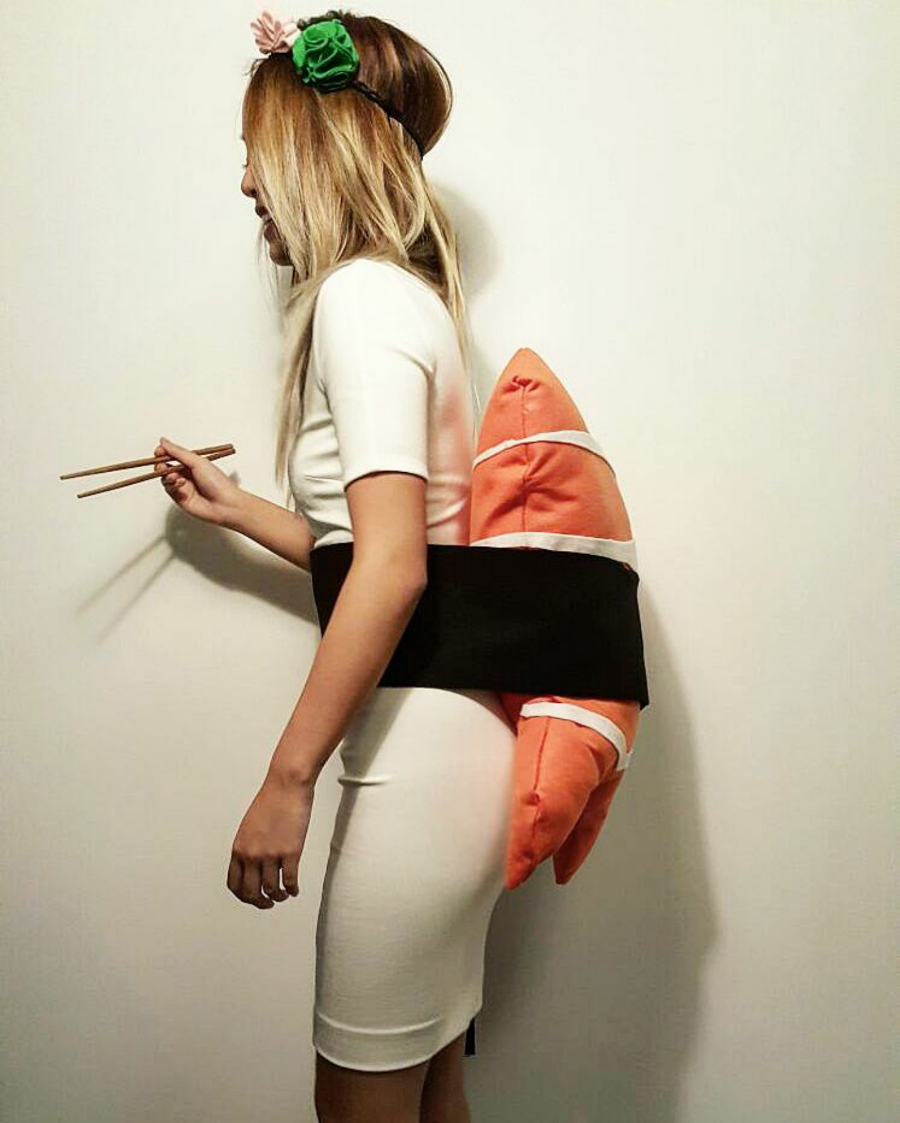
And fini! Now let's put everything together...

This is the only time you'll ever see me do a peace sign in a picture. What I love about this costume is the polyester filled shrimp doubles as a soft pillow that you can now use post-Halloween. You have the option of using other fabric, but felt was the cheapest I could find. This entire DIY was under $30.

Happy Sushi making :)